
The quickest way to get a self-watering planter is to buy one with a built-in reservoir, or to build one from a storage bin or two nested pots in about an hour. Either way the principle is the same. A water chamber sits below the soil, and the soil draws moisture up as the plant needs it. Pick plants that like steady moisture, keep the reservoir covered, and refill it instead of watering from above.
The problem is easy to recognize. Malaysian heat can dry a small pot in an afternoon, and a week away from home leaves plants crisp. The usual overcorrection, drowning them when you return, rots the roots. Guessing the right amount of water is where most houseplants and balcony vegetables are lost, and a reservoir does that job more reliably than memory.
Konzept Garden designs gardens and sells the Ziant Hydro Planter, so this guide covers both routes. You will see how the design works, which plants and vegetables suit it, and whether to buy or build. Then you can build a bin version step by step, plant it, and keep it running.
How a self-watering planter works and when it pays off
The two-chamber design
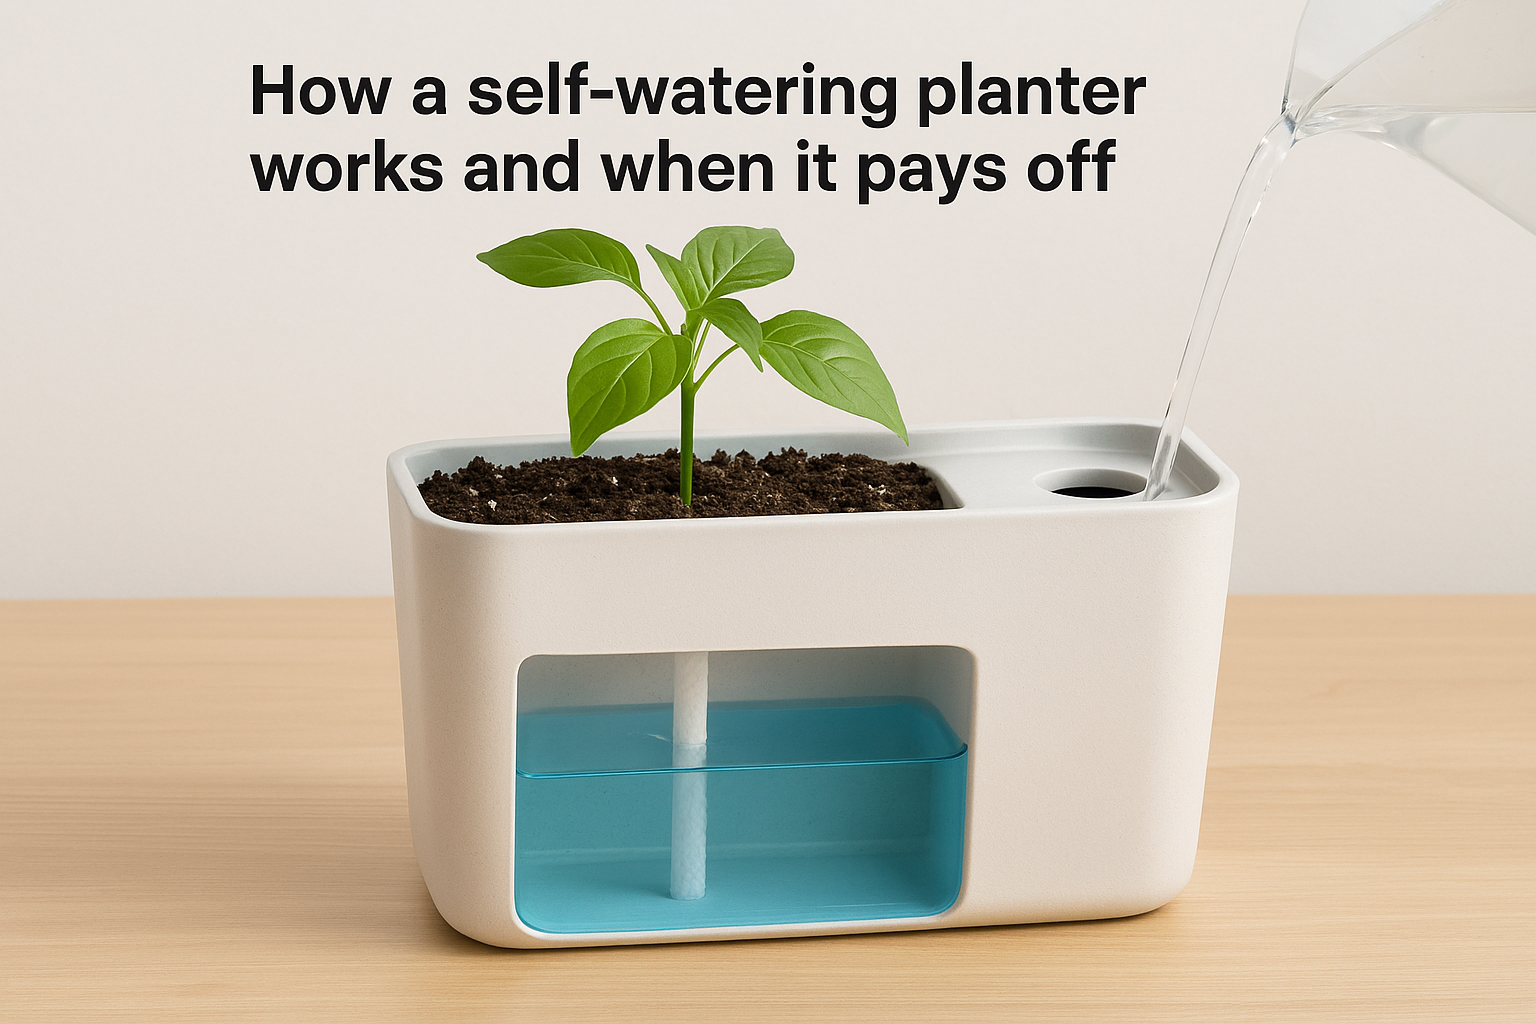
A self-watering planter has two chambers: a water reservoir at the bottom and a soil chamber above it, separated by a platform or insert. A wick, a column of soil called a soil foot, or a porous medium such as hydrostone dips into the water. Capillary action pulls moisture upward, and the roots take only what they need. The technical term is sub-irrigation.
Two details decide whether the design works. The first is an overflow hole just below the platform, which stops the soil from sitting in water after heavy rain or a generous refill. The second is a fill tube or chute, so you refill the reservoir directly and the soil surface stays drier. That also means fewer fungus gnats. Many pots add a float or a window as a level indicator, and it is worth having.
A self-watering planter does not water for you, it stretches the time between refills from days to weeks.
Pros and cons at a glance
The benefits are real, but each one comes with a catch you can plan around.
| What you gain | What to watch |
|---|---|
| Refills every week or two instead of daily | The reservoir still needs checking, and algae can build up |
| Steady moisture for thirsty plants | Root rot if the soil is dense or the plant wants to dry out |
| Less water wasted, since it reaches the roots directly | Higher upfront cost than a plain pot |
| No spills on floors and windowsills | A false sense of security, so you still need to look at the plant |
Almost every drawback comes from a mismatch, not from the design itself. Put a cactus in one, or fill it with dense soil, and you get rot. Buy a flimsy model and the reservoir leaks. For a peace lily or a chilli plant on a sunny balcony, the extra cost is repaid in plants you do not lose.
What changes in Malaysia's heat and rain
Heat helps and hurts. Warm air pulls water out of soil fast, so a reservoir gives a buffer that hand-watering struggles to match. Outdoors, though, a monsoon downpour can fill an open planter, and standing water invites mosquitoes. Indoors under air-conditioning, soil dries more slowly, so expect longer gaps between refills.
Any planter you use outdoors needs three things:
- A working overflow hole, so rain drains out.
- A fill opening covered with fine mesh or a cap, so mosquitoes cannot get in.
- A position where the planter is level, so water does not pool on one side.
Step 1. Match the planter to your plants
Choose the plant before the planter, because the plant decides how wet the soil should stay. If its care guide says "let the soil dry out completely between waterings", skip the reservoir.
Indoor plants that thrive
Moisture lovers do best: peace lily, pothos, calathea, ferns, philodendron, and most leafy foliage plants. Pothos and peace lily are forgiving first choices, and the peace lily will tell you when it is thirsty by drooping. Under low light or air-conditioning, plants use less water and the soil stays wet longer. In that case let the reservoir run nearly empty before you refill, and use a chunky mix with bark and perlite.
Keep succulents, cacti, snake plants, and ZZ plants out of a standard self-watering planter. They want to dry out, and constant moisture rots them. The exception is a semi-hydro setup with hydrostone, which is why Konzept Garden's mini desk set pairs a sansevieria with hydrostone. Without that kind of medium, treat dry-loving plants as unsuitable.
Self-watering vegetable planters
Self-watering vegetable planters work best for crops that like even moisture and for thirsty fruiting plants. Use this as a quick guide:
| Crop | Fit | Tip |
|---|---|---|
| Kangkung, lettuce, mint, basil | Good | Fast growers that suit a shallow soil chamber |
| Tomatoes, chillies, brinjal | Good | Need depth and regular feeding |
| Carrots, radish, potatoes | Use with care | Wet soil invites disease, so use a narrow soil foot and add sand |
| Rosemary, thyme | Poor | They prefer drying out between waterings |
Size matters as much as crop. Allow roughly 15 to 20 cm of soil depth for leafy greens and herbs, and 30 cm or more for tomatoes, chillies, and brinjal. A big fruiting plant in full sun empties a small reservoir quickly. For those crops, choose the largest reservoir that fits your space.
Choose the plant before the planter, because a self-watering planter only suits plants that like steady moisture.
Step 2. Decide whether to buy or build
Build if you want a cheap, custom-sized planter for vegetables and do not mind an hour of cutting. Buy if you want a clean finish for a living room or balcony, or a design that is already sorted out.
Buy or build compared
| Factor | Buy ready-made | Build your own |
|---|---|---|
| Cost | Higher upfront | Lowest: a bin plus a few hardware-store parts |
| Time | Minutes | About an hour, plus a few days of settling |
| Looks | Finished, suits indoor spaces | Utilitarian, best for a balcony or back yard |
| Size | Fixed range | Any size your container allows |
| Sun durability | Made for outdoor use | Depends on the bin, since thin plastic can degrade in strong sun |
What the Ziant Hydro Planter range offers
Konzept Garden's Ziant Hydro Planter is made of PE plastic with a robust textured finish, in brown, white, black, and grey, for indoor and outdoor use. The collection is built for travel, with self-watering for up to two weeks. Treat that as a ceiling, because your plant, the weather, and the planter size all change the real interval. Current sizes and prices:
| Model | Size (height x top width) | Price |
|---|---|---|
| Mini Self-Watering Desk Plant (XXS) with live Sansevieria | Desk size | RM48.90 (regular RM89.90) |
| ZP001 XS (PE) | 35 x 32 cm | RM115 |
| ZP001 S (PE) | 35 x 36 cm | RM145 |
| ZP001 S Planter Box | 36 x 36 x 36 cm | RM145 |
| ZP001 M (PE) | 66 x 40 cm | RM215 |
| ZP002 S (PE) | 28 x 71 cm | RM185 |
| ZP002 L (PE) | 35 x 89 cm | RM325 |
Match the size to the plant. The XS and S suit a single houseplant or a few herbs, and the taller M gives roots more depth. The wide ZP002 models suit a row of herbs or leafy vegetables, so a balcony herb row at RM185 means one reservoir to refill, not four pots. The ZP001 S Planter Box comes with Nutrisoil, Hydrostone, and Geotextile, so the planting kit is covered. You can see the range at the showroom in Petaling Jaya before you decide.
Buy when finish and convenience matter, build when size and budget do.
Step 3. Build a bin self-watering planter
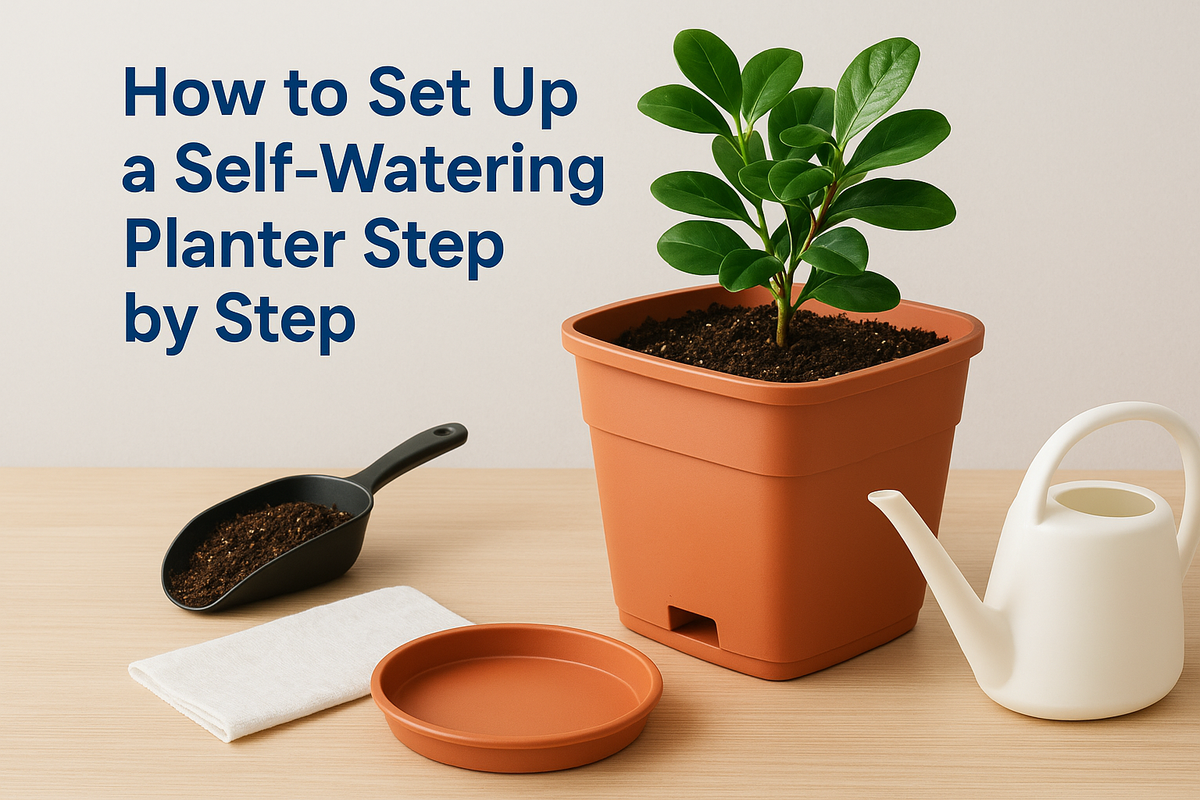
A bin planter takes about an hour. You need a lidded storage bin, a platform cut from the lid, a soil foot, a fill pipe, and an overflow hole. The reservoir should be one quarter to one third of the bin's height.
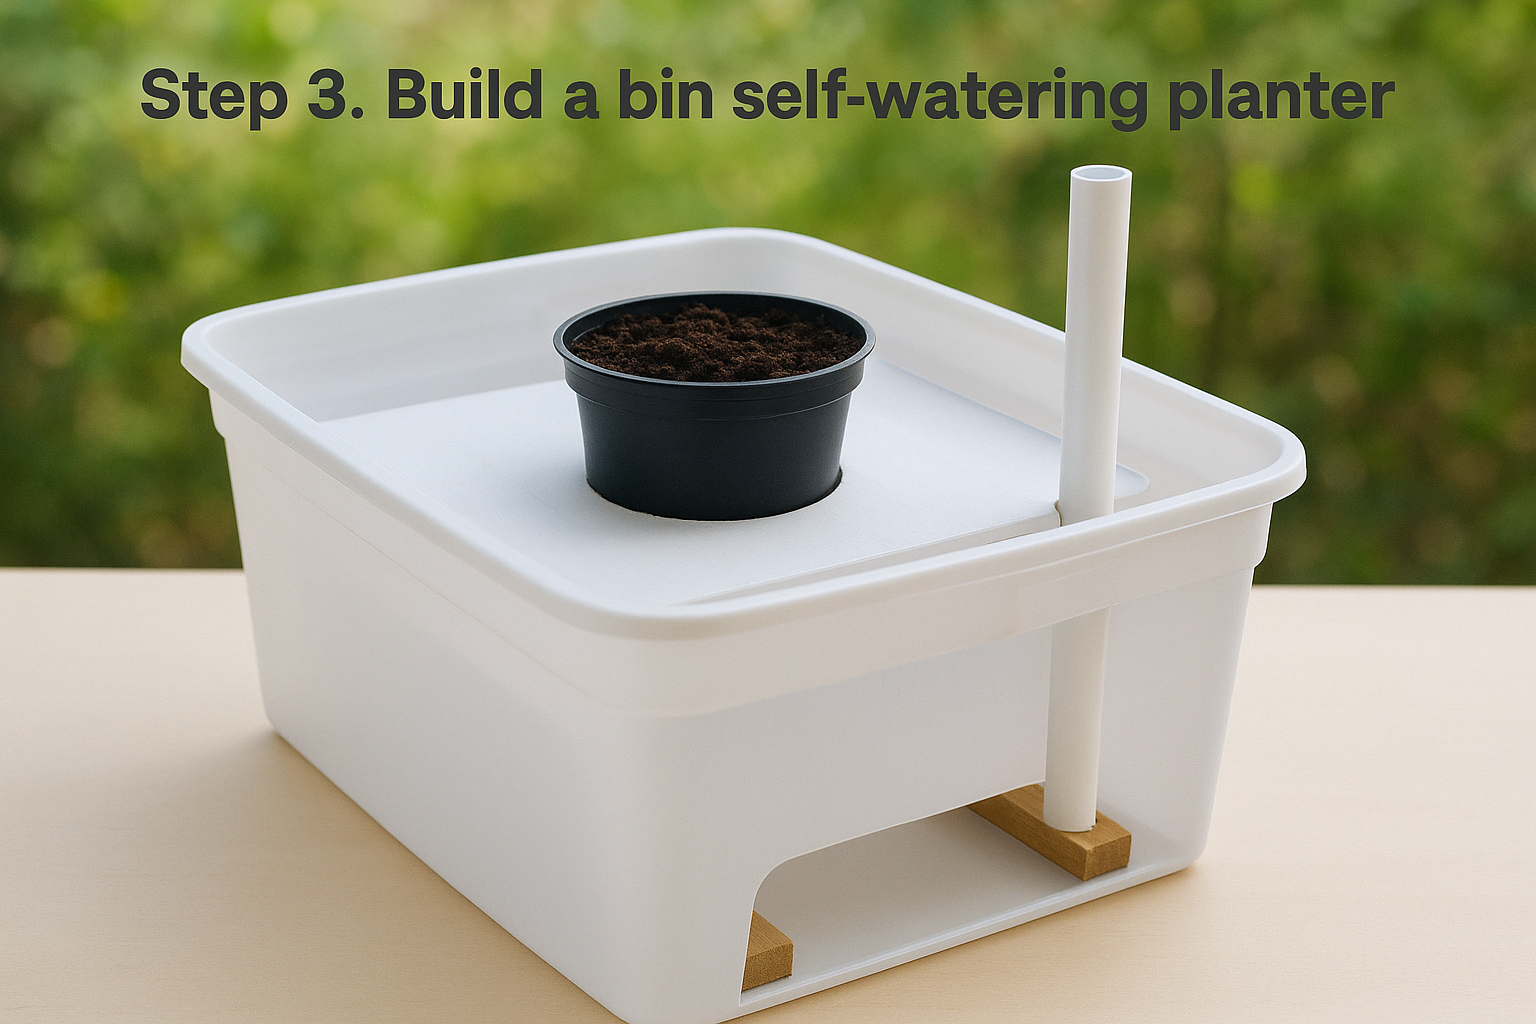
Materials and tools
- A plastic storage bin with fairly straight sides. In Malaysian heat, a white or light color keeps roots cooler than black.
- The bin's lid, to cut into the platform.
- A pond basket, plastic nursery pot, or the base of a 2-liter bottle for the soil foot.
- A length of PVC or ABS pipe, about 25 to 40 mm wide, long enough to run from the bin rim to the reservoir floor.
- Fine mesh or landscape fabric for the pipe ends.
- Wood blocks or upturned plastic pots as platform supports.
- A drill, a hole saw or utility knife, and screws or strong tape.
- Potting mix rich in organic matter, plus perlite or sand.
Build it in six steps
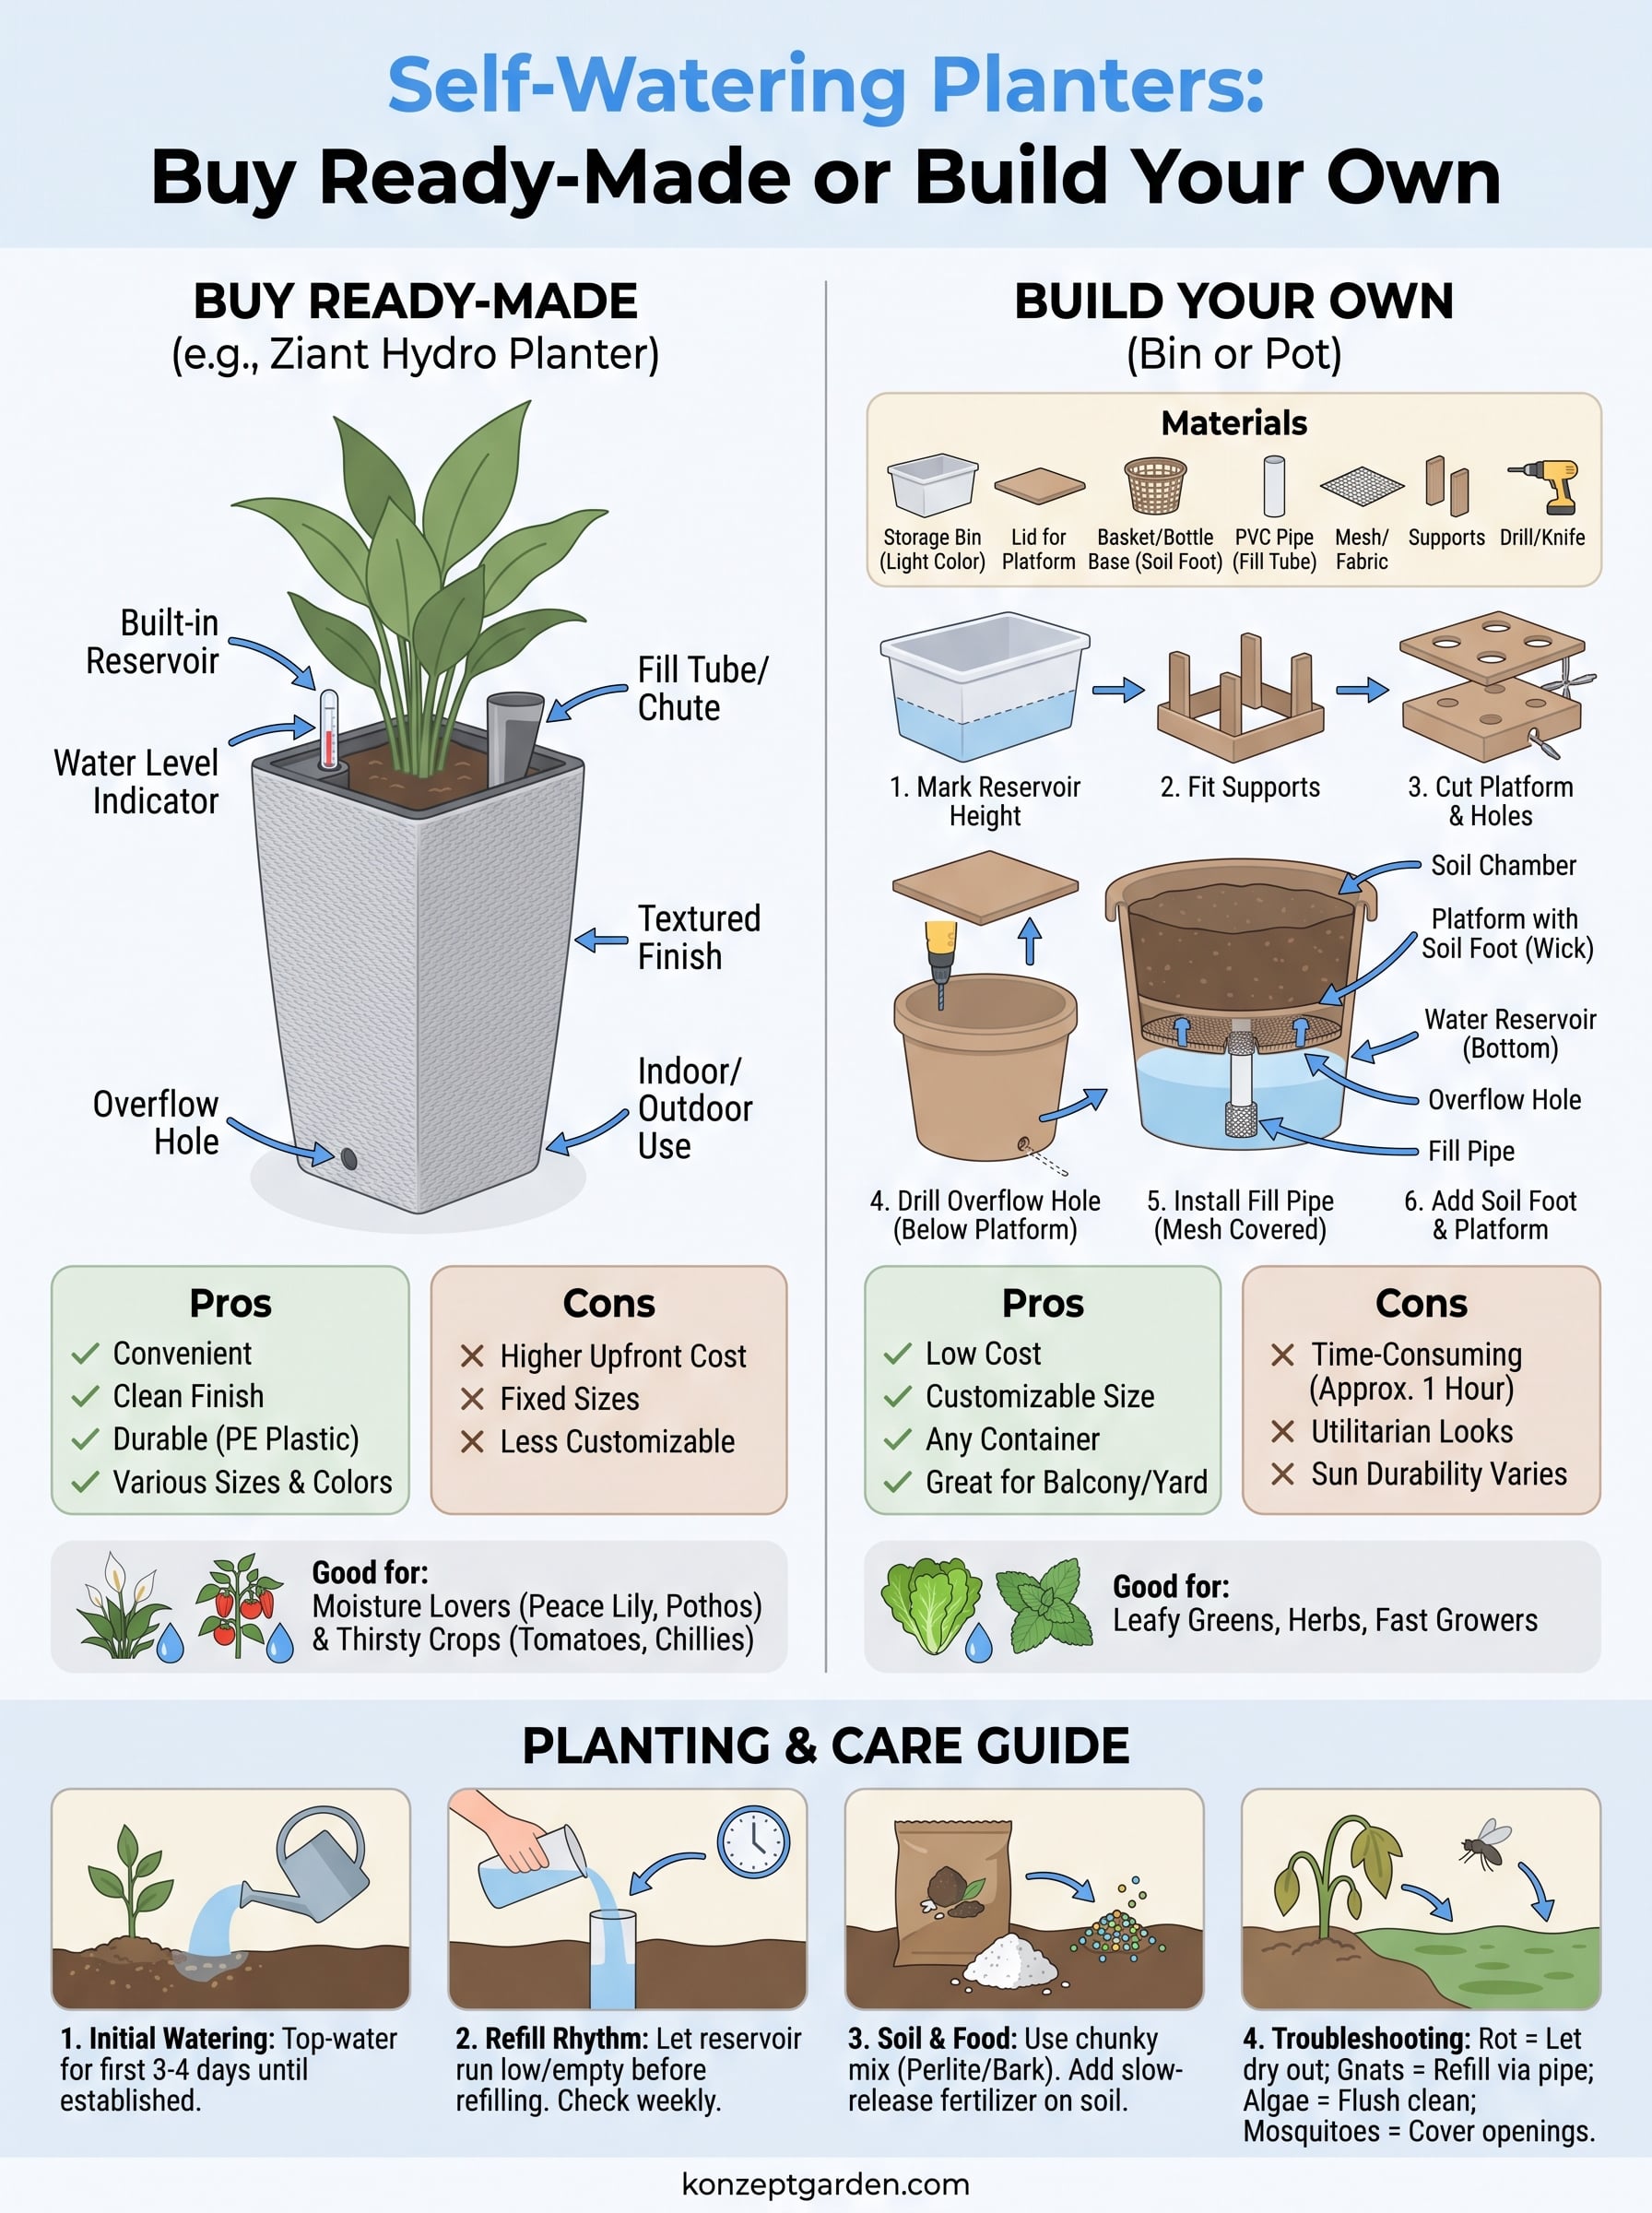
- Mark the reservoir height. Measure the bin's inside height and mark one quarter to one third of it from the bottom.
- Fit the supports. Attach the blocks at the mark so the platform rests level on them.
- Cut the platform. Trim the lid to fit inside the bin. Cut a hole for the soil foot basket, and a corner notch for the fill pipe.
- Drill the overflow hole. Make a small hole in the bin's side just below the platform level. Excess water leaves here.
- Install the fill pipe. Fix it in the corner so the bottom reaches the reservoir floor. Wrap the bottom end in mesh so soil cannot clog it, and cover the top with mesh or a cap.
- Add the soil foot. Set the basket in the platform hole, pack it with soil, and wet it down.
Here is a worked example. Take a bin with a 50 x 35 cm inside footprint and 30 cm height. An 8 cm reservoir holds 50 x 35 x 8 = 14,000 cm³, or 14 liters, and closer to 12 liters usable once supports, basket, and pipe take their space. That leaves about 21 cm of soil, enough for lettuce, herbs, and chillies in a tight fit.
The soil foot sets how wet the soil gets. For this bin, the base is 1,750 cm². A foot covering 20 percent (350 cm², roughly a 19 cm square) gives quite moist soil. For root crops, keep it to 10 to 15 percent, about 175 to 260 cm².
The size of the soil foot controls how wet the soil stays, so size it for the crop.
A one-pot wick version
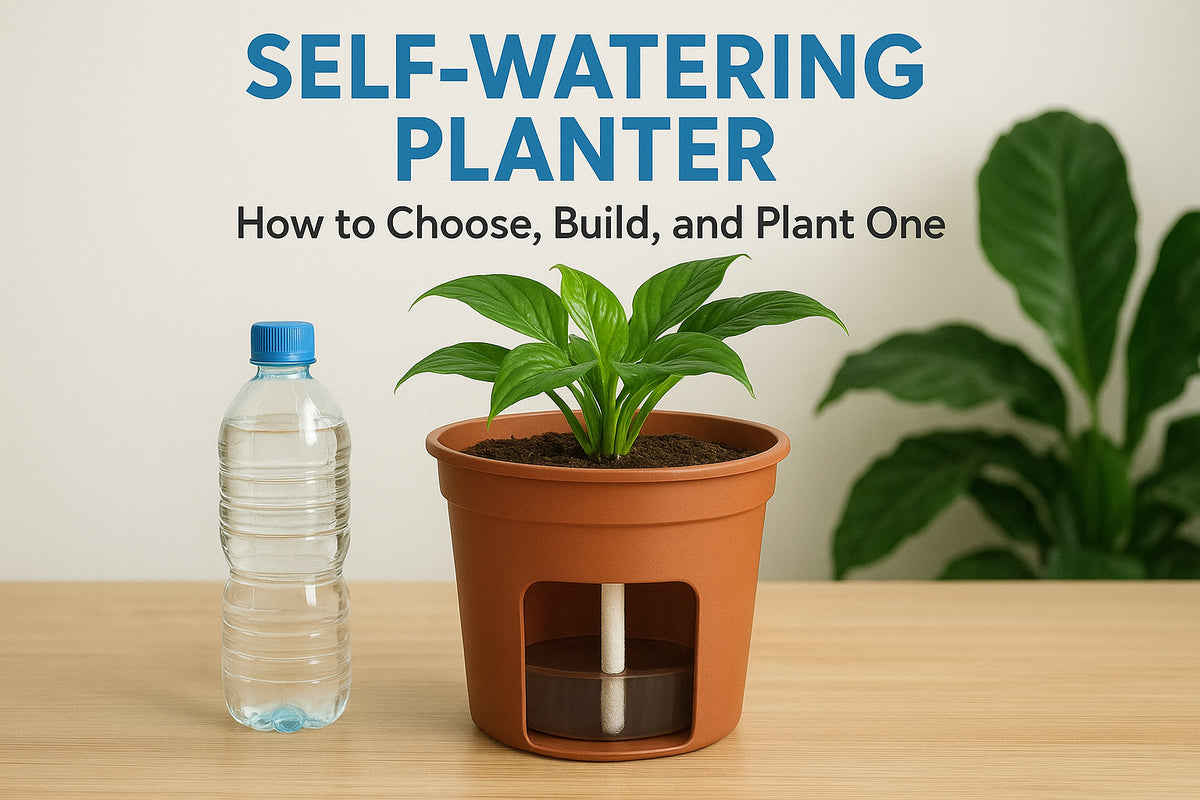
For a single small plant, you do not need a bin. Cut a plastic bottle in two, drill a hole in the cap, and thread a cotton cord through it. Turn the top half upside down into the bottom half, so the cord hangs into the water below. Add soil and the plant to the top half. The same idea works with a nursery pot sitting on the ridge of a larger pot, with cord through the drainage holes.
Wicks have limits. They move water well over a short distance, so keep the reservoir within about 10 cm of the roots. They work best in pots up to about 10 cm across. For anything bigger, use the bin design or a ready-made planter.
Step 4. Plant, fill, and look after it
Pack the soil foot, add the potting mix, plant, and water from the top for the first few days before you start using the reservoir. After that, refill through the pipe until water drips from the overflow hole, and let the planter run down between refills.
First planting and first fill
Pack soil into the soil foot and wet it. Then fill the rest of the chamber with chunky, well-aerated potting mix. Dense soil plus constant water is a recipe for rot, so mix in perlite or bark. Set in your plants, water well from above, and repeat for three or four days so the soil wicks properly. Then fill the reservoir through the pipe.
Reservoir water carries no nutrients. Spread slow-release or organic fertilizer on the soil surface a few inches from the stems, and scratch it in lightly. For vegetables, add a layer of mulch to hold moisture and keep the soil surface cooler.
Refilling rhythm
Refill on the plant's schedule, not the calendar. Use this as a starting point and adjust after a week or two of watching:
| Situation | Refill approach |
|---|---|
| Foliage plant indoors, bright light | Refill when the reservoir is nearly empty, often every one to two weeks |
| Low light or air-conditioned room | Wait longer and let the reservoir run almost dry first |
| Vegetables on a sunny balcony | Check every few days at first, since fruiting plants drink heavily |
| Heavy rain outdoors | Check that the overflow hole is clear and the pipe cap is on |
Fixing common problems
Yellowing leaves with soggy soil mean too much moisture. Let the reservoir empty completely before refilling, and give no more than a day's worth at a time. If it persists, add perlite or sand to the mix or shrink the soil foot. Green slime in a clear reservoir is algae. It is harmless but smells, so flush the reservoir with clean water every month or two.
Fungus gnats point to a wet surface, so refill through the pipe instead of the top. Check that the mesh over the fill opening is intact so mosquitoes stay out. If roots poke out of the bottom, that is normal, because roots grow toward water.
Let the reservoir run nearly dry before you refill, and most self-watering problems never start.
Start small, then scale up
A self-watering planter works when the plant, the planter, and the refill habit all agree. Choose moisture-loving plants, decide between buying and building, and add chunky soil, an overflow hole, and a covered fill opening. Then refill only when the reservoir runs low.
Start with one planter and one plant you want to keep alive. Once you know how fast it drinks in your home or on your balcony, adding more is easy. If you would like help choosing a size or planning a planter for a larger garden, get in touch with the Konzept Garden team.