
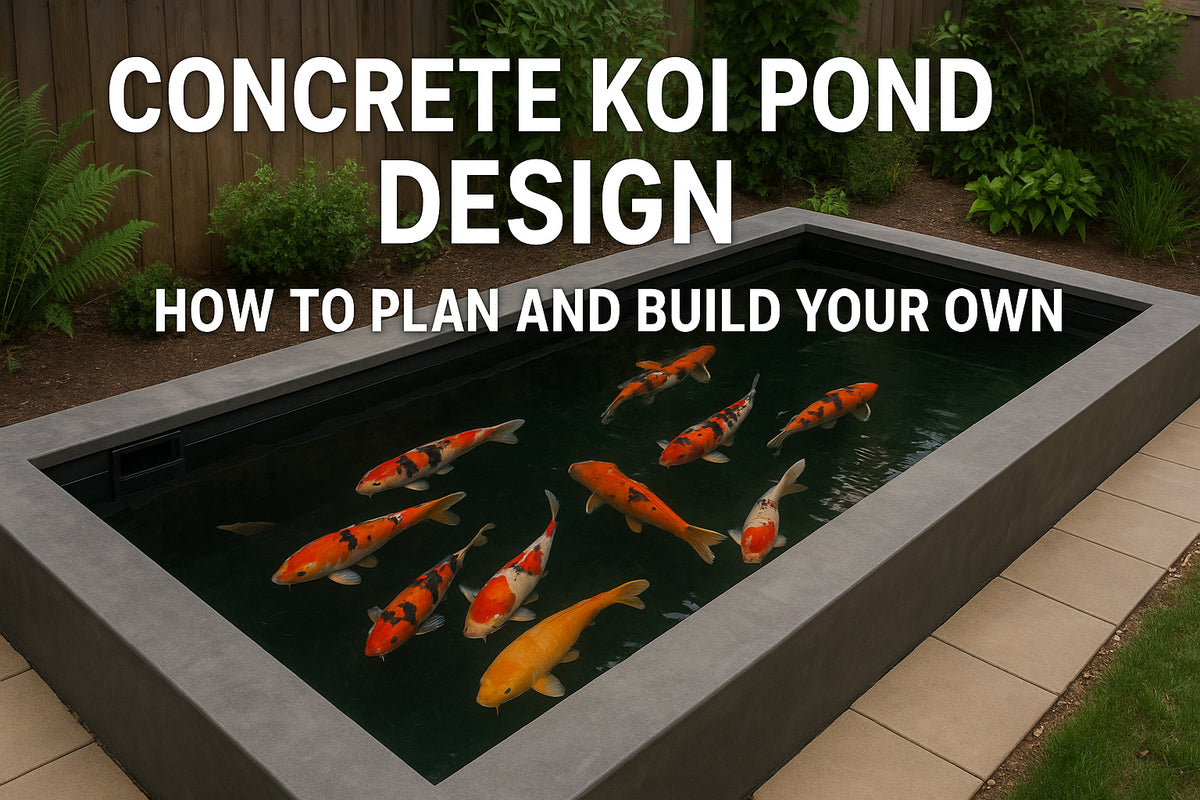
The best concrete koi pond design is a rounded rectangle or oval about 1 m deep that holds at least 4,000 liters. It has a bottom drain, a reinforced slab and walls, a fish-safe waterproof coat, and a filter sized for the koi you want. Build it in this order: set the size and depth, dig, lay the plumbing, pour, waterproof, then flush and cycle the water before any fish go in.
Most failed concrete ponds fail for the same few reasons. Hairline cracks leak, drains end up buried in the wrong place, lime leaches out of fresh concrete and spikes the pH, or the pond is too small and shallow to survive tropical heat. In Malaysia, monsoon rain and high water tables add pressure. A mistake in buried plumbing means breaking concrete to fix it.
This guide follows the order you will actually work in: design choices first, then excavation, plumbing, structure, waterproofing and stocking. You will get a sizing table, a pipework plan, a pour sequence and a water-testing routine. Konzept Garden designs and builds koi ponds for homes in Malaysia, so the advice accounts for local heat, rain and ground conditions. It ends with how to decide between building yourself and hiring a designer.
Why concrete, and what to settle first
Concrete is the right choice when you want a deep, custom-shaped pond that lasts decades. It only works as a system of structure plus waterproofing. Settle the sealing method, the approvals and the budget before you draw a single line.
Concrete, liner or fiberglass
Concrete gives you freedom of shape, raised seating walls and room for a viewing window. Concrete carries the weight of the water, but the sealing layer keeps the water in. Choose that layer now, because it changes how you detail the drains, skimmer and any glass.
| Shell method | What seals the pond | Best for | Watch out for |
|---|---|---|---|
| Concrete with flexible waterproof coating | 2 to 3 coats of a fish-safe cementitious or epoxy membrane | Custom shapes, raised formal ponds | Surface prep and cure times, which the manufacturer sets |
| Concrete or block shell with fiberglass (GRP) | A smooth, continuous fiberglass skin | Formal ponds, easy-to-clean finish | Needs a sound, dry substrate and a skilled applicator |
| Concrete or block shell with butyl or EPDM liner | A flexible liner clamped at each fitting | Fast waterproofing, simple repairs | Folds, clamped fittings and puncture risk during the build |
My default for a first build is a reinforced, poured shell with a flexible waterproof coat. A liner is the easier fix if your finishing skills are limited. Either way, the shell and the seal are designed together.
Concrete is the structure and the coating is the seal, so design them as one system.
Prerequisites before you draw anything
Work through this list first. It prevents the expensive surprises later.
- Budget: Cover the shell, filter, pump, electrics, finishing and fish, not the shell alone.
- Approval: Ask your local council whether a deep or raised structure needs a permit, and what fencing or boundary rules apply.
- Structural advice: Have an engineer confirm slab and wall specs for any raised wall, any pond near a house or boundary, and any pond on a slope.
- Services: Locate buried pipes, drains and cables before you dig.
- Power: Plan at least two weatherproof outlets on an RCD-protected circuit for the pump, UV light and aeration.
- Fish plan: Decide how many adult koi you want, because that number drives every size and filter decision.
Step 1. Set the size, shape and depth
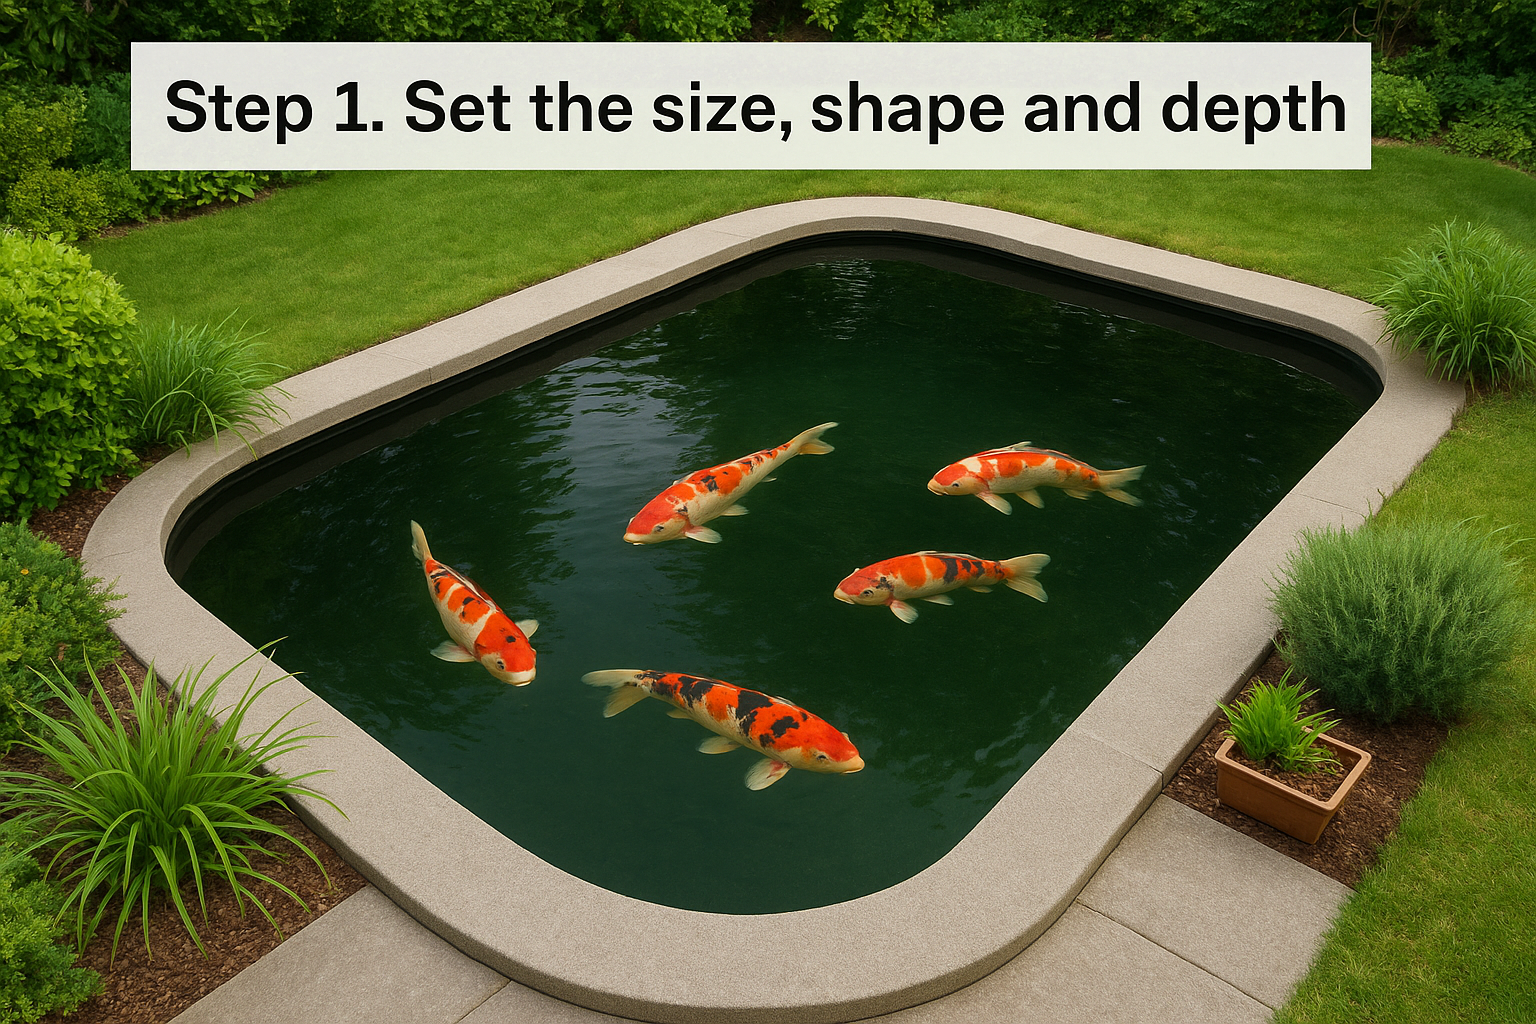
Plan for at least 4,000 liters of water, about 1 m of water depth and rounded corners. Koi grow past 60 cm, and a small pond turns toxic quickly. In Malaysia you never need frost depth, so depth here is about heat, oxygen and safety.
How big and how deep
Work backward from the koi you want. Water volume is length times width times water depth in meters, multiplied by 1,000 for liters. Treat 4,000 liters as the minimum for a koi pond, and add volume for each extra adult fish.
| Adult koi you plan to keep | Water volume to aim for | Example footprint at 1 m water depth |
|---|---|---|
| 3 to 4 | 4,000 L | 2.5 m x 1.6 m |
| 5 to 6 | 6,000 L | 3.0 m x 2.0 m |
| 8 to 10 | 10,000 L | 4.0 m x 2.5 m |
These footprints are gross figures. Rounded corners and a water level below the coping remove 5 to 10 percent, so add that back. For a sense of scale, Konzept Garden's Zen Bio Koi Pond 1 measures 325 x 132 x 92 cm, about 3.9 m³ gross.
A depth of 90 cm to 1.2 m suits tropical gardens. Water shallower than 80 cm swings in temperature and lets herons reach the fish. Deeper than 1.2 m mainly makes cleaning and netting harder. Remember that depth is also a drowning hazard, so plan fencing or a cover if children visit.
Shape and layout ideas
Choose a rounded rectangle, oval or gentle kidney shape. Give inside corners a radius of about 40 cm so debris and waste do not collect in dead spots. Avoid narrow necks and sharp bends, because water stops circulating there.
Four layouts work well in Malaysian gardens:
- Formal raised rectangle: A coping about 45 cm wide doubles as seating.
- Semi-raised pond: Walls stand 40 to 50 cm above ground, which cuts excavation and makes cleaning easier.
- Sunken oval: Stone edging gives a natural look, but you need a raised lip to stop rain run-off entering.
- Pond with a viewing window: The window recess must be engineered into the wall from the start.
Skip built-in planting shelves. They collect debris and give herons a place to wade. Put plants in pots on blocks, and build one covered hide for the fish instead.
Worked example: a 4 m x 2.5 m pond
Take an internal depth of 1.1 m with the water level 10 cm below the coping. That gives 1.0 m of water. The calculation is 4 x 2.5 x 1.0 = 10 m³, or 10,000 liters. Rounded corners cut that to roughly 9,000 to 9,500 liters.
That pond holds about 8 to 9 adult koi. To turn the water over once every one to two hours, you need a pump delivering roughly 4,500 to 9,500 L/h at your real head height. Pump ratings are in liters per hour, not per minute, so read the box carefully.
Size the pond for the koi at adult length, not the fish you buy on day one.
Step 2. Position the pond and excavate
Put the pond where it gets afternoon shade, sits away from trees, and has power nearby. Then dig to the finished depth plus slab and sub-base, with a drainage plan for monsoon rain. Both choices are cheap to make now and costly to fix later.
Choose the spot
Morning sun is fine, but strong afternoon sun heats water fast. Warm water holds less oxygen, and koi get stressed once water stays above roughly 28 to 30°C. Partial shade from a structure or a wall beats shade from a tree, because trees drop leaves and send roots into the shell.
Avoid low spots where rainwater pools. Keep the pond within easy reach of power and a tap, and where you can see it from your seating area. Running water also discourages mosquito breeding, and koi eat larvae.
Mark out and dig
Mark the outline with string and spray paint, then check it from the house and the seating area. Dig the internal depth plus slab thickness plus sub-base. For the 1.1 m pond in Step 1, that is 1.1 + 0.2 + 0.1 = 1.4 m for a sunken pond. Dig extra width if you need working room for formwork.
- Excavate to depth and slope the sides slightly so they do not collapse.
- Compact the bottom, then add about 100 mm of compacted crushed stone.
- Dig a small sump at one corner so you can pump out rainwater during the build.
- Cover the stone with a polythene sheet before steel goes in.
Watch the water table. Groundwater pressing on an empty pond can lift or crack it. In high water table areas, keep the pond filled once built, and ask your builder about a hydrostatic relief valve in the floor.
Dig for the finished depth plus slab and base, not the depth you want to see.
Step 3. Plan the drains and plumbing
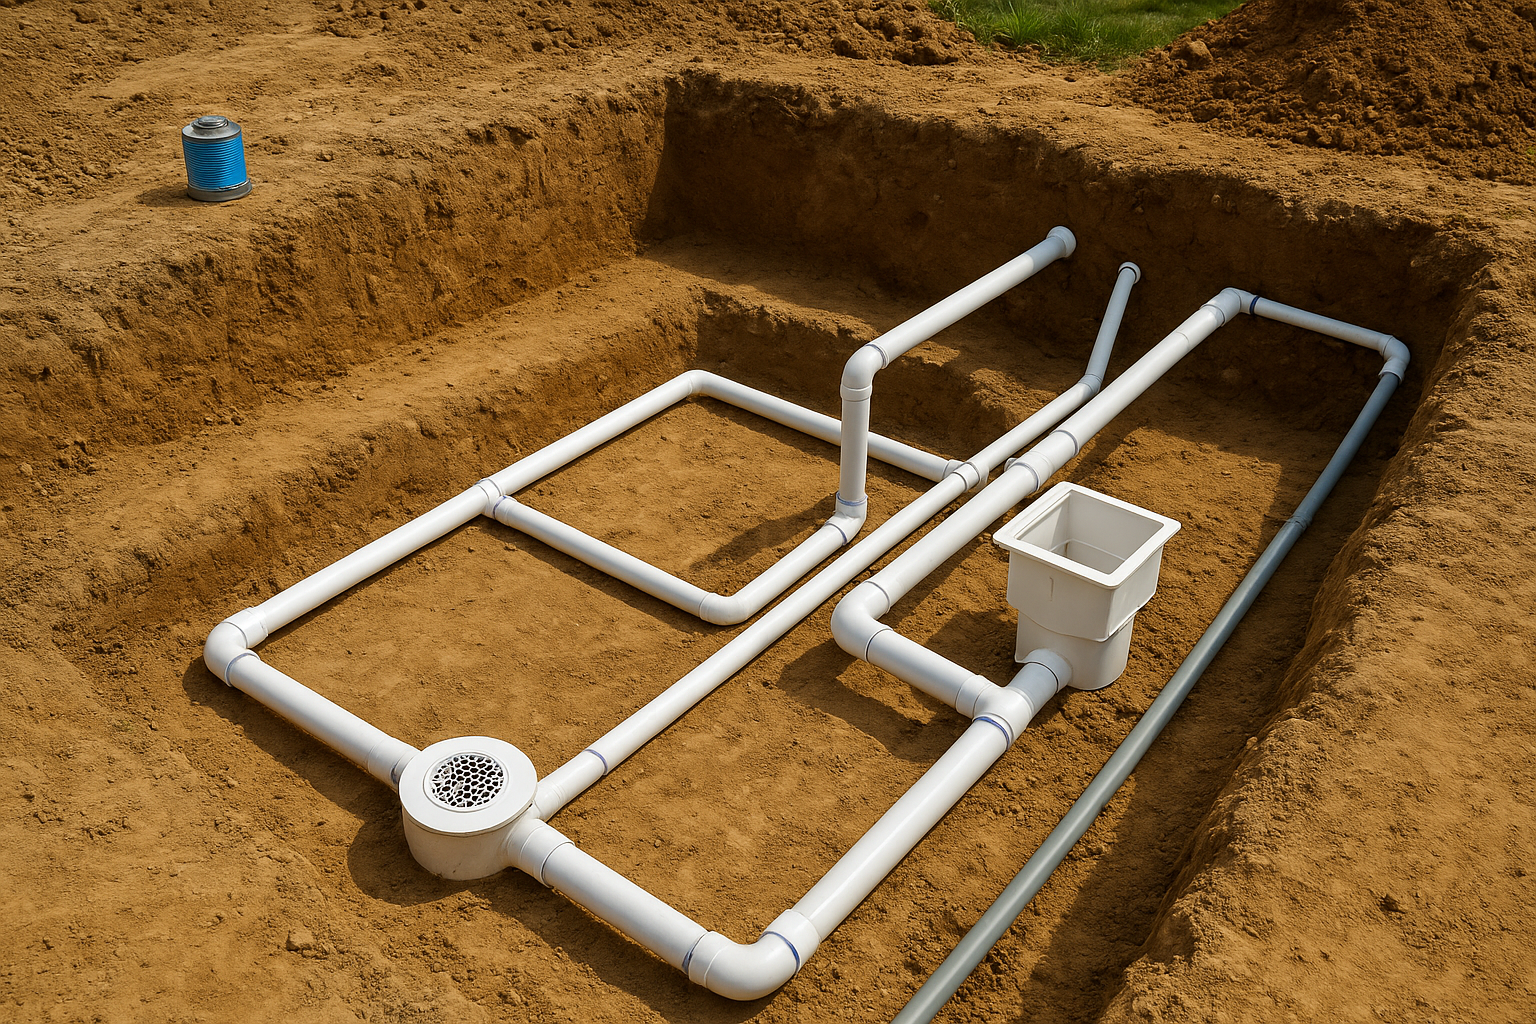
Lay out a bottom drain, a skimmer, returns and an overflow before you pour anything. These parts are the heart of a concrete koi pond design, and they are permanent once the concrete sets. Rough plumbing is your first job after digging.
Drains, skimmer, returns and overflow
A bottom drain pulls settled waste off the floor and sends it to the filter. A skimmer collects floating debris. Returns push filtered water back in and keep the whole pond circulating.
| Part | Typical specification | Placement rule |
|---|---|---|
| Bottom drain | 110 mm (4 in) pipe to the filter | Lowest point, with the floor sloping toward it about 2 cm per meter |
| Skimmer | Sized to pump flow, with a debris basket | Downwind side of the pond |
| Returns | 50 mm (2 in) pipe, two or more | Opposite the drain, angled to create a circular flow |
| Overflow | Pipe cast through the wall at the water line | Oversize it for tropical downpours |
| Electrical conduit | Spare conduit cast into walls | Runs to the filter area, with sweeping elbows |
Decide whether the filter is gravity-fed or pump-fed now. With a gravity filter, the pond and filter water levels must relate correctly. Fix the finished water level first, then build everything else from that mark.
Bury only what you can pressure-test, and mark every pipe on a drawing.
Lay and test the pipework
Use PVC cleaner and primer, then a slow-curing solvent cement so you have time to align joints. Cap the return and intake lines, fit a pressure gauge, and fill the lines with water. Hold the pressure for 24 hours with no drop before you proceed.
Keep the lines pressurized throughout the build. An accidental knock shows up immediately, and fixing a leaking pipe under cured concrete is very hard. Photograph every pipe run and measure its position from fixed points before it disappears.
Size the filter for your fish load, not just the water volume. Over-filtering is cheap insurance, because koi are heavy feeders. Add a UV unit for green water, since tropical sun encourages algae, and add aeration so the water stays oxygenated on hot nights.
Step 4. Build the slab and walls
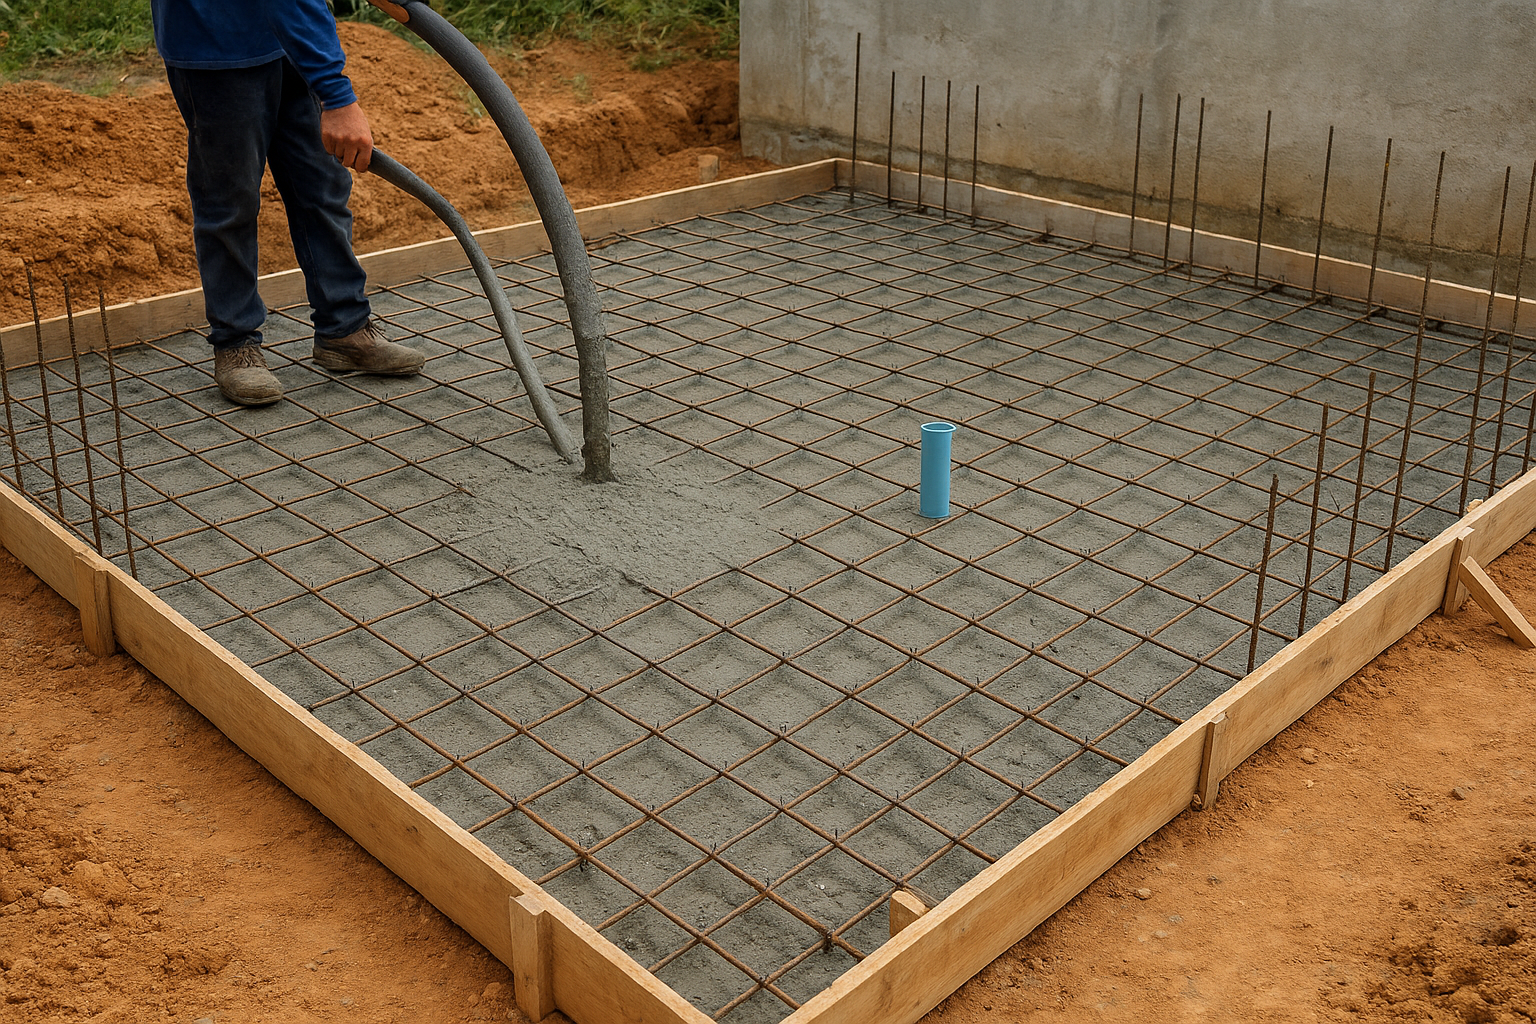
Pour the slab and walls with reinforcement, a waterstop at the joint, and a mix of at least 25 MPa. Cure it moist for a week. Ask an engineer to confirm the numbers, especially for raised walls.
Reinforcement and concrete spec
A common pattern for a 1 m deep home pond is 10 mm steel bars at 150 to 200 mm centers each way. Keep 40 to 50 mm of concrete cover over the steel. Use rebar chairs to hold the steel off the ground, otherwise the mat ends up on the soil and rusts.
Typical starting thicknesses are about 150 mm for walls and 200 mm for the slab. Treat these as starting points, because wall height, soil pressure and any window opening change the answer. Ask the concrete supplier for a waterproofing admixture.
Pour sequence
- Fix rebar for the slab and leave vertical dowel bars where the walls will stand.
- Cast in the plumbing, overflow sleeve and spare electrical conduit.
- Pour and compact the slab in one continuous pour, working from one end to the other.
- Set a rubber or PVC waterstop into the wet slab, with half exposed for the wall pour.
- Tie wall steel to the dowels and set the formwork. Brace curved forms hard, because they fail first.
- Pour the walls in continuous lifts and rod or vibrate to remove air pockets.
Cure it properly
Hot weather dries concrete too fast, and fast drying causes cracks. Keep the surface damp for at least seven days with wet hessian or plastic sheet, rewetting two or three times a day. Strip the wall forms after two to three days, but keep curing the concrete.
A pond that leaks on day one almost always started with a rushed cure or a missing waterstop.
Step 5. Waterproof and finish the shell
Clean and repair the cured surface, then apply a fish-safe waterproofing system in two or three coats. Finish smooth and dark. Concrete is porous and slightly alkaline, so sealing is what makes it safe for koi.
Prepare and seal
Wait for the waterproofing manufacturer's stated cure time, which is often up to 28 days for fresh concrete. Pressure-wash the surface, grind off ridges, fill honeycombs and pinholes, and form a small cove at the wall-floor joint. Check the product data sheet for fish safety, because some coatings are not safe in contact with fish.
Apply three coats with a 24-hour dry time between each, unless the manufacturer says otherwise. Seal around every pipe, drain and the overflow sleeve with the compatible sealant. If you use a liner or fiberglass instead, follow that system's installation method.
Finish for the fish
Fish scrape themselves on rough surfaces, so keep the interior smooth with no exposed aggregate or sharp edges. A dark grey, charcoal or black finish makes fish stand out and hides algae. Seal the coping with a fish-safe sealer, and slope it away from the pond so garden run-off does not enter.
A viewing window needs a specialist specification for glass thickness, recess and sealing. Do not copy glass dimensions from a photograph. Add netting or a raised edge against herons, cats and monitor lizards, and fence the pond if children will be around.
Smooth, dark and fully sealed is the finish that keeps both fish and water healthy.
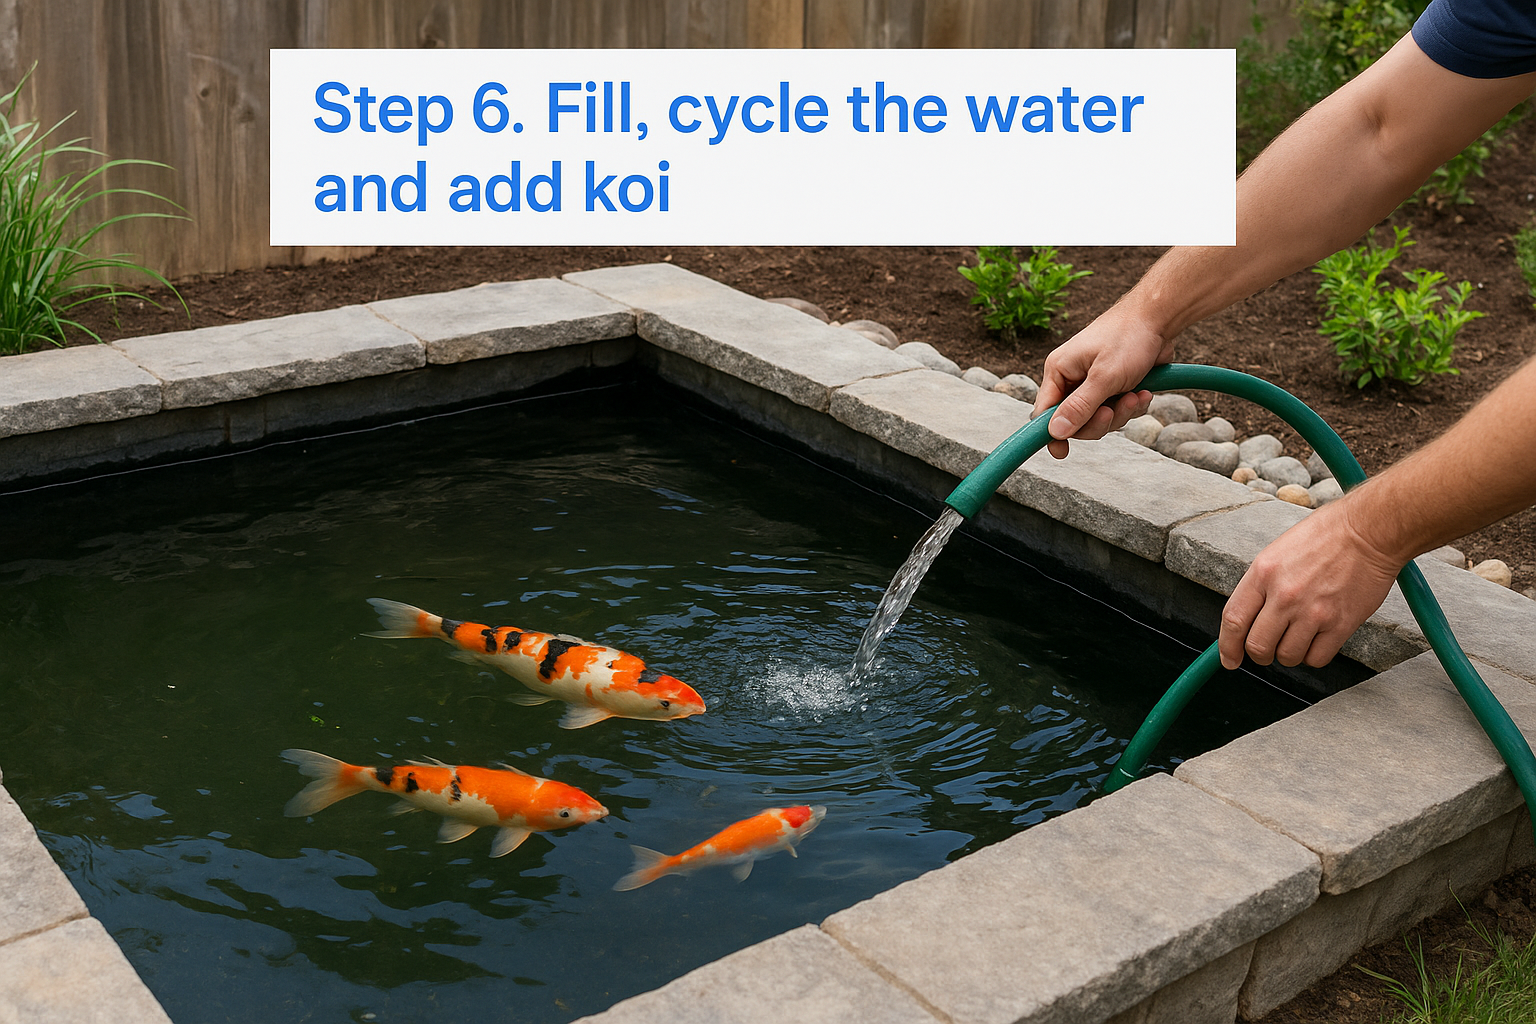
Step 6. Fill, cycle the water and add koi
Flush the new concrete, fill and run the pond for four to six weeks, then add a few koi. Fresh concrete leaches lime, and a new biofilter needs time to grow. Rushing either step is the most common cause of lost fish.
Flush and fill
Fill the pond, let it soak for a few days, drain it and repeat two or three times. Test the pH after each fill. Wait until the pH is below about 8.5 before the final fill. Treat tap water with a dechlorinator, because chlorine harms fish and bacteria.
Cycle and test
Run the pump, filter and UV for four to six weeks. The filter bacteria that process waste need time to establish. A product such as EZ Clean Natural Pond Cleaner can support the biofilter, but it does not replace the cycle.
| Test | Target before adding fish |
|---|---|
| pH | 7.0 to 8.5 |
| Ammonia | 0 ppm |
| Nitrite | 0 ppm |
| KH (buffer) | Above about 70 ppm |
| Water temperature | Below about 30°C |
Clear water does not prove healthy water. Test regularly, and again a day or two after the first fish go in.
Add your first koi
Buy from a koi farm if you can, since fish quality and advice are usually better. Float the sealed bag for 15 to 20 minutes to equalize temperature, then release the fish. Start with a few koi, not the full stock.
Feed small amounts of floating pellets, so you can see exactly what they eat. Inch Gold Three-Color Koi Food is one option in that style. Remove uneaten food after a few minutes, and let the fish load build slowly.
Add fish after the water is ready, not after the concrete is finished.
Build it yourself or hire a designer
Build it yourself if you are comfortable with formwork, steel, plumbing and waterproofing. Hire a designer-builder if the pond is raised, large, near the house or includes glass. Most owners do best with a hybrid, doing the landscaping and the finishing themselves.
What DIY realistically covers
The hardest parts are the formwork, the structural design and the waterproofing. A small, sunken pond is a reasonable DIY project. Anything with a viewing window, a raised wall or a long run of pipe deserves professional input. Hire out the structure and the glass, and do the planting and fish care yourself.
What to ask a designer-builder
Ask for a written scope that covers excavation, structure, pipework, filter, waterproofing, electrics and commissioning. Ask who tests the plumbing, what the coating warranty covers, and what happens if you hit unexpected groundwater.
At Konzept Garden, a RM200 site visit fee is deducted from the final quotation if the project proceeds. A proposal typically follows within four to five days of the visit. Photos and measurements of your site speed things up. If you prefer a ready-designed pond, Zen Bio Koi Pond 1 is RM16,500 with installation included, and transportation is not included. Prices and inclusions can change, so check the product page.
A clear written scope matters more than the lowest price.
Where to go from here
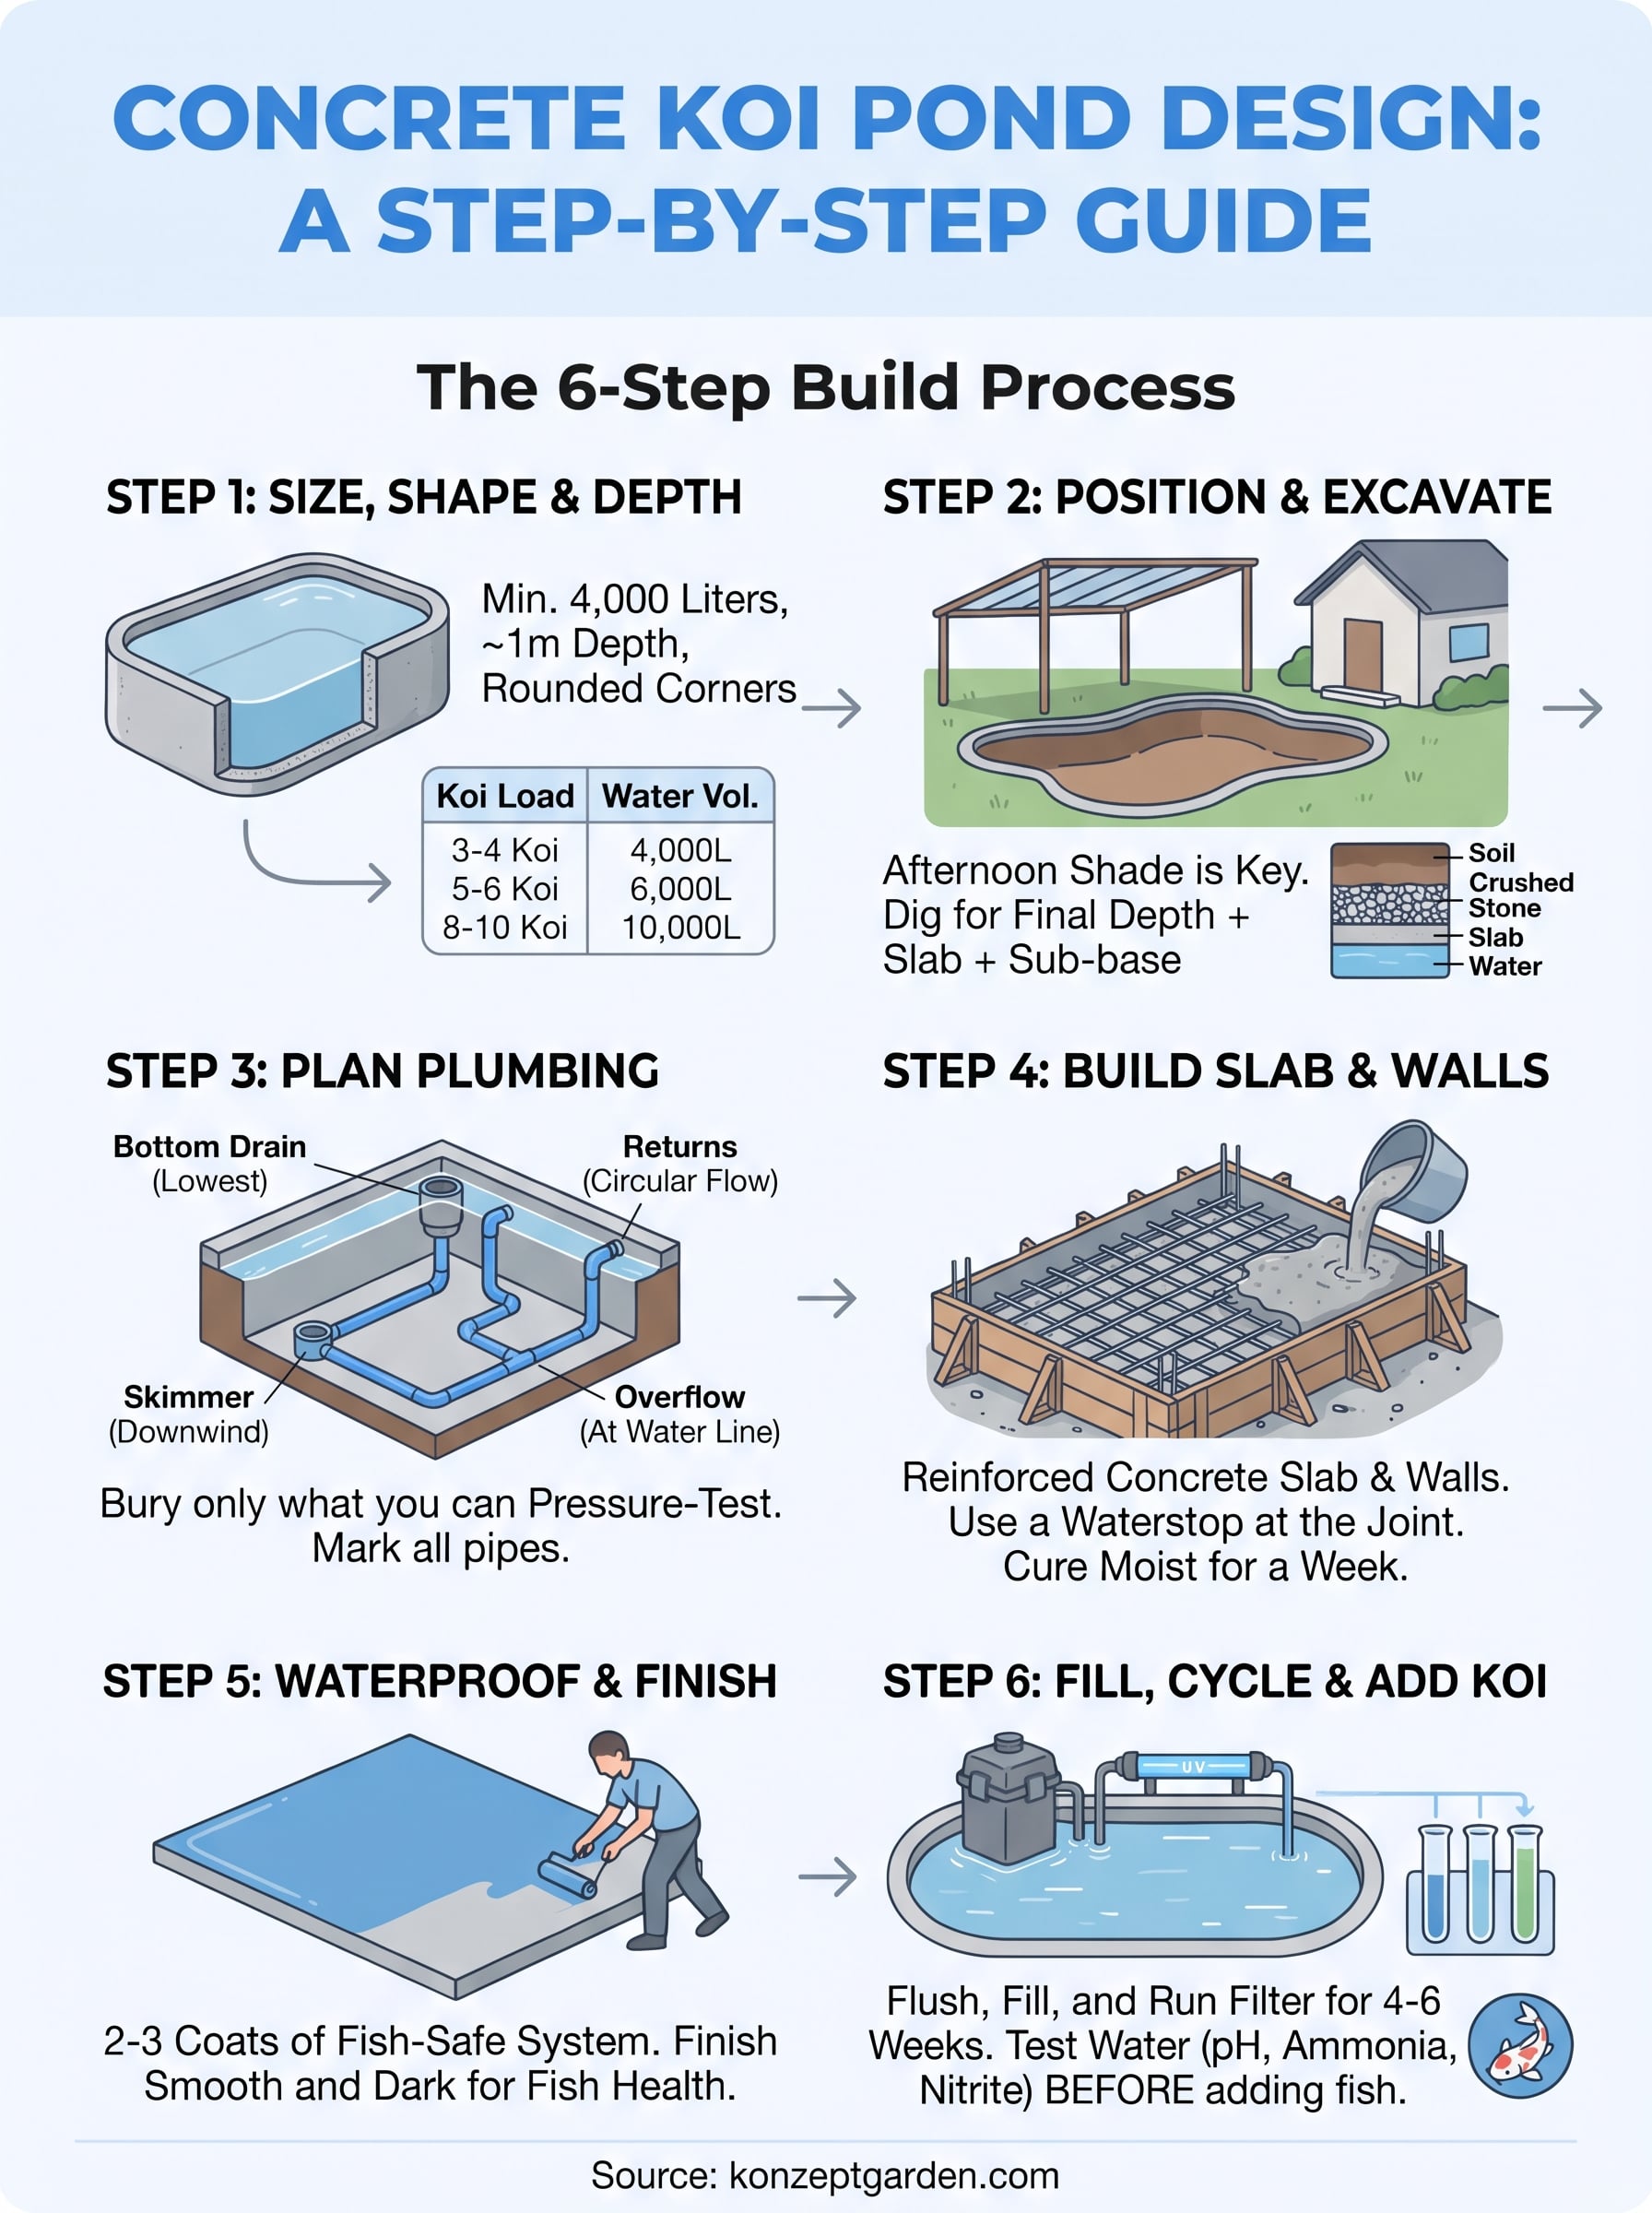
A good concrete koi pond comes down to six decisions made in order: size and depth, site and dig, drains and pipework, reinforced structure, fish-safe waterproofing, and a patient cycle before the fish arrive. Get the buried parts right and the rest is finishing.
If you would rather have an experienced team handle the design and build, talk to the Konzept Garden team about your garden. Send photos and measurements of your space, and we will help you shape a pond that suits your site and your fish.