
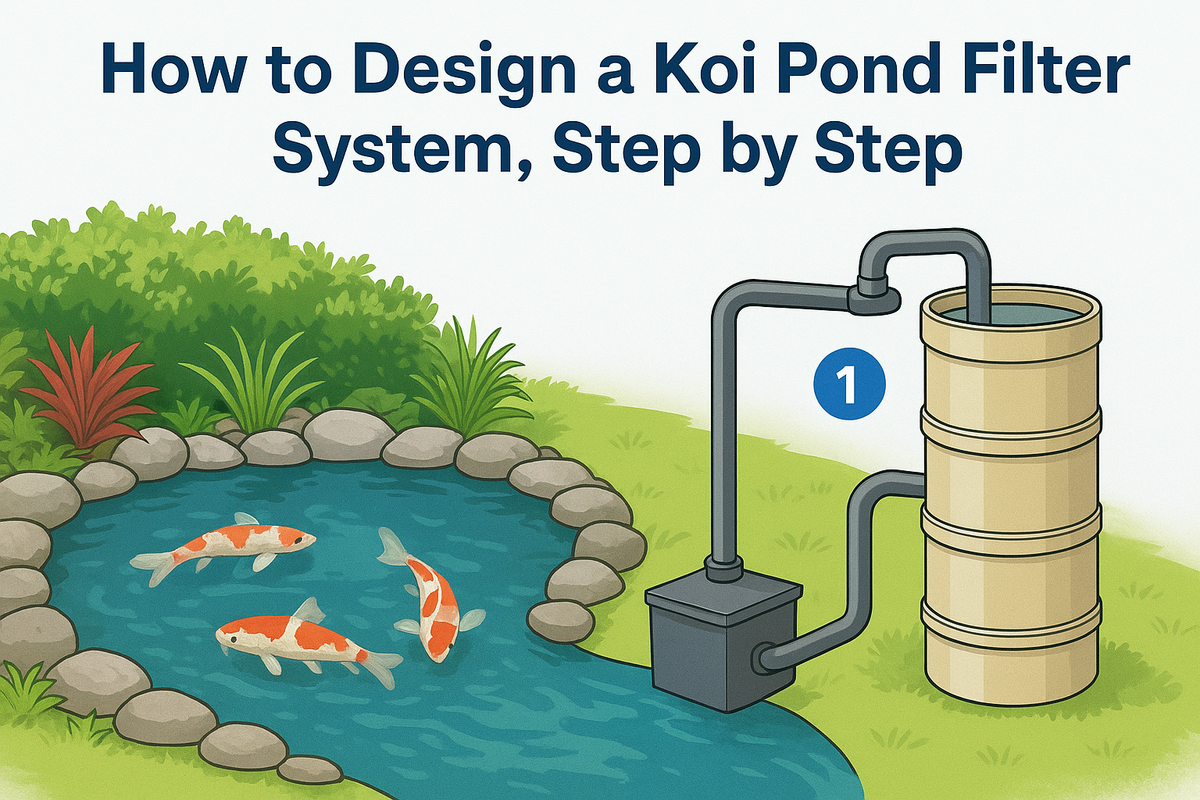
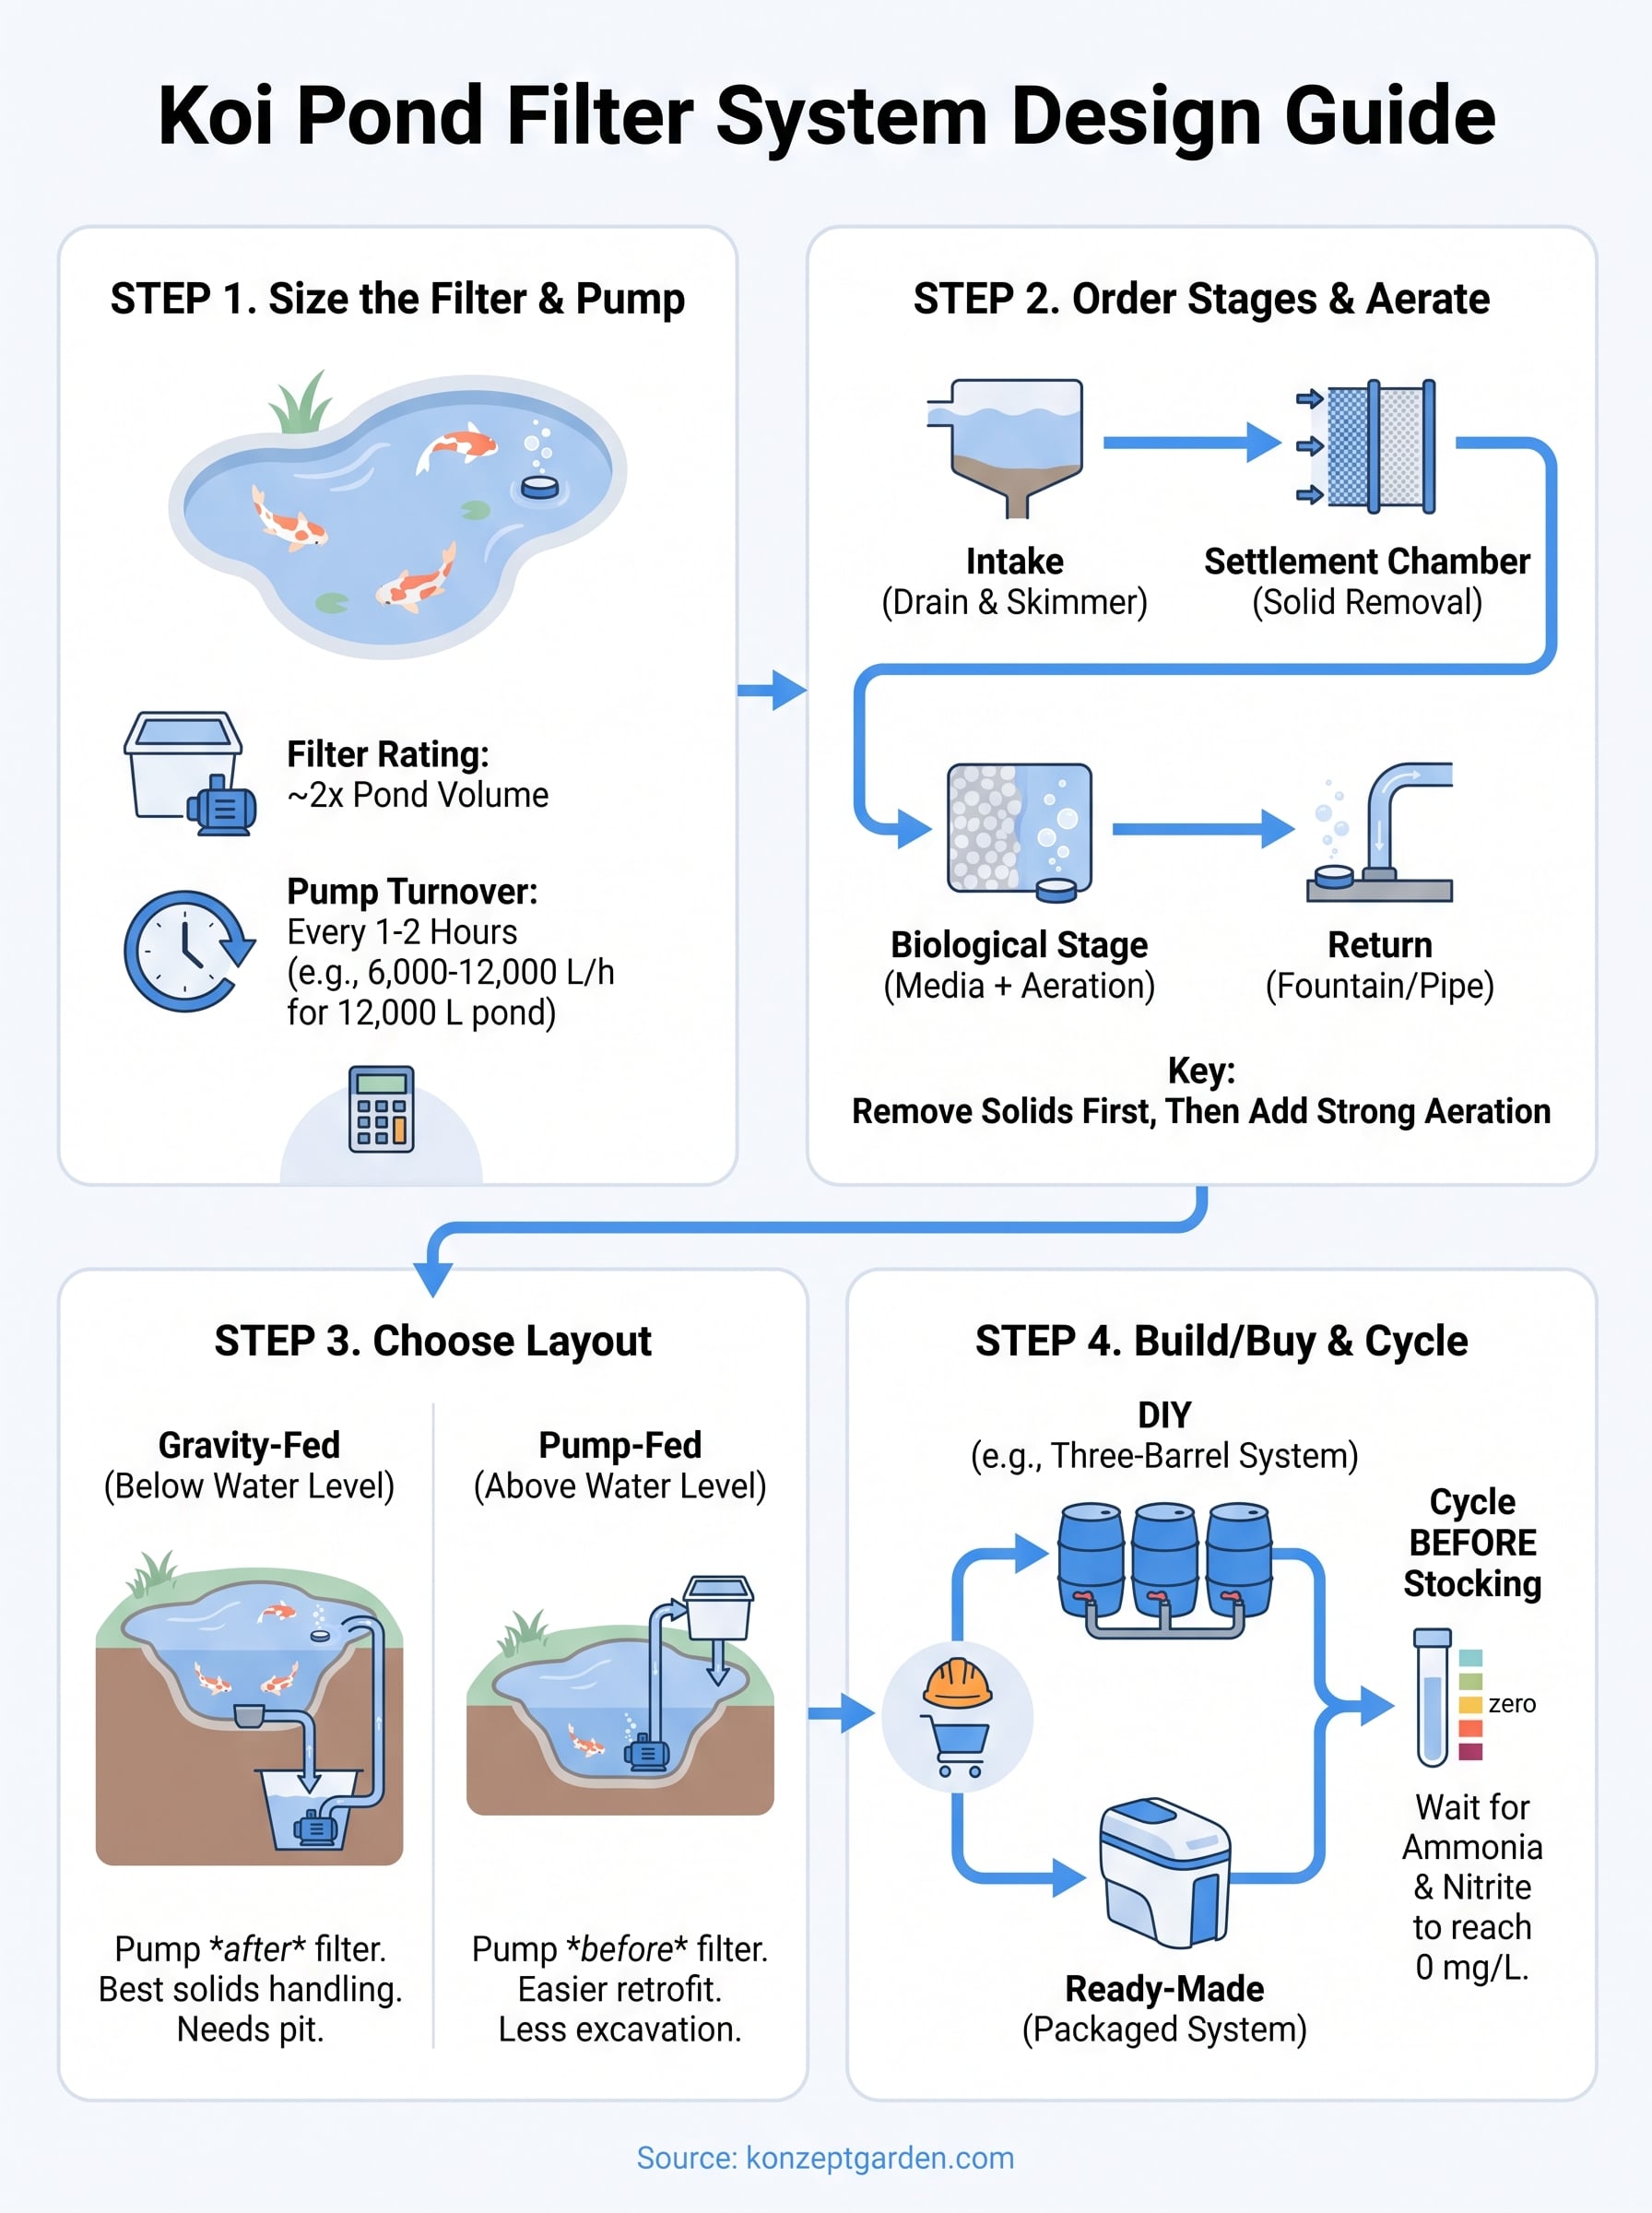
For good koi pond filter system design, start with your pond volume and koi count. Choose a filter rated for about twice the pond's volume, and a pump that turns the water over every one to two hours. Send the water through mechanical filtration first, then biological filtration, and add strong aeration. Feed the filter by gravity or by pump, depending on your site.
Most koi owners learn the hard way that a filter that looks big enough often is not. The water turns green or murky, ammonia spikes after feeding, and fish die in hot weeks. Koi are heavy feeders that produce far more waste than most ornamental pond fish. In Malaysia, warm water adds pressure because it holds less oxygen while fish and bacteria both demand more of it.
This guide covers the design in four steps: sizing the filter and pump, ordering the filtration stages with aeration, choosing between gravity-fed and pump-fed layouts, and building the system yourself or buying it ready-made. At Konzept Garden we design and install koi ponds in Malaysia, so the examples reflect tropical conditions rather than temperate-climate defaults.
Why a koi pond needs a designed filter
A koi pond needs a designed filter because koi eat, excrete and breathe in the same water all day, and nothing in a closed pond clears that waste unless you build the system to do it. A fountain or waterfall alone does not.
What the filter has to do
A koi filter does two separate jobs. Mechanical filtration physically removes solids such as waste and uneaten food before they rot. Biological filtration uses nitrifying bacteria to convert toxic ammonia into nitrite, then into far less harmful nitrate.
Clear water is not the same as healthy water. A screen can leave the pond looking spotless while dissolved ammonia stays in it. If your budget allows only one stage at first, choose biological, then add mechanical as soon as you can.
Clear water only proves that solids are gone, so design the filter around ammonia, not appearance.
Numbers to know before you design
Measure the water volume first: length × width × average water depth, in metres, then multiply the cubic metres by 1,000 to get litres. A 4 m × 2.5 m pond with 1.2 m of water holds 12 m³, or 12,000 L (about 3,170 US gallons). Then count your koi and estimate their adult size, because fish load drives ammonia more than pond size does.
Use these water targets to judge whether the design works:
- Ammonia: 0 mg/L
- Nitrite: 0 mg/L
- Nitrate: below 40 mg/L
- pH: 7.0 to 8.5
- Dissolved oxygen: above 6 mg/L
Finally, note your site. A pond in full sun with water in the high 20s °C needs more aeration and more filter margin than a shaded one. Every step below builds on these numbers.
Step 1. Size the filter and pump
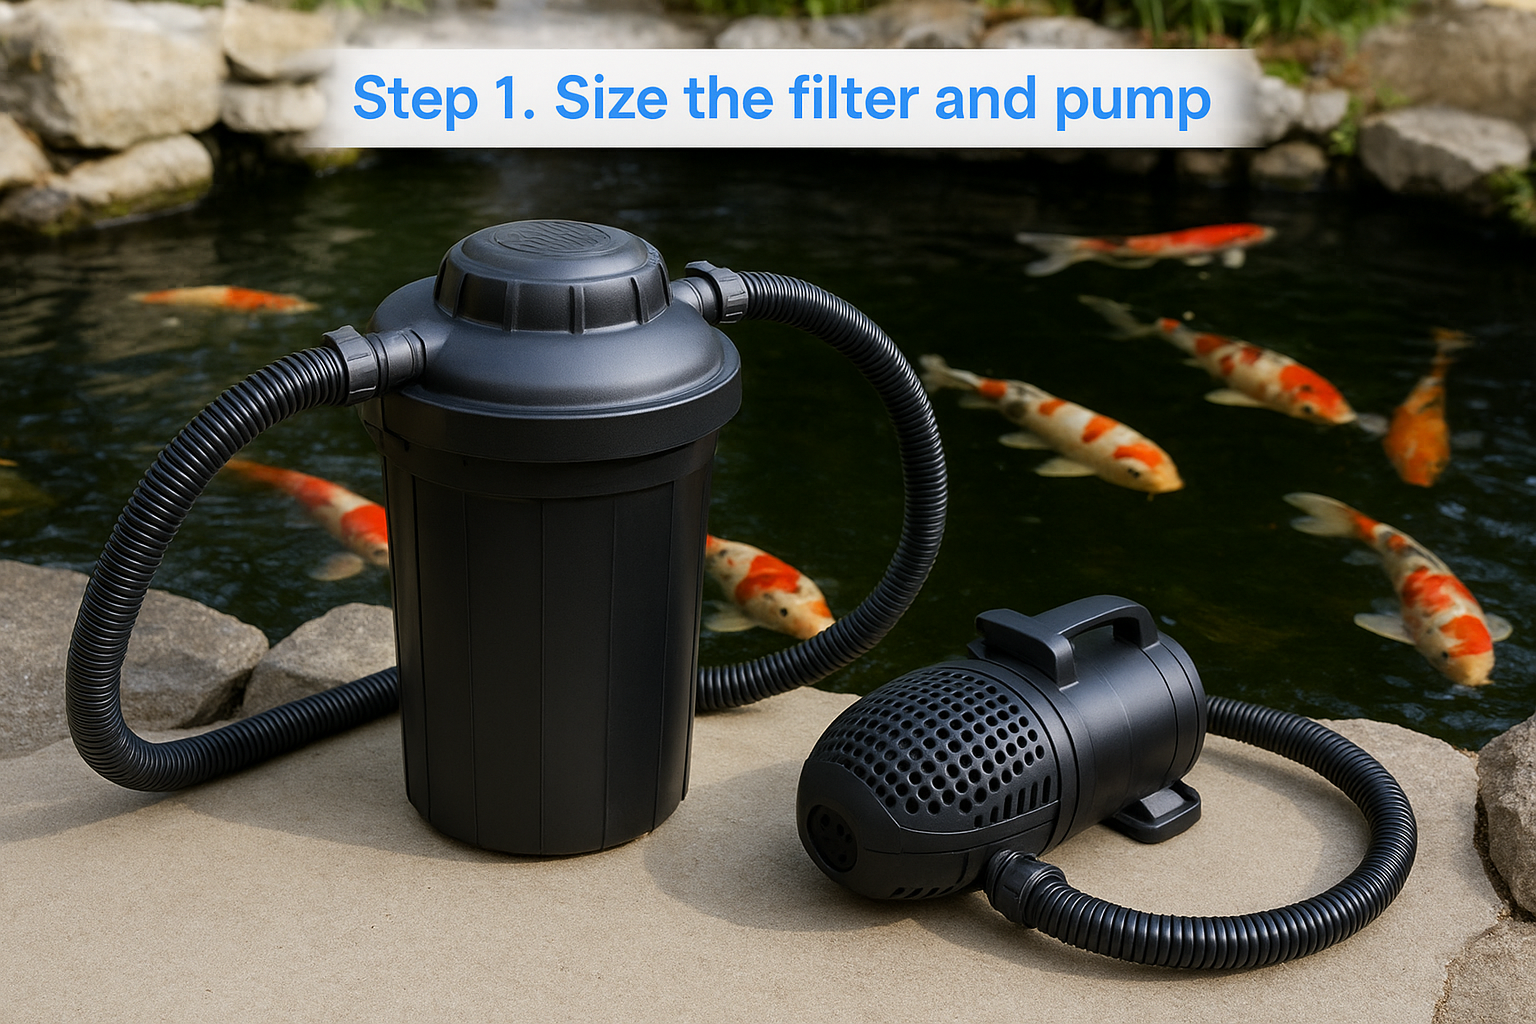
Size the filter to the pond volume and the koi load, then size the pump to move the whole pond through it every one to two hours. Published rules differ, so use them as a range and lean toward the larger figure.
Set the filter rating
Koi specialists commonly recommend a filter rated for double the pond volume. Others accept 150%. Every source agrees that oversizing a koi filter does not hurt, while undersizing does. Heavier stocking or heavy feeding pushes you to the top of the range.
| Guideline | Your 12,000 L pond |
|---|---|
| Filter rated for 150% of volume | 18,000 L |
| Filter rated for 200% of volume | 24,000 L |
| One full turnover per hour | 12,000 L/h |
| One full turnover per two hours | 6,000 L/h |
Match the pump to real conditions
Read the pump's flow at your actual lift, not the headline number on the box. Flow drops as water is pushed higher, through longer pipes and past more elbows. For the example pond, aim for 6,000 to 12,000 L/h delivered at the filter, and take the higher end if you keep many koi.
A common guideline is roughly 1,000 L of water per adult koi. That puts this pond at about 12 fully grown fish. Go beyond that and you need a bigger filter and more aeration, not just a stronger pump.
Rate the filter at twice the pond volume and turn the water over at least every two hours.
Step 2. Put the stages in the right order
Put the stages in this order: intake, solids removal, biological media, then the pump or return. Solids must leave the water before they reach the bacteria, because buried media loses its oxygen and stops working.
Build the sequence
Follow this order:
- Intake: Take about 70% of the flow from a bottom drain and about 30% from a surface skimmer. The drain pulls waste off the floor, and the skimmer removes leaves and floating food.
- Settlement chamber: Let heavy solids drop out, with a valve to drain them. Sludge you drain never reaches the media.
- Mechanical stage: Use a sieve, a rotating drum filter, brushes or mats to catch fine particles. A drum or sieve with a 200 to 300 micron screen gives very clear water and can run automatically. Avoid sand filters, which clog quickly on koi ponds.
- Biological stage: Use media with large surface area that resists clogging, such as filter mats, brushes, bio balls or moving-bed media.
- UV clarifier (optional): This clears green water, but it supports the filter and does not replace it.
- Return: Send the cleaned water back through a fountain, waterfall or return pipe.
Remove solids before the bacteria, because clogged media suffocates the bacteria that protect your koi.
Add aeration
Nitrifying bacteria need oxygen, and so do your koi. A waterfall alone is usually not enough, so add an air pump with air stones in the pond and in the biological chamber. In Malaysia's heat, treat aeration as a core part of the design.
Choose an air pump with spare capacity and run it around the clock. Make sure the filter can lose its main pump without losing its air supply, since a power cut with no oxygen is when koi die.
Step 3. Choose gravity-fed or pump-fed
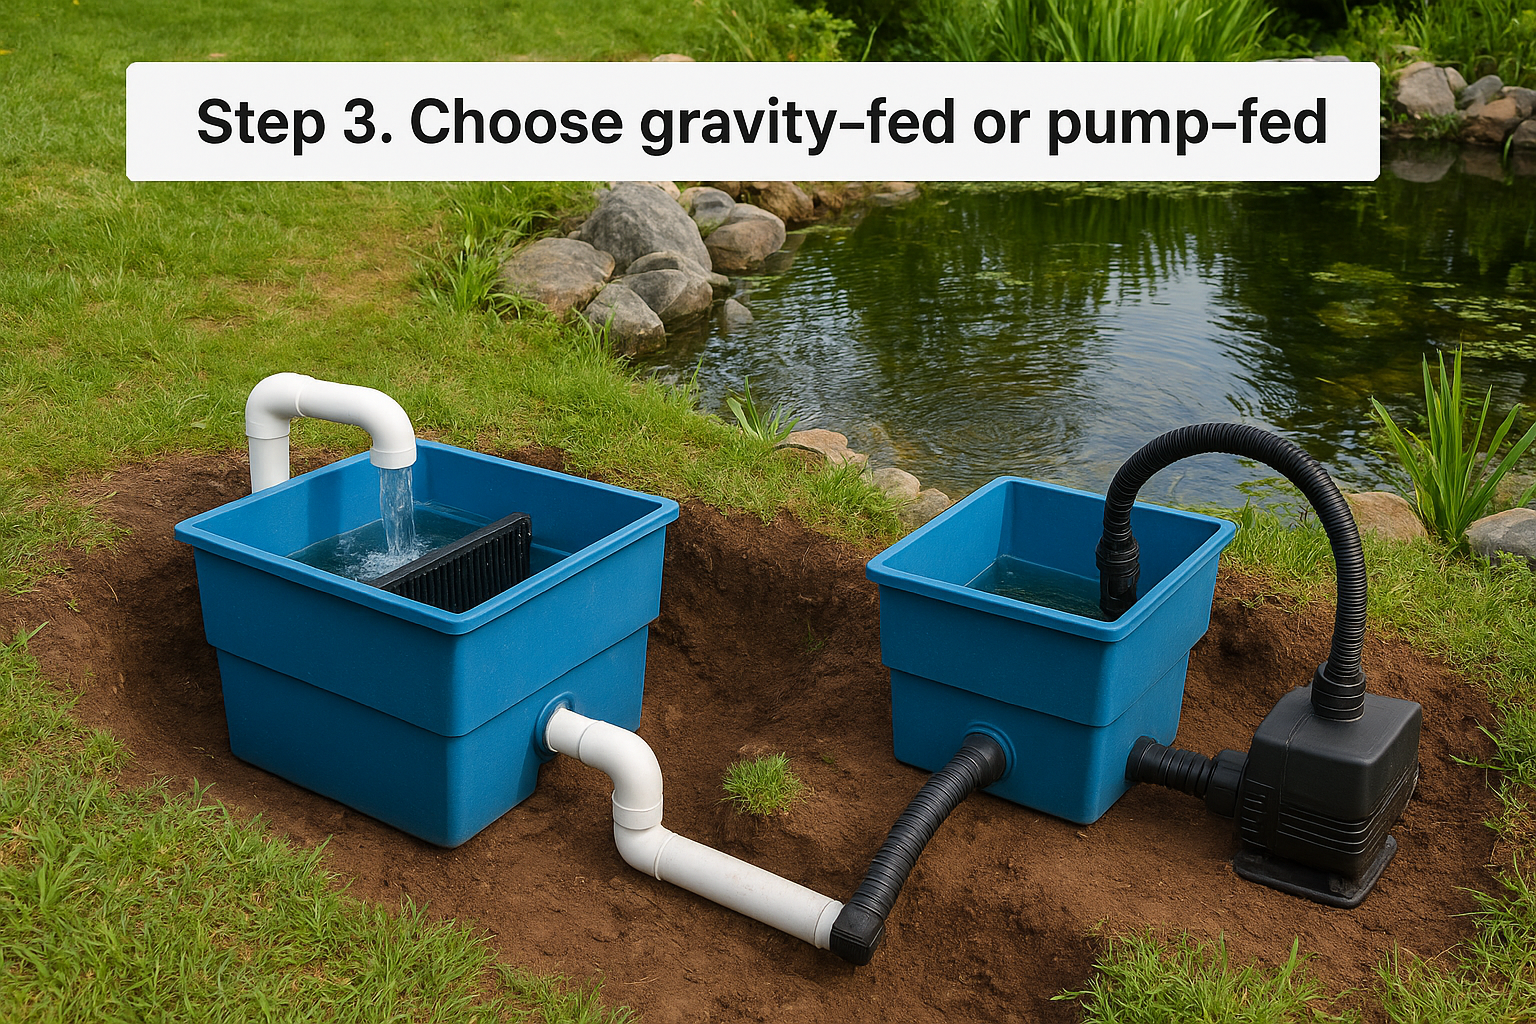
Choose gravity-fed if you can place the filter lower than the pond's water level, and pump-fed if you cannot. Both can give excellent water, and the difference is where the pump sits and how gently solids reach the filter.
Compare the two layouts
In a gravity-fed system, water flows out of the bottom drain by gravity through the filter stages, and a pump at the end returns it to the pond. In a pump-fed system, a pump in the pond or skimmer pushes water up into the filter, and the water flows back by gravity.
| Feature | Gravity-fed | Pump-fed |
|---|---|---|
| Pump position | After the filter, in a pump chamber | Before the filter, in the pond or skimmer |
| Solids handling | Reach the mechanical stage unbroken | Pass the impeller first, unless pre-screened |
| Filter location | Below pond water level | Can sit at or above pond level |
| Best for | New builds with a bottom drain | Retrofits and small to mid-size ponds |
| Space needed | More excavation and plumbing | Less excavation, easier to hide |
Decide for your site
Gravity-fed designs suit new builds where you can dig a filter pit and plumb a bottom drain. They handle solids best and are easier to keep clean. Pump-fed designs suit existing ponds, tight gardens and raised ponds, where excavating is impractical.
Think about Malaysian conditions either way. Heavy downpours can overwhelm a pond, so plan an overflow route away from the filter. Shade the filter and pump from the sun, and provide a dry, covered power point.
If you can dig a filter pit below the water line, gravity-fed gives the cleanest handling of solids.
Step 4. Build it, DIY or ready-made
You can build a working koi filter from food-safe containers for a modest cost, or buy a ready-made pond with the filter included. Either way, the design rules from Steps 1 to 3 still apply.
Build a three-barrel DIY filter
A three-barrel bio filter is the usual DIY route. One reference build uses roughly 15-gallon containers with K1 media, which only suits a small pond, so scale the barrel size to your flow. Follow these steps:
- Barrel 1, settlement: Feed water in at an angle so it spins and solids sink. Fit a drain valve at the bottom.
- Barrel 2, mechanical: Fill it with filter brushes or mats to catch fine particles.
- Barrel 3, biological: Fill it up to about half with moving-bed media and add air stones so the media tumbles.
- Plumbing: Connect with bulkhead fittings, using oversized pipes, few elbows, and each outlet slightly lower than the last barrel.
- Return: Send the water to the pump and back to the pond.
Use only food-safe, UV-stable containers that never held chemicals.
Choose ready-made and cycle the system
If you would rather not build, a packaged pond already pairs the pump, filter and installation. Konzept Garden's Zen Bio Natural Koi Pond 1 (244 × 152 × 46 cm, RM6,950) includes a layer fountain, pump, UV light and canister filter. The larger Zen Bio Koi Pond 1 (325 × 132 × 92 cm, RM16,500) includes two layer fountains, a pump, a UV light, bio ring and installation. Transportation is not included on either. Ask for the filter's rated volume and the pump's flow, then check them against Step 1.
Whichever route you take, cycle the filter before stocking. Add beneficial bacteria, test ammonia and nitrite every day or two, and add koi gradually once both read zero, which typically takes several weeks. Afterward, clean mats only when they clog or water quality slips, and rinse them in pond water, since chlorinated tap water can harm the bacteria.
Never stock a new filter fully until ammonia and nitrite both read zero.
Build it once, then test it
A good koi filter design comes down to four decisions. Size the filter at twice the pond volume. Turn the water over every one to two hours. Remove solids before the bacteria. Keep the oxygen supply strong, especially in Malaysia's heat. Pick gravity-fed or pump-fed to suit your site, then cycle the system before you add fish.
If you would rather have a team handle the design and installation, you can look at the Zen Bio Koi Pond range and see what package fits your space and koi plans.


