
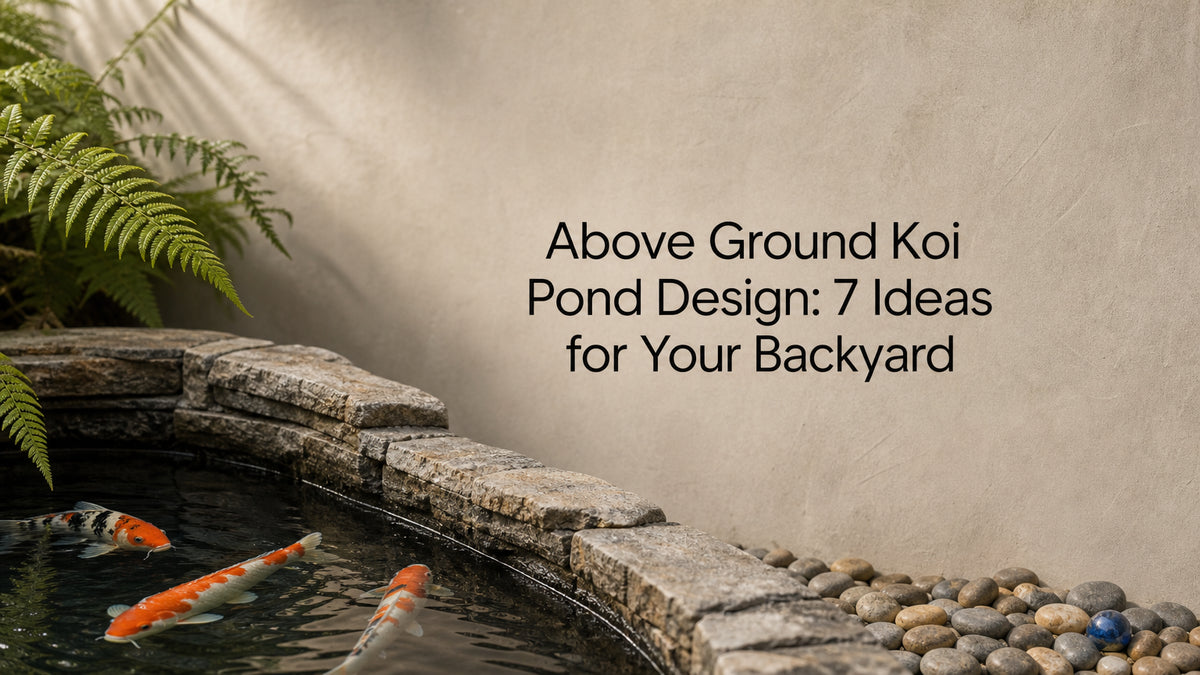
The best koi pond design above ground gives your fish at least 90 cm of water depth, strong filtration with a way to remove waste, and walls that can carry several tonnes of water. Choose a semi-raised pond with a seating edge if you want to sit beside your koi. Choose a ready-made installed pond if you want a finished result with little fuss. Choose a block or rock-faced build if you want curves and a landscaped look.
Most Malaysian backyards have tiled or concrete ground, buried pipes and limited space, so a deep hole is often not an option. A raised pond solves that, but the wrong shape or too little depth leads to cloudy water, stressed fish and expensive rebuilds. The designs below avoid those problems.
This article walks through seven designs and compares each on how it works, who it suits and what to watch for. It then covers the depth, filtration and siting rules that apply to every raised pond. Konzept Garden designs and installs koi ponds across Malaysia, so the advice here comes from real pond work.
1. Zen Bio koi pond with landscape
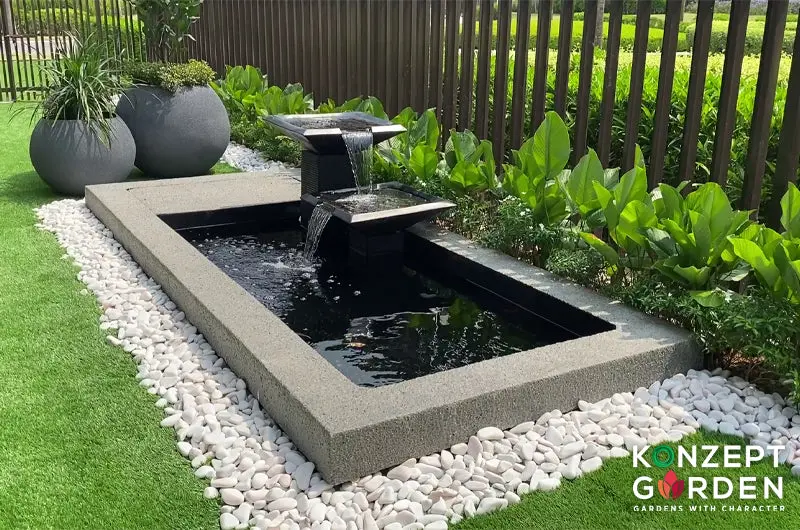
Konzept Garden's Zen Bio range is the easiest route if you want a finished pond instead of a building project. You pick a size, and the team installs the pond with its equipment.
How it works
Each Zen Bio pond is a complete system that the Konzept Garden team installs for you. The price covers a layered fountain, a pump, pebbles and starter beneficial bacteria. Depending on the model, it also covers a UV light and either a bio ring or a filter unit. The Mini and Natural models add free landscaping with stepping stones and plants on the ground.
| Model | Size (cm) | Size (ft) | Price (MYR) |
|---|---|---|---|
| Zen Bio Mini Natural Koi Pond 1 and 2 | 213 x 122 x 46 | 7' x 4' x 1.5' | 5,950 |
| Zen Bio Mini Koi Pond | 213 x 122 x 46 | 7' x 4' x 1.5' | 6,650 |
| Zen Bio Natural Koi Pond 1 | 244 x 152 x 46 | 8' x 5' x 1.5' | 6,950 |
| Zen Bio Natural Koi Pond 2 | 244 x 152 x 92 | 8' x 5' x 3' | 8,750 |
| Zen Bio Koi Pond 1 | 325 x 132 x 92 | 10.6' x 4.3' x 3' | 16,500 |
| Zen Bio Koi Pond 2 | 419 x 175 x 92 | 13.7' x 5.7' x 3' | 21,950 |
Who it suits
This option suits homeowners who want a koi pond on a terrace, patio or tiled yard without managing builders, plumbers and a landscaper separately. The compact models fit a corner of about 10' x 7' including landscaping. If you want a natural, planted look around the water, the Natural line is the better match.
Depth decides which koi the pond can hold. The 46 cm models suit a handful of small koi, and you should expect to size up or rehome fish as they grow. The 92 cm models give adult koi far more room. The two largest models suit open gardens, and the Zen Bio Koi Pond 1 needs at least 13.6' x 7.3' with landscape.
A ready-made pond removes the plumbing guesswork, but the depth you pick decides which koi it can hold for years.
Cost and watch-outs
Know what the listed price leaves out before you compare it with a build-it-yourself quote. These are the points to check:
- Installation is included, but transportation is not.
- Hacking tiles and concrete costs extra.
- The pond needs two plug points nearby.
- Konzept Garden charges a RM200 site visit fee, which is deducted from the final quotation if you proceed.
- The team asks for photos and measurements of your site to prepare the quotation.
Ask during the visit how much of the pond wall will stand above your finished floor level. That tells you whether it reads as a raised pond in your space. You can see each model on the Zen Bio koi pond page.
2. Semi-raised pond with a seating edge
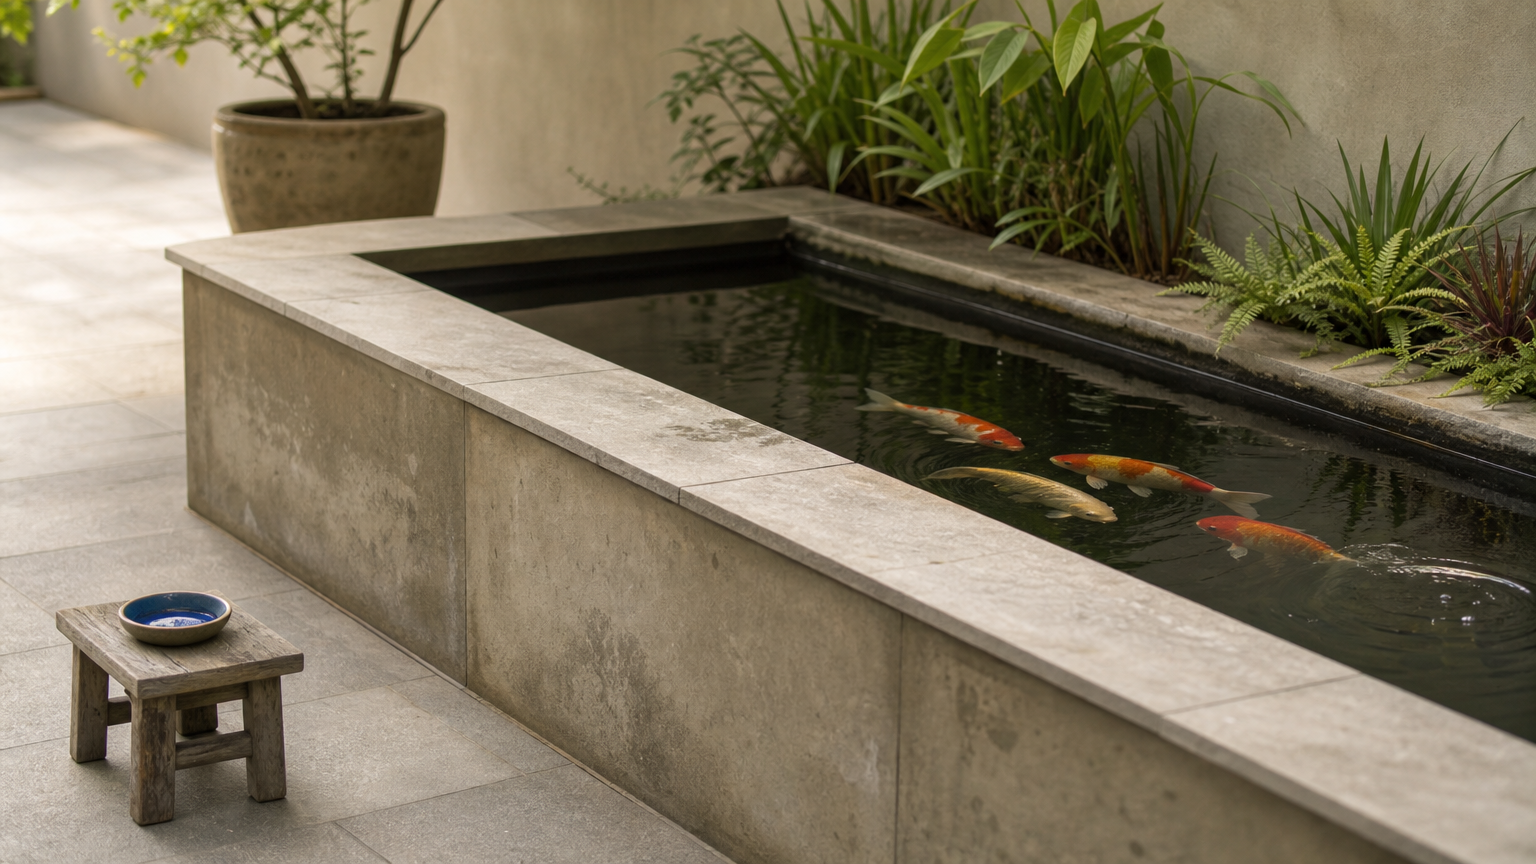
A semi-raised pond sinks about two thirds of its depth below ground and lifts the rest above it. You get real depth without a deep excavation, and you get a ledge to sit on.
How it works
One well-documented example is a 6' x 12' rectangular pond that is 4.5 ft deep in total, with 3 ft below ground and 1.5 ft above ground. The raised part is about 45 cm, which happens to be a comfortable seat height. Finish the top of the wall with a wide cap and you can sit at the water's edge.
The wall holds back the earth behind the liner. Dig the hole about 30 cm larger than the finished pond in every direction, so you have room to build the wall and run pipes.
Who it suits
This design suits gardens with soil where some digging is possible. It is the best fit if you want to feed and watch your koi from arm's length instead of standing over them. Fish that come to the edge are easier to inspect for injuries too.
It also helps where full depth is impossible. In the example above, a sewer line under the pond stopped the builders from going deeper, so they raised part of the walls instead. Pipes, tank covers and tiled slabs can cause the same limit in a Malaysian yard.
Raise the wall instead of digging deeper when something buried stops you, and you keep the water depth your koi need.
Cost and watch-outs
The main cost is excavation. A small excavator rental makes the work easier, and much of the soil can be reused for a planting bed beside the pond. Confirm where underground pipes and cables run before you dig.
Compaction matters more than most owners expect. Thousands of kilograms of water press on the soil under and around the pond, so compact every layer as you backfill. Poor compaction leads to settling, and fixing a settled pond means draining it.
3. Timber box pond with a cap board
A treated-timber box is one of the quickest and lowest-cost ways to build the walls of a raised pond. It suits straight-edged, rectangular designs.
How it works
Think of it as a large box. The example above used 6 posts of 4" x 4" x 8' and 30 boards of 2" x 6" x 12' for a 6' x 12' pond that is 4.5 ft high. The posts sit at the corners and the middle of each long side, in holes 18" deep and 12" wide filled with concrete.
The main steps are:
- Mark the pond outline at actual size on the ground.
- Dig the hole about 30 cm larger on every side.
- Set the posts in concrete and let it cure overnight.
- Screw the boards to the posts, ten boards high.
- Lay pipes before you backfill the gap outside the walls.
- Line the inside with foam, underlayment and a fish-safe liner.
Who it suits
Timber suits hands-on owners who want a clean, modern rectangle. It is also a fair choice if you plan to add stone cladding or a bench later. Plan every pipe route before the boards go up, because cutting holes for the skimmer and returns is simpler in bare timber than later.
A 12 mm foam sheet inside the walls protects the liner from splinters and steadies the water temperature. It also softens vibration, so koi are less startled when someone knocks the wall. For a pond that sits fully above ground, that padding is worth the small cost.
Cost and watch-outs
Timber cannot make curved walls, so choose another material if you want a freeform shape. Use stainless steel screws, because most of them end up underground and ordinary screws corrode. In Malaysia's humidity, ask your supplier about termite treatment and use properly treated, ground-contact timber.
Finish the top with a cap that is safe for koi and comfortable to touch. Composite deck boards work well, whereas treated lumber should stay behind the liner.
4. Curved concrete block pond
Concrete blocks let you build curved walls, taller walls and a heavier structure than timber can give. This is the design for an organic shape that is fully above ground.
How it works
Block walls rise from a solid footing. You then finish the outside with render, tile or stone, and seal the inside to hold water. The three common sealing options are a rubber liner, a sprayed polyurea coating and waterproofed concrete. Of the three, liner is usually the most cost-effective.
Plan the plumbing before the first block goes down. The bottom drain, skimmer and return lines should be built into the structure, because retrofitting them later means cutting into finished walls.
Who it suits
This design suits owners who want a pond that matches the house, such as walls tiled in the same finish as the patio. It also suits large koi ponds where walls above ground need to be tall. Curves help water circulate smoothly, which keeps waste moving toward the drain.
A curved pond looks best in an open space where you can walk around it. In a narrow side yard, a straight wall usually works better and wastes less space.
Block gives you freedom of shape and height, but it asks for a proper footing and a plan for the pipes before building starts.
Cost and watch-outs
Expect more labour and more curing time than a timber box. The footing must be designed for the full load of the water, so involve a contractor or engineer who understands pond loads. Water at a 90 cm depth weighs close to a tonne for every cubic metre.
Keep the inner surface smooth. Rough block faces, exposed edges and sharp render can scrape koi, so line or coat the whole inside before filling.
5. Rock-faced raised pond
A rock-faced pond hides a plain structural shell behind natural-looking stone. It gives a raised pond the feel of a rocky stream bank, which suits tropical planting.
How it works
The structure underneath can be block or timber. Fix metal lath to the outside, then press cultured stone into a layer of mortar and hold each piece for about 30 seconds until it grips. Seal the stone when you finish. Keep the mortar firm, because runny mortar lets the stones slide.
The stone stays on the outside. Inside, the water is held by a smooth liner or coating. Konzept Garden's best-selling koi pond is the Himalaya Rock fish pond, which follows this rock-feature idea. The Himalaya Rock koi fish pond page shows the current design.
Who it suits
This option suits owners who want the pond to look like part of the landscape instead of a tank on the patio. It pairs well with ferns, palms and other lush planting around the base. It also gives a fully raised pond a softer silhouette.
If your home is modern and minimal, a rock face can feel busy. In that case, a clean rendered block pond usually looks more at home.
Cost and watch-outs
Stone cladding adds visible cost and real weight, so the wall and footing must be sized for it. Keep sharp rock and heavy loose stones out of the water itself, because they trap waste and can injure fish. Smooth pebbles on the floor are a different matter, and several Zen Bio models include them.
Wet stone will grow moss and algae over time. Many owners like that natural look, but plan a stiff brush for the parts you want to keep clean.
6. Raised pond with a viewing window
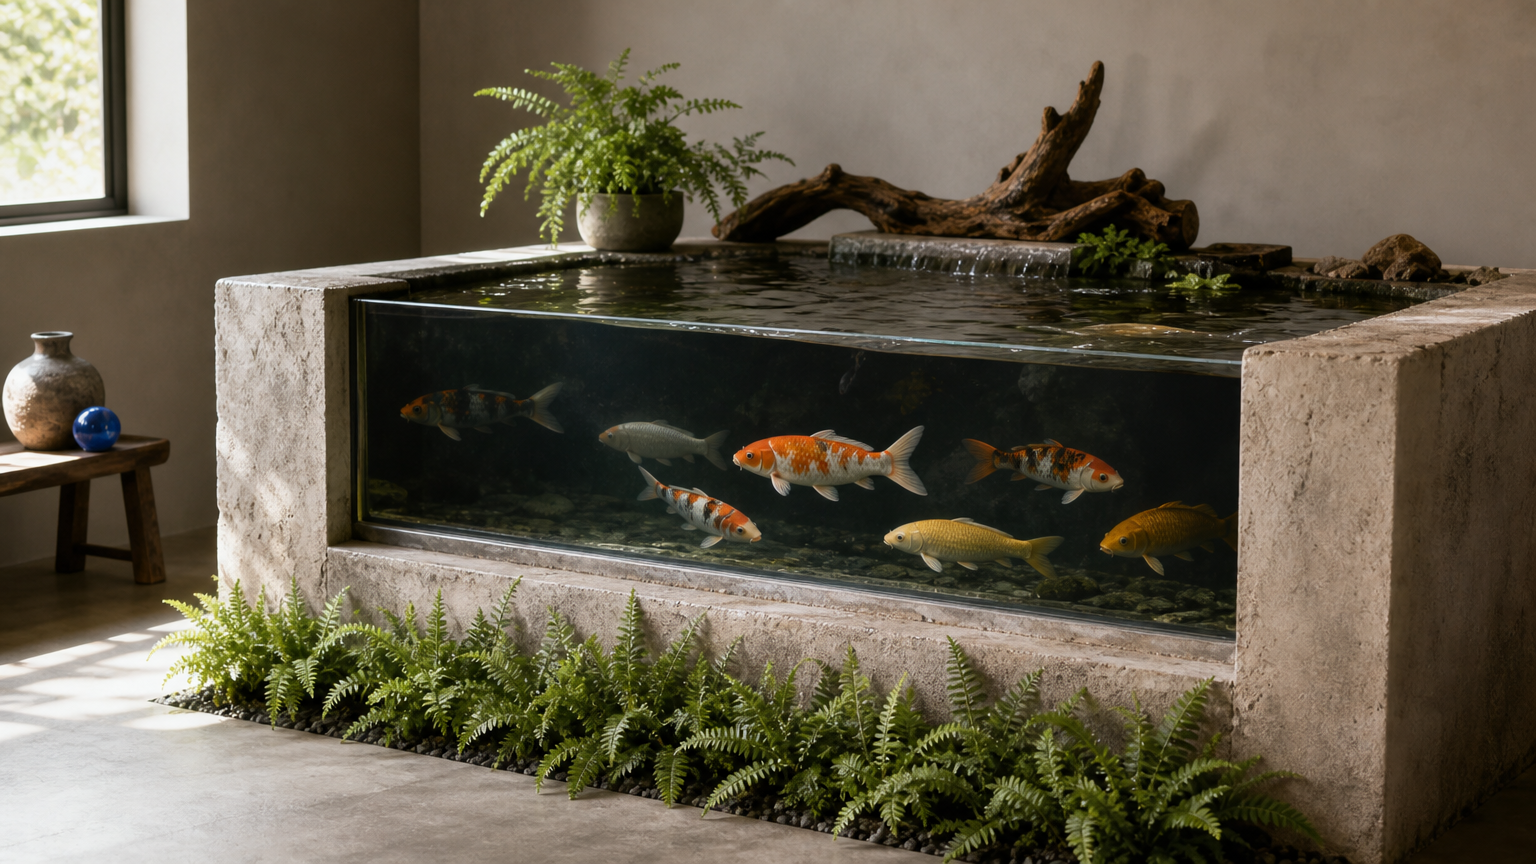
A viewing window lets you watch koi from the side at eye level. It is one of the best ways to enjoy a pond whose water sits above ground.
How it works
A thick panel of acrylic or glass is set into the pond wall. It has to be engineered for the pressure of the water behind it, and that pressure rises with depth. The surrounding wall needs reinforcement, and the seals must stay watertight for years.
This is not a part to improvise. Ask a pond builder or panel supplier to specify the thickness, the support and the sealing method for your exact pond depth.
Who it suits
Koi keepers who care about colour, pattern and body shape will value the side view most. Looking through a window shows you how a fish swims and how it carries itself. Children also enjoy it, because they can see the fish without leaning over the water.
It works best on a pond with strong filtration and clear water. A cloudy pond makes the window pointless.
Cost and watch-outs
The window is the most expensive part of this design, so get a written specification and quote before you commit. Leaks are hard to fix once the pond is full, so test the fit and seal on a partly filled pond first.
Algae can build on the inside of the glass, particularly where sunlight hits the window. Position it on the shaded side if you can. Keep a soft pad or a long-handled brush on hand for cleaning.
Treat the window as an engineered component, not a decoration, and buy it with a written specification for your pond depth.
7. Raised pond with a waterfall and bog filter
A bog filter beside a raised pond filters the water with plants and returns it through a waterfall. It is the most natural filtration option on this list.
How it works
A bog filter is a separate gravel bed beside the pond. Water is pumped through vented pipes under the gravel, and the plants, once established, strip nutrients from it. The cleaned water then returns to the pond, often over a waterfall. A valve on the pipe lets you control the flow so you do not overload the bed.
A raised pond makes this easy. Build the bog bed at a similar or higher level, and the water falls back to the pond with no extra plumbing.
Who it suits
This design suits owners who want a quieter, plant-rich pond and have the space for a second bed. It also solves a common problem. Koi eat and uproot plants, so planting inside the pond rarely works. A separate bog bed keeps the plants safe and still lets them clean the water.
Plan the bed from the start, even if you build it later. Leave enough room beside the pond for the bed and the return route.
Cost and watch-outs
The extra cost is space, gravel, plants and a pump to feed the bed. A bog filter also takes time to mature, so water quality improves over weeks as the plants establish.
For a heavily stocked pond, combine the bog with a bottom drain and a mechanical filter. The bog improves the water, but it does not remove solid waste from the pond floor. Trim the plants regularly, and take out what you cut so it does not rot in the bed.
Depth, filtration and siting rules for any raised koi pond
Whatever design you choose, three things decide success: enough depth and structure, filtration that removes waste, and a site you can live with. Get those right and the shape is a matter of taste.
Depth, volume and structure
Aim for 90 to 120 cm of depth. Koi will live in shallower ponds, but they outgrow them, and Japanese koi can grow past 60 cm in length. For a raised pond, depth is the part below ground plus the wall above it.
Water weighs about 1 kg per litre, so volume tells you the load. This table shows the brim volume of four Zen Bio sizes. Real volume is lower, because the water level sits below the rim and corners are rounded.
| Pond | Calculation | Brim volume | Water weight |
|---|---|---|---|
| Zen Bio Mini (213 x 122 x 46 cm) | 2.13 x 1.22 x 0.46 m | about 1,200 L | about 1.2 tonnes |
| Zen Bio Natural 2 (244 x 152 x 92 cm) | 2.44 x 1.52 x 0.92 m | about 3,400 L | about 3.4 tonnes |
| Zen Bio Koi Pond 1 (325 x 132 x 92 cm) | 3.25 x 1.32 x 0.92 m | about 3,950 L | about 3.9 tonnes |
| Zen Bio Koi Pond 2 (419 x 175 x 92 cm) | 4.19 x 1.75 x 0.92 m | about 6,750 L | about 6.7 tonnes |
Even the smallest pond holds more than a tonne, so build on a firm, compacted or reinforced base.
Work out your pond's weight first, because the wall and base must carry it before anything else matters.
Filtration and circulation
Koi produce far more waste than goldfish, and poor water quality is the most common reason a pond fails. A reliable setup has four parts:
- A bottom drain that pulls waste from the lowest point.
- A skimmer that takes leaves and debris from the surface.
- A filter, such as a settling chamber followed by a media bed, or a bog filter.
- A UV light for green water, and an air pump for oxygen.
Raised ponds have an advantage. Because the pond sits above ground, the drain can feed a filter placed lower beside it by gravity. Slope the pond floor toward the drain, and place the water returns so the water circulates in a slow circle that carries waste to the centre.
Siting, safety and tropical conditions
Put the pond where you can see it from a window or sit beside it. A pond at the far end of the garden gets visited less, and problems go unnoticed. To test a shape, lay a hosepipe on the ground and adjust it until it fits the space.
Malaysian conditions add three points. Give the pond partial shade, because warm water holds less oxygen and strong sun speeds up algae, and run an air pump on a timer or continuously. Provide an overflow for heavy rain. Moving water and fish help limit mosquito breeding, but still cover or net any open sump. Have a licensed electrician supply protected, weatherproof sockets, and keep wall height and edges in mind if children visit.
Choose the design, then plan the water
Pick the design that matches your space and how you want to use the pond. A semi-raised seating edge, a timber box, a curved block wall, a rock face, a viewing window and a bog-fed waterfall all work. A ready-made Zen Bio pond is the quickest route to a finished result.
Whichever you choose, protect the basics: 90 cm or more of depth where possible, a base that carries the water, and filtration that moves waste out of the pond. To see which option fits your yard, talk to the Konzept Garden team and send photos and measurements of your site.