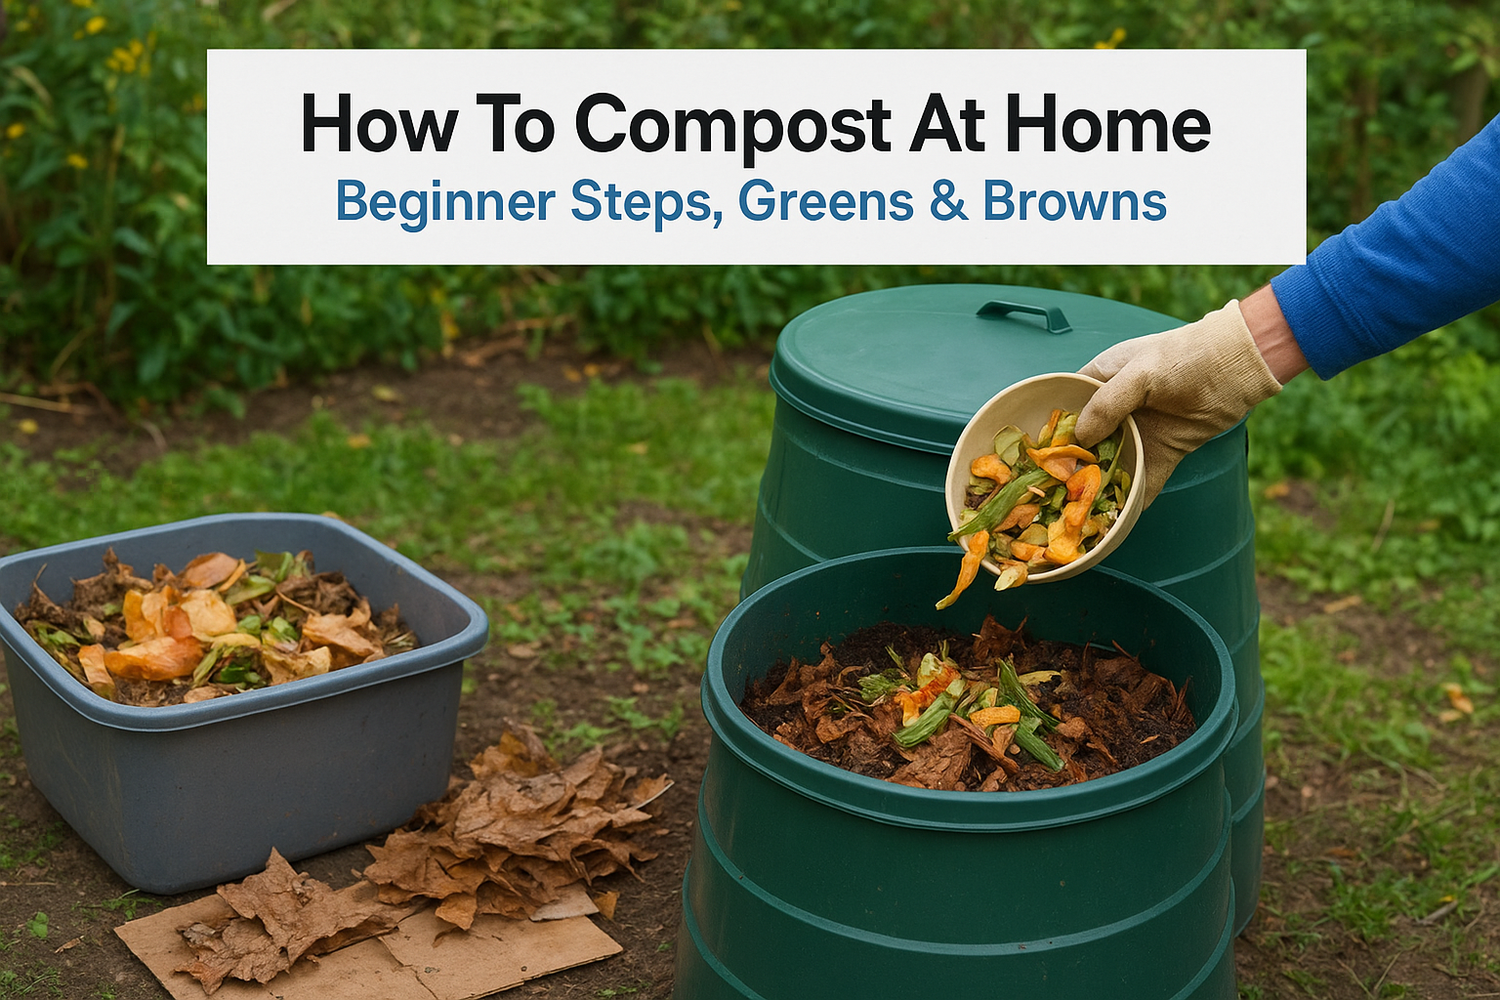
Every garden we design at Konzept Garden starts with one principle: healthy soil grows everything better. That's why learning how to compost at home is one of the smartest moves you can make for your outdoor space, whether you're tending a small balcony garden in KL or maintaining a full backyard landscape in the suburbs. Composting turns your kitchen scraps and yard waste into nutrient-rich soil amendment that your plants genuinely thrive in.
The process is simpler than most people expect. You don't need expensive equipment or a science degree. You need the right balance of materials, commonly called greens and browns, a bit of patience, and a basic understanding of how decomposition works. The results? Darker, richer soil, healthier plants, and less waste heading to landfills.
This guide walks you through everything from choosing a composting method that fits your living situation to maintaining your pile so it breaks down efficiently. Whether you're starting from scratch or troubleshooting a sluggish heap, you'll find practical steps you can act on right away, the same soil-first thinking we apply to every garden project we take on.
What composting is and what to compost
Composting is the controlled breakdown of organic material into a dark, crumbly substance called humus. Microorganisms, worms, and fungi do most of the actual work. They consume organic matter and break it down into compounds that plant roots can absorb directly. Finished compost acts as a slow-release fertilizer that also improves soil structure, drainage, and moisture retention at the same time.
When you learn how to compost at home, you're learning how to create the right conditions for those microorganisms to thrive. Temperature, moisture, airflow, and the balance of carbon-to-nitrogen materials all affect how fast decomposition happens. Get those four factors right, and a pile that might take a year under neglect can be ready in as little as six to eight weeks.
A well-maintained compost pile can reach internal temperatures between 130°F and 160°F (54°C to 71°C), which is hot enough to destroy weed seeds and harmful pathogens.
What you can compost
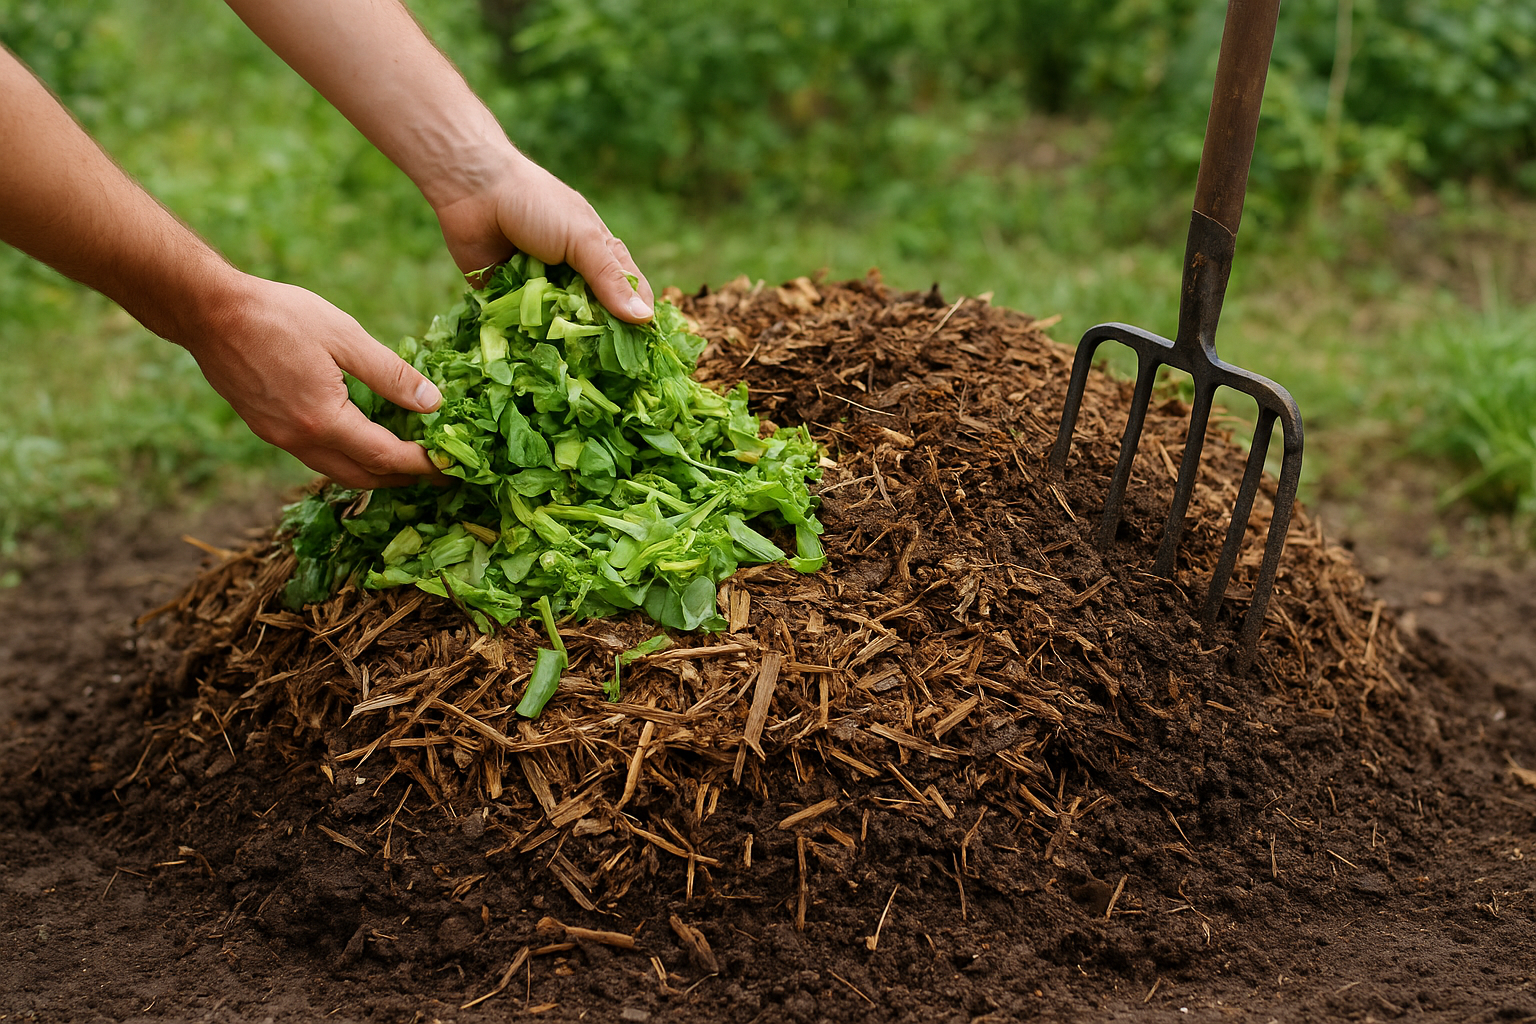
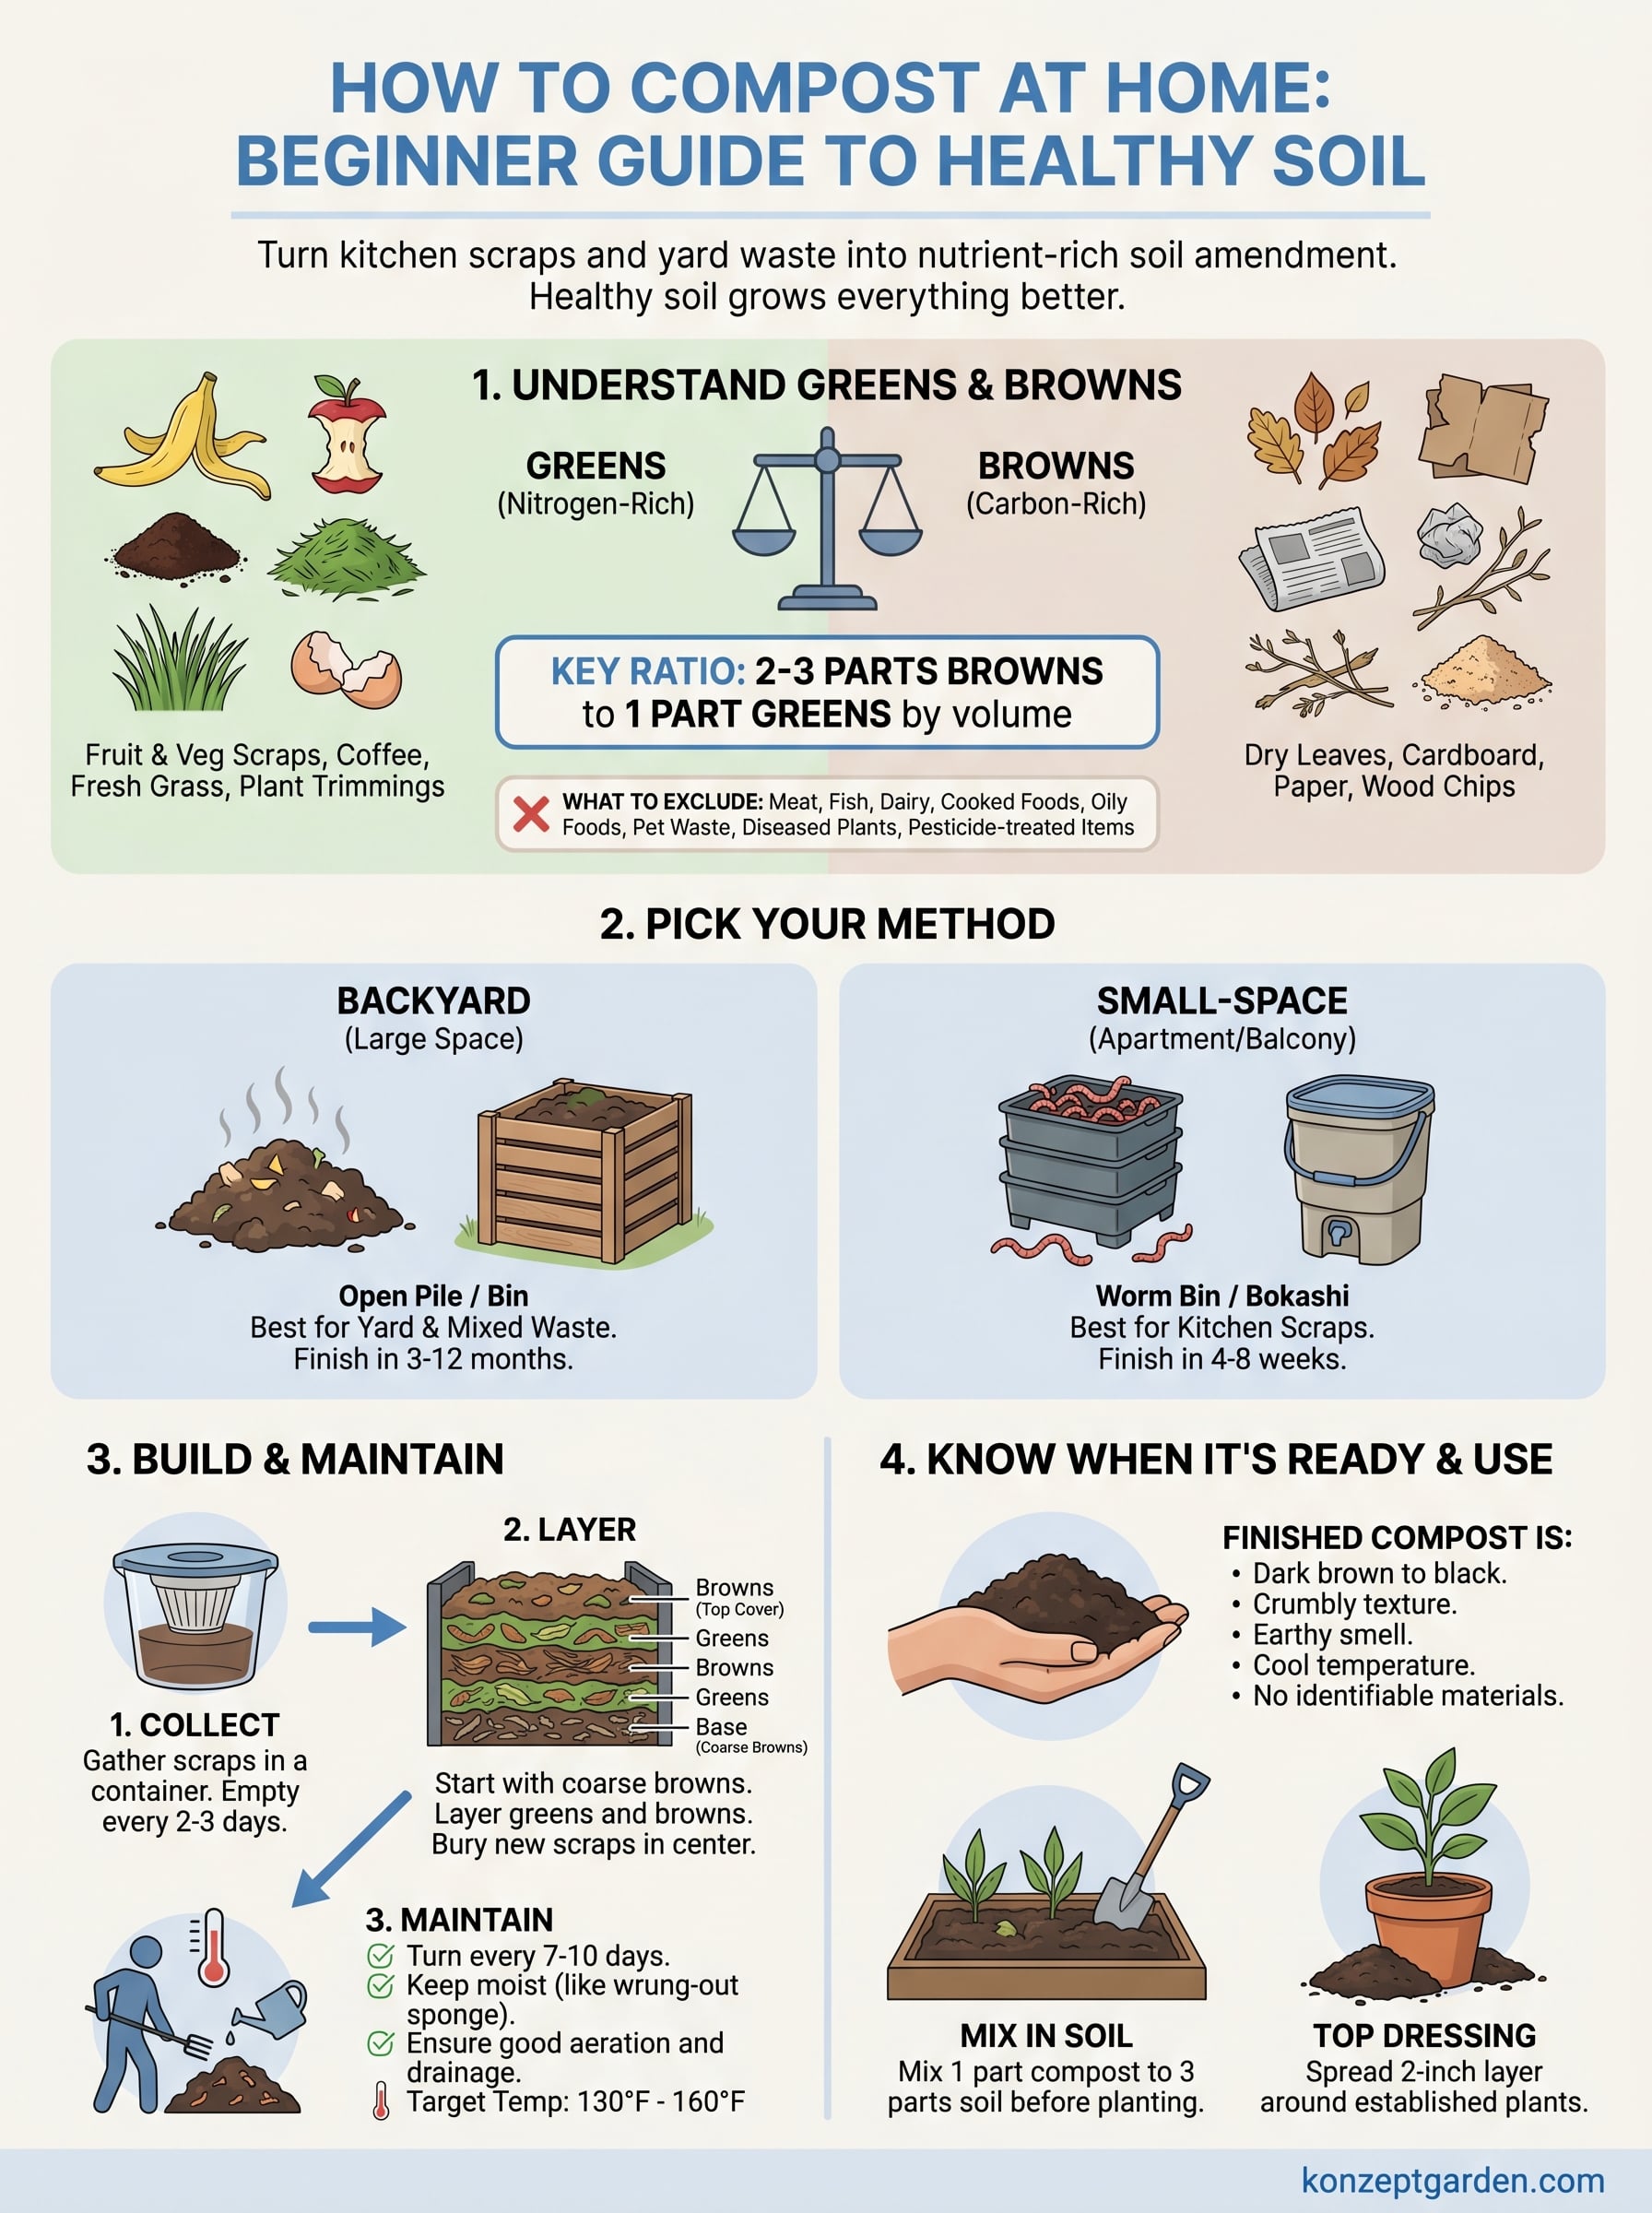
Your pile needs two types of material: greens and browns. Greens are nitrogen-rich inputs that feed the microorganisms and add moisture. Browns are carbon-rich materials that give the pile structure and stop it from collapsing into a wet, odorous clump. A healthy pile uses roughly two to three parts browns for every one part greens by volume.

Here's a breakdown of what belongs in each category:
| Greens (Nitrogen-Rich) | Browns (Carbon-Rich) |
|---|---|
| Fruit and vegetable scraps | Dry leaves |
| Coffee grounds and filters | Cardboard (torn into small pieces) |
| Fresh grass clippings | Newspaper (black ink only) |
| Plant trimmings | Paper bags and paper towels |
| Tea bags (paper-based only) | Dried plant stems |
| Eggshells | Untreated wood chips or sawdust |
What you should keep out
Some materials slow decomposition down, attract pests, or introduce pathogens that survive the composting process. Knowing what to exclude matters just as much as knowing what to add. Keep meat, fish, dairy, and cooked foods out of a standard home pile, since these attract rodents and produce foul odors before they break down fully.
Other items to avoid include oily foods, pet waste, diseased plants, and anything treated with synthetic pesticides or herbicides. These chemicals can carry through into your finished compost and end up in your garden soil where you least want them. Treated wood products and glossy printed paper also belong in the bin rather than the pile.
Pick a composting method and set it up
Your living situation determines which composting method works best for you. A large backyard gives you room for an open pile or a compost bin, while a high-rise apartment in KL calls for a compact indoor system like vermicomposting or bokashi. Picking the right method before you start prevents the frustration of building something that doesn't fit your space or daily routine.
Backyard options: open pile or bin
If you have outdoor space, you have two practical choices. An open pile is the simplest way to learn how to compost at home: mark off a patch of ground at least 3 feet by 3 feet (roughly 1 meter square) and start layering materials directly. A compost bin, either store-bought or built from timber pallets, contains the pile, keeps pests out more effectively, and holds heat better so decomposition speeds up noticeably.
A bin with a lid and ventilation holes on the sides gives you pest resistance and the airflow your pile needs to break down efficiently at the same time.
Set your bin or pile in a shaded spot with good drainage. Direct sun dries the pile out too fast, and poor drainage turns the base into a waterlogged mess that suffocates the microorganisms doing the work. Positioning it close to your garden beds also makes transporting the finished compost straightforward.
Small-space options: worm bins and bokashi
Apartment dwellers are not excluded from composting. A worm bin (vermicomposting) uses red wiggler worms to break down kitchen scraps in a sealed container you can keep under the sink or on a shaded balcony. A bokashi system ferments food waste, including cooked food and small amounts of meat, using inoculated bran in an airtight bucket. Both systems produce usable outputs within four to six weeks.
Here is a quick comparison to help you decide:
| Method | Space needed | Best for | Time to finish |
|---|---|---|---|
| Open pile | Large backyard | Yard and kitchen waste | 3 to 6 months |
| Compost bin | Medium backyard | Mixed organic waste | 6 to 12 weeks |
| Worm bin | Under-sink or balcony | Kitchen scraps | 4 to 8 weeks |
| Bokashi | Counter or cupboard | All food, including cooked | 4 to 6 weeks |
Step 1. Collect scraps and balance greens and browns
The first practical step in learning how to compost at home is building a collection habit so materials accumulate consistently. Most people keep a small countertop container in the kitchen to gather daily scraps before transferring them to the main pile or bin every two to three days. This keeps things tidy and prevents odors from developing indoors.
Rinse your collection container with water and a drop of dish soap every time you empty it to prevent fruit flies and residue buildup.
Build your scrap collection routine
Consistency matters more than volume when you start out. Keep your kitchen collection bin near the sink or food prep area so adding scraps takes no extra thought. A container with a lid and a carbon filter insert cuts down on odor between transfers. When you move scraps to your main pile, chop or crush larger pieces so they break down faster and more evenly.
Here are the scraps you will realistically collect week to week:
- Vegetable peels and fruit cores
- Coffee grounds, paper filters, and tea bags
- Eggshells (rinse them first to reduce odor)
- Wilted herbs and fresh plant trimmings
- Paper napkins and unbleached paper towels
Get the greens-to-browns ratio right
Balancing your inputs is the step most beginners skip, and it is the main reason piles go wrong. Aim for two to three parts browns for every one part greens by volume, not by weight. If your pile smells like ammonia, it holds too many greens; add dry leaves or torn cardboard to correct it. If it sits dry and barely breaks down, it needs more nitrogen-rich greens and a light watering to reactivate decomposition.
Use this quick reference when building each layer:
| Situation | What to add |
|---|---|
| Pile smells bad | More browns (dry leaves, cardboard) |
| Pile is too dry | More greens and a light watering |
| Pile is compacted | Chop materials smaller, then turn it |
| Decomposition is slow | Check moisture and add a nitrogen source |
Step 2. Build and maintain a healthy compost
Once you have your scraps collected and your system in place, the real work of learning how to compost at home begins with how you build and tend the pile on an ongoing basis. A compost pile works best when you layer materials with intention and check on it every week to catch any problems before they slow the entire process down.
Layer your materials correctly
Start with a 4-inch base layer of coarse browns like wood chips or dried stems placed directly on bare soil. Coarse material at the base allows air to circulate from underneath and prevents the pile from going anaerobic. Then add a 2-inch layer of greens, follow with another browns layer, and repeat. Building in deliberate layers from the start helps you internalize the ratio until balancing inputs becomes automatic.
Chop or shred all materials into pieces no larger than 2 inches before adding them; smaller pieces expose more surface area to microorganisms and cut decomposition time noticeably.
Each time you add new kitchen scraps, bury them in the center of the pile rather than leaving them on top. Exposed food scraps attract insects and animals. Covering fresh inputs with an existing browns layer controls odor and keeps the pile looking tidy and managed.
Turn and water the pile consistently
Turning the pile introduces fresh oxygen that the aerobic microorganisms need to stay active. Use a garden fork to turn the entire pile every seven to ten days, moving material from the outer edges into the hot center where decomposition runs fastest. Keep a consistent schedule using this simple maintenance checklist:
- Turn every 7 to 10 days
- Water lightly after each turn if the pile feels dry
- Check moisture by squeezing a handful: it should feel like a wrung-out sponge
- Add dry cardboard or leaves if the pile is too wet or compacted
- Bury new scraps in the center each time you add them
Moisture management matters especially in Malaysia's climate, where heat pulls moisture out of a pile faster than in cooler regions. If the pile feels dry after turning, water it slowly and evenly rather than flooding one spot, so the entire pile stays at the right moisture level for microorganisms to keep working through to the bottom layers.
Step 3. Know when it is ready and use it
Knowing when your compost is finished is just as important as knowing how to compost at home. Applying immature compost to your garden can actually pull nitrogen from the soil as it continues to break down, which stresses plants rather than feeding them. Finished compost looks, smells, and feels completely different from the raw materials you started with, and learning to recognize those signs saves you from applying something that is not ready yet.
How to tell your compost is finished
Finished compost has a dark, crumbly texture similar to rich garden soil, and it smells like damp earth rather than rotting food. You should not be able to identify the original materials you added. If you still see recognizable fruit peels or cardboard scraps, give the pile another two to four weeks and check again.
Pull a handful from the center of the pile, since the outer edges often lag behind the hot core where decomposition runs fastest.
Use this checklist to confirm your compost is ready to apply:
- Color is dark brown to black throughout
- Texture is crumbly and consistent, not slimy or chunky
- Smell is earthy, not sour or ammonia-like
- Temperature has dropped and stays cool after turning
- Original materials are no longer identifiable
How to use finished compost in your garden
Finished compost works in several ways depending on what your garden needs. Mix it directly into planting beds at a ratio of one part compost to three parts existing soil before putting in new seedlings or ground cover. For established plants, spread a 2-inch top dressing around the base of each plant, keeping it away from the stem to avoid rot.
Your container plants and planter boxes benefit just as much from finished compost. Blend it into your potting mix at roughly 20 to 30 percent by volume before planting, or refresh the top few inches each growing season. This approach reduces how often you need to apply store-bought fertilizer, since compost releases nutrients gradually as roots draw on them.
A simple plan for your next compost cycle
Now that you know how to compost at home from setup to finished product, the next step is simply starting. Pick one method that fits your space, set up your kitchen collection container this week, and add your first layer of browns to your bin or pile. Consistency over the first four weeks builds the habit that carries every cycle after it.
Your compost becomes a direct investment in your garden's long-term health. Richer soil means stronger plants, fewer fertilizer costs, and less time troubleshooting deficiencies. Apply your first finished batch to planting beds or containers, then start the next cycle immediately so you always have compost maturing in the background.
Building better soil is the foundation of every outdoor space we design. If you want a garden that genuinely performs from the ground up, talk to our team at Konzept Garden to explore design and implementation options tailored to your space and goals.

