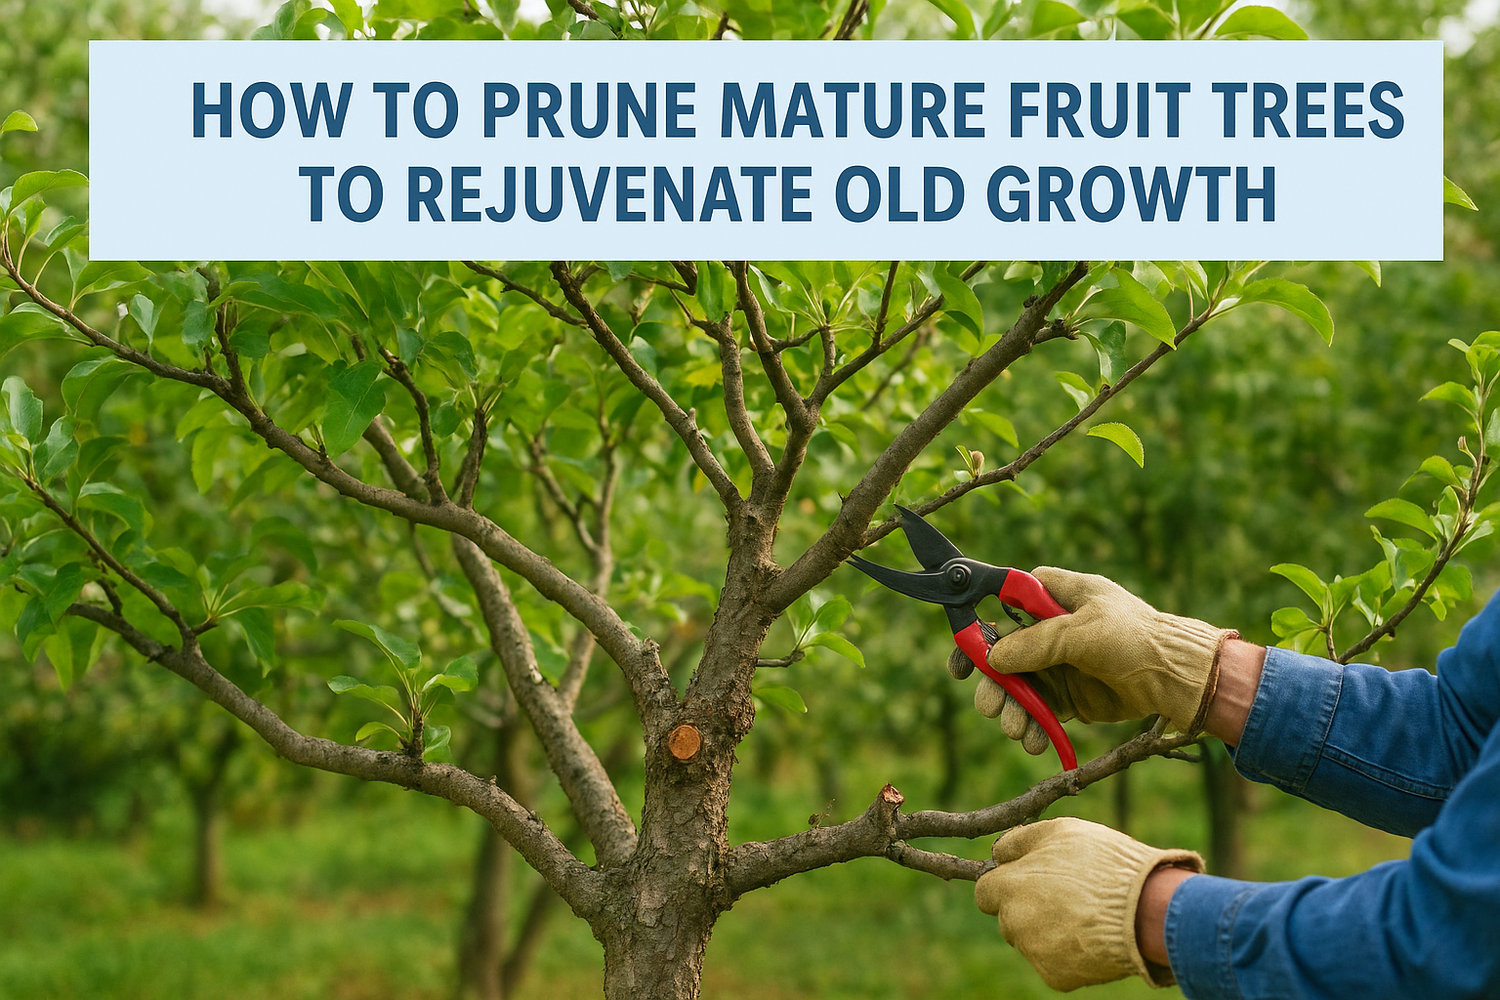
A mature fruit tree that hasn't been pruned in years is like a house that hasn't been maintained, it still stands, but it's not performing the way it should. Overcrowded branches block sunlight, dead wood invites disease, and fruit production drops off year after year. Knowing how to prune mature fruit trees properly can reverse that decline and bring an old tree back to productive, healthy growth.
The thing is, pruning a mature tree isn't the same as shaping a young one. Established trees have thick structural limbs, years of overlapping growth, and often a canopy so dense that air barely moves through it. Cut too aggressively and you'll trigger a flush of weak water sprouts. Cut too little and you've barely made a difference. The technique matters, and so does the timing of every cut.
At Konzept Garden, we work with homeowners and property developers across Malaysia to design and maintain outdoor spaces that stay beautiful long-term, and that includes the trees within them. Our team understands how mature plantings behave, and we've guided plenty of clients through the process of restoring neglected fruit trees as part of broader landscape renovations.
This guide walks you through the full process: when to prune, what tools you'll need, how to assess your tree's structure, and step-by-step techniques for thinning, shaping, and rejuvenating old fruit trees, without shocking them into stress or decline.
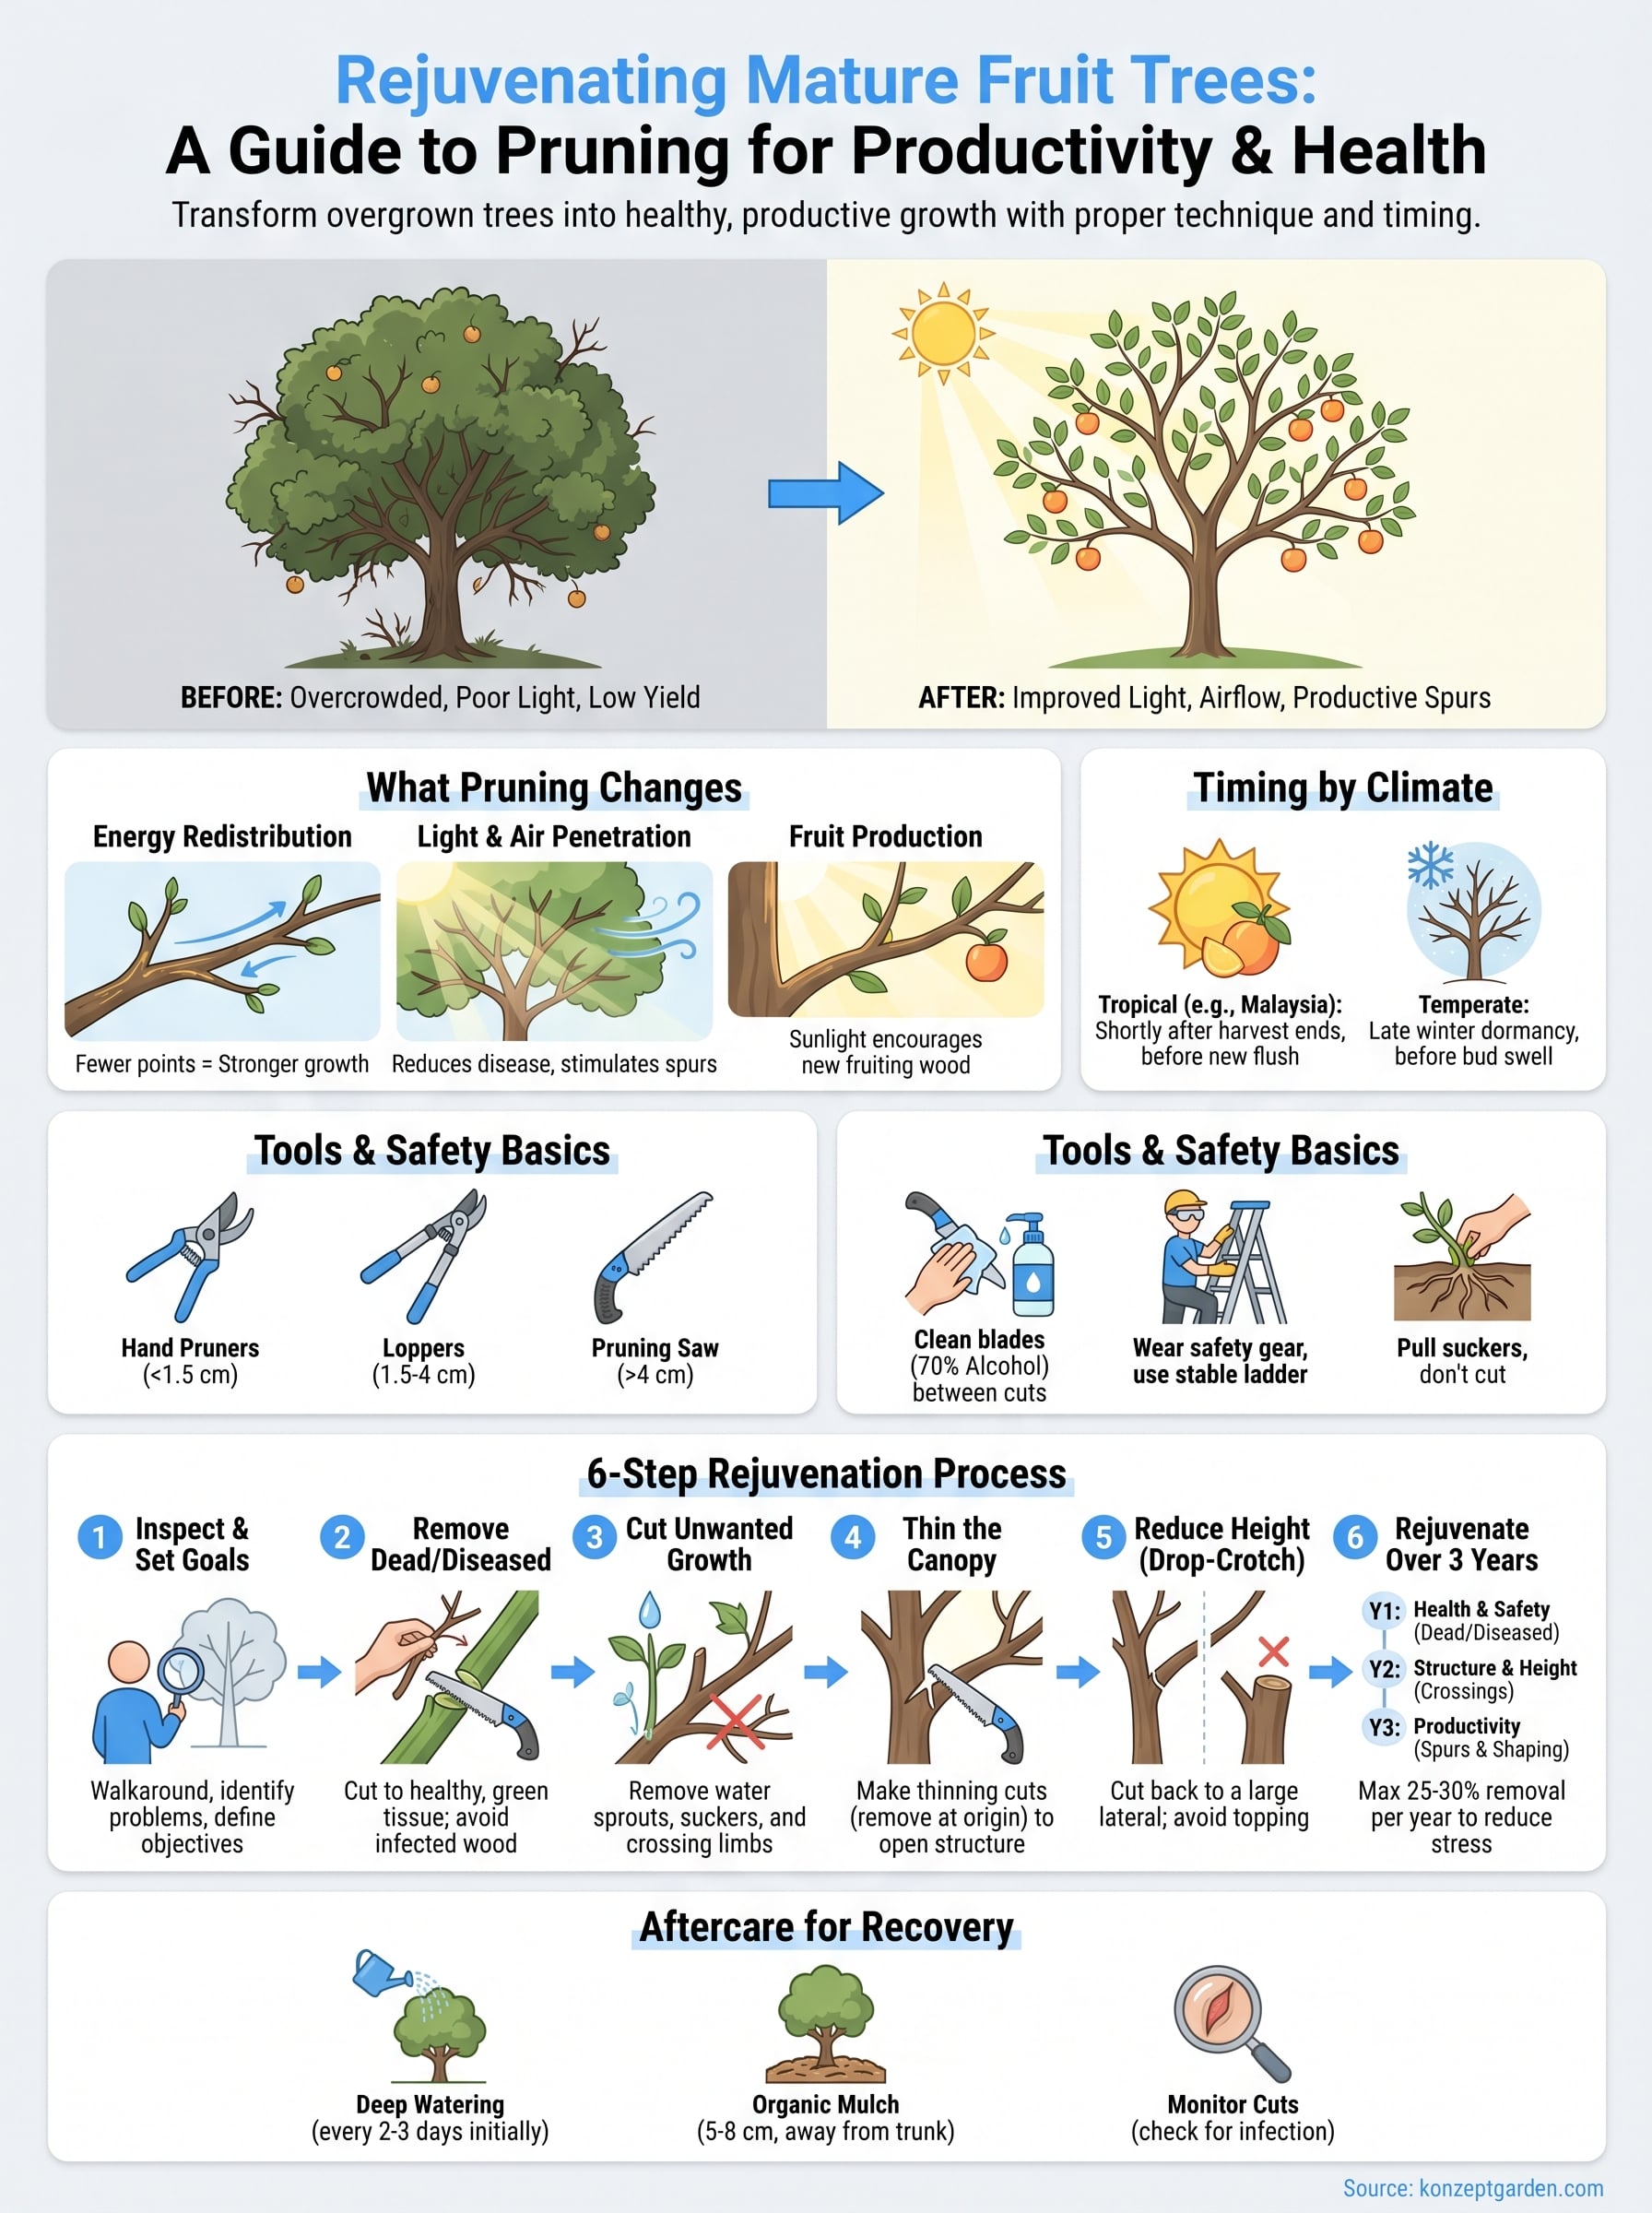
What pruning changes in a mature fruit tree
When you prune a young tree, you're mostly guiding its shape. When you prune a mature fruit tree, you're intervening in a system that has already settled into its habits, and those habits often work against you. Years of unpruned growth produce a dense, overlapping canopy where light barely reaches the interior branches, fruit-bearing spurs weaken and die off, and the tree puts more energy into maintaining bulk than producing fruit. Understanding what actually changes when you make a cut helps you prune with purpose rather than just removing whatever looks dead or out of place.
How energy gets redistributed
A mature tree holds a large reserve of stored energy in its roots and woody tissue. When you remove a branch, the tree doesn't reduce its energy output, it redirects it. Fewer growing points mean each remaining bud receives a stronger share of resources, which triggers more vigorous growth from the buds and spurs you've chosen to keep. This is why even moderate pruning on a neglected tree often produces noticeably stronger new shoots in the following season, sometimes dramatically so.
The location of your cut determines where that energy goes. A heading cut made just above a bud pushes growth outward from that point. A thinning cut that removes an entire branch back to its origin doesn't stimulate regrowth at the cut site; it simply removes the energy drain entirely. Both cut types have their place when learning how to prune mature fruit trees, but using them in the wrong situation gives you the opposite result from what you want. Heading an old, unproductive scaffold branch, for example, typically triggers a burst of weak, upright water sprouts rather than useful fruiting wood.
Heading cuts stimulate new growth near the cut; thinning cuts reduce the total number of growing points without triggering a compensatory flush of shoots.
What changes for light and air
A dense, unpruned canopy functions like an umbrella. Leaves at the outer edge capture most of the available sunlight, while interior branches sit in permanent shade. Fruit buds need direct light to develop and set properly, and shaded spurs gradually stop producing over several growing seasons. When you open the canopy through strategic pruning, you restore light penetration to the inner scaffold branches and give those weakened spurs a realistic chance to reactivate and carry fruit again.
Airflow matters just as much as light. Stagnant, humid conditions inside a closed canopy accelerate fungal problems, which is a particularly relevant concern given Malaysia's warm, wet climate throughout most of the year. Removing crossing branches and thinning crowded sections lets air move freely through the tree, drying leaf surfaces faster after rain and reducing the conditions that allow diseases like anthracnose and powdery mildew to take hold on your fruit crop.
How fruit production responds
Most fruit trees carry their crop on spurs, which are short, slow-growing shoots that develop and mature over several years. Older spurs on shaded or crowded branches gradually lose their ability to set fruit, even when they appear structurally sound. Pruning removes the canopy competition above and around those spurs, improving their light exposure and encouraging the formation of new productive spur systems on younger wood closer to the main scaffold.
Your tree won't respond fully within a single season. Most mature trees need two to three full growing cycles to redistribute their energy and rebuild strong, productive spur systems after significant pruning work. That's a normal part of the recovery process, and it's exactly why a measured, phased approach consistently outperforms aggressive one-time cutting when your goal is a healthier, higher-yielding tree.
Timing guide for Malaysia and other climates
Timing your cuts correctly is one of the most important decisions you make when learning how to prune mature fruit trees. Cut at the wrong point in the season and you risk pushing growth that gets damaged, opening wounds that heal poorly, or removing the current year's fruiting wood before the tree has a chance to develop it. Knowing what drives your tree's growth cycle in your specific climate lets you choose a window that minimizes stress and maximizes recovery.
Pruning in Malaysia's tropical climate
Malaysia doesn't have the cold dormancy period that growers in temperate regions rely on to time their pruning work. Most tropical fruit trees here follow irregular or year-round cycles rather than a strict seasonal pattern. For common backyard species like mango, rambutan, and starfruit, the practical approach is to prune shortly after harvest ends, once the crop is off the tree but before the tree pushes its next flush of new growth. This gives the tree a clear window to seal wounds and redirect stored energy into recovery rather than splitting resources between healing and active fruiting at the same time.
Prune tropical fruit trees right after harvest ends, not before flowering begins, to avoid cutting off the current season's fruiting wood.
Watch your tree's growth pattern for at least one full cycle before scheduling any significant pruning work. Timing based on your specific tree's behavior is more reliable than following a fixed calendar month, because individual trees in different garden conditions can shift their natural cycles by several weeks depending on water availability and microclimate.
Timing in temperate and subtropical climates
For readers growing fruit trees in cooler climates or higher-altitude subtropical regions, late winter dormancy is the ideal pruning window. Prune after the hardest frosts have passed but before buds begin to swell and break. At this stage, the tree's stored energy still sits in the roots, wounds callus quickly once warm weather arrives, and the full branch structure stays visible without leaf cover obscuring problem areas.
Avoid pruning in late summer or early autumn in these climates. Cuts made then push a flush of soft new growth that doesn't harden before cold temperatures arrive, leaving that tender tissue vulnerable to frost damage and increasing the risk of disease entry through open wound sites.
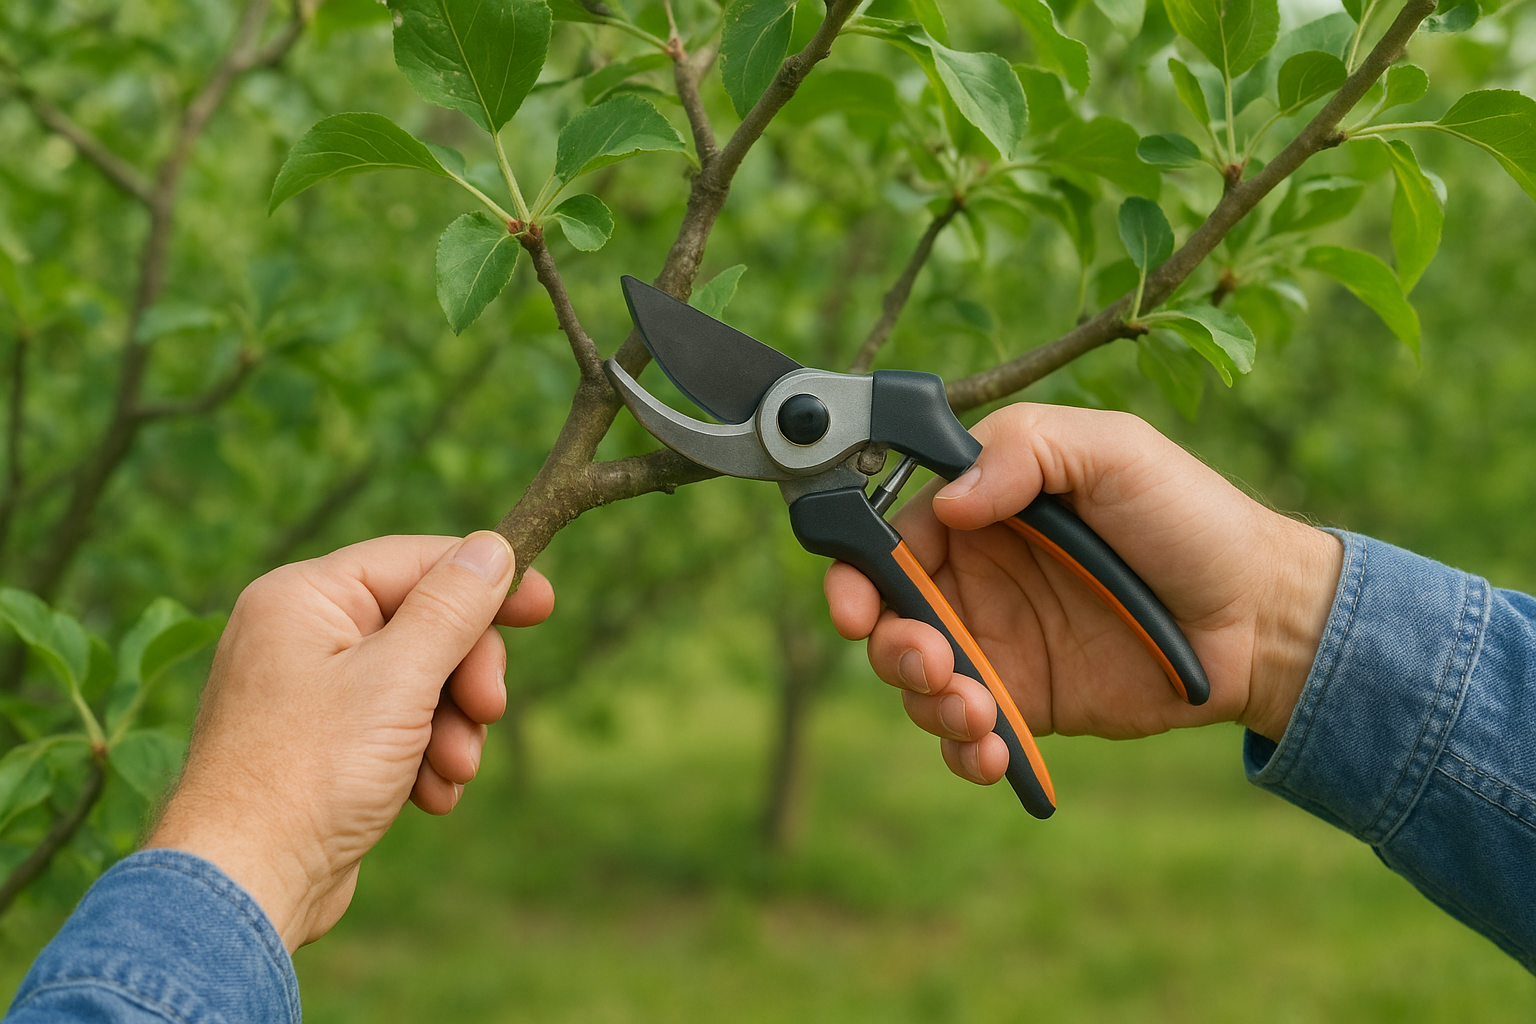
Tools, hygiene, and safety basics
Working through a mature fruit tree with the wrong equipment damages both the tree and yourself. Sharp, correctly sized tools make cleaner cuts, which heal faster and resist infection better than the torn, ragged wounds that dull blades leave behind. Before you start applying what you learn about how to prune mature fruit trees, spend time gathering and preparing the right equipment so the work goes smoothly from the first cut.
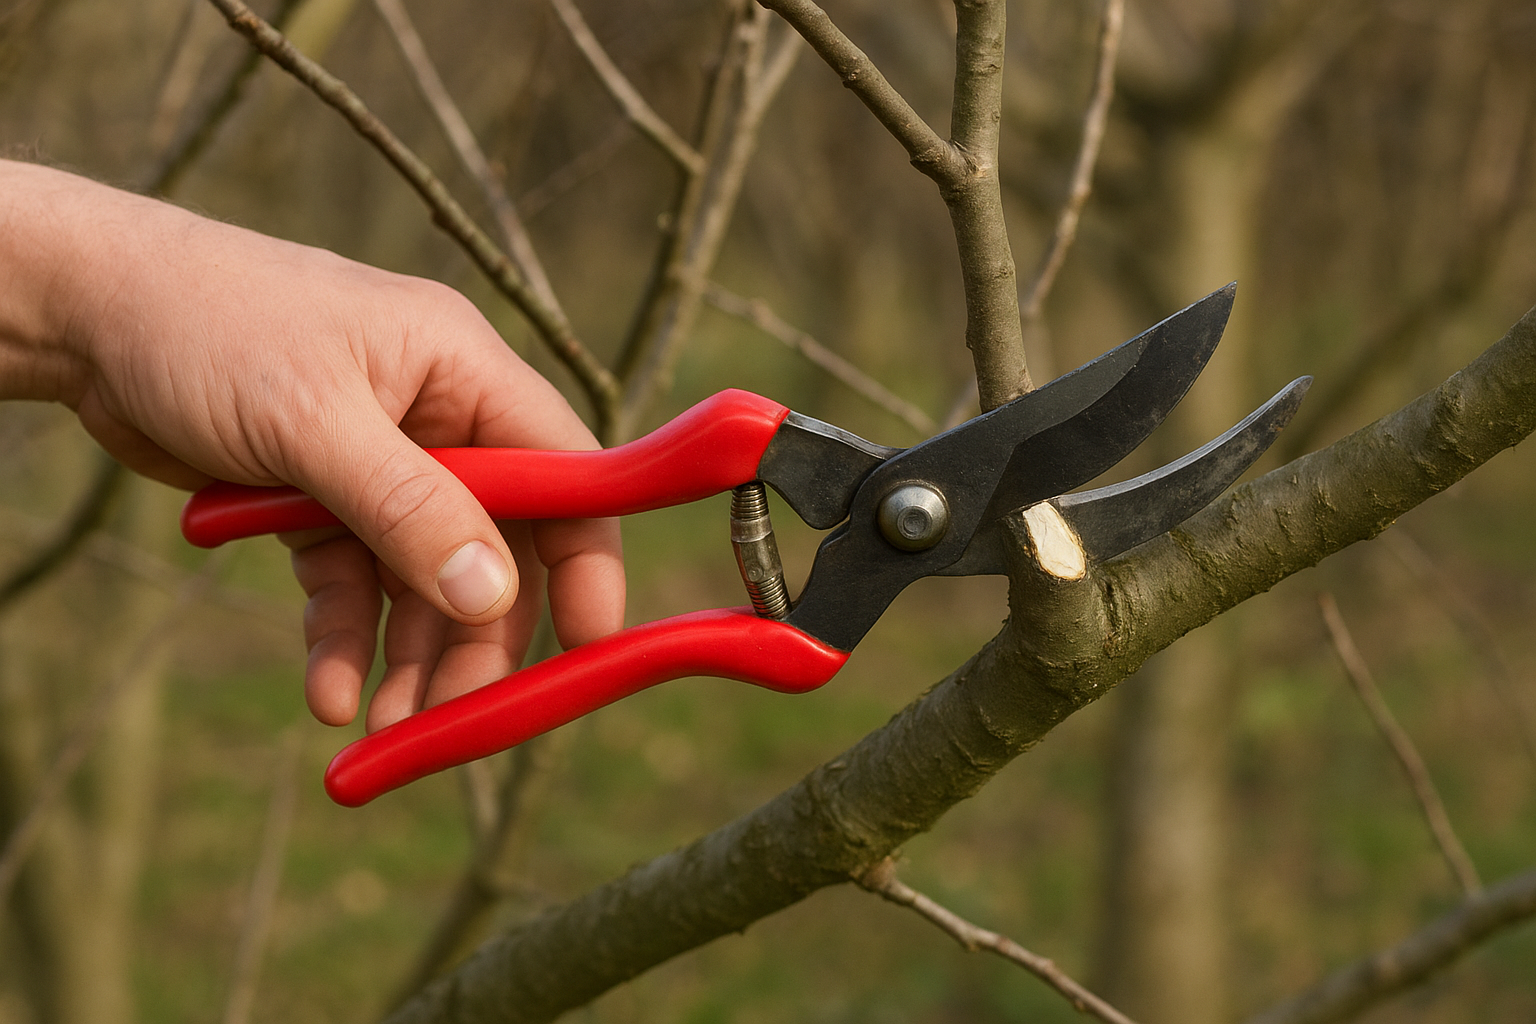
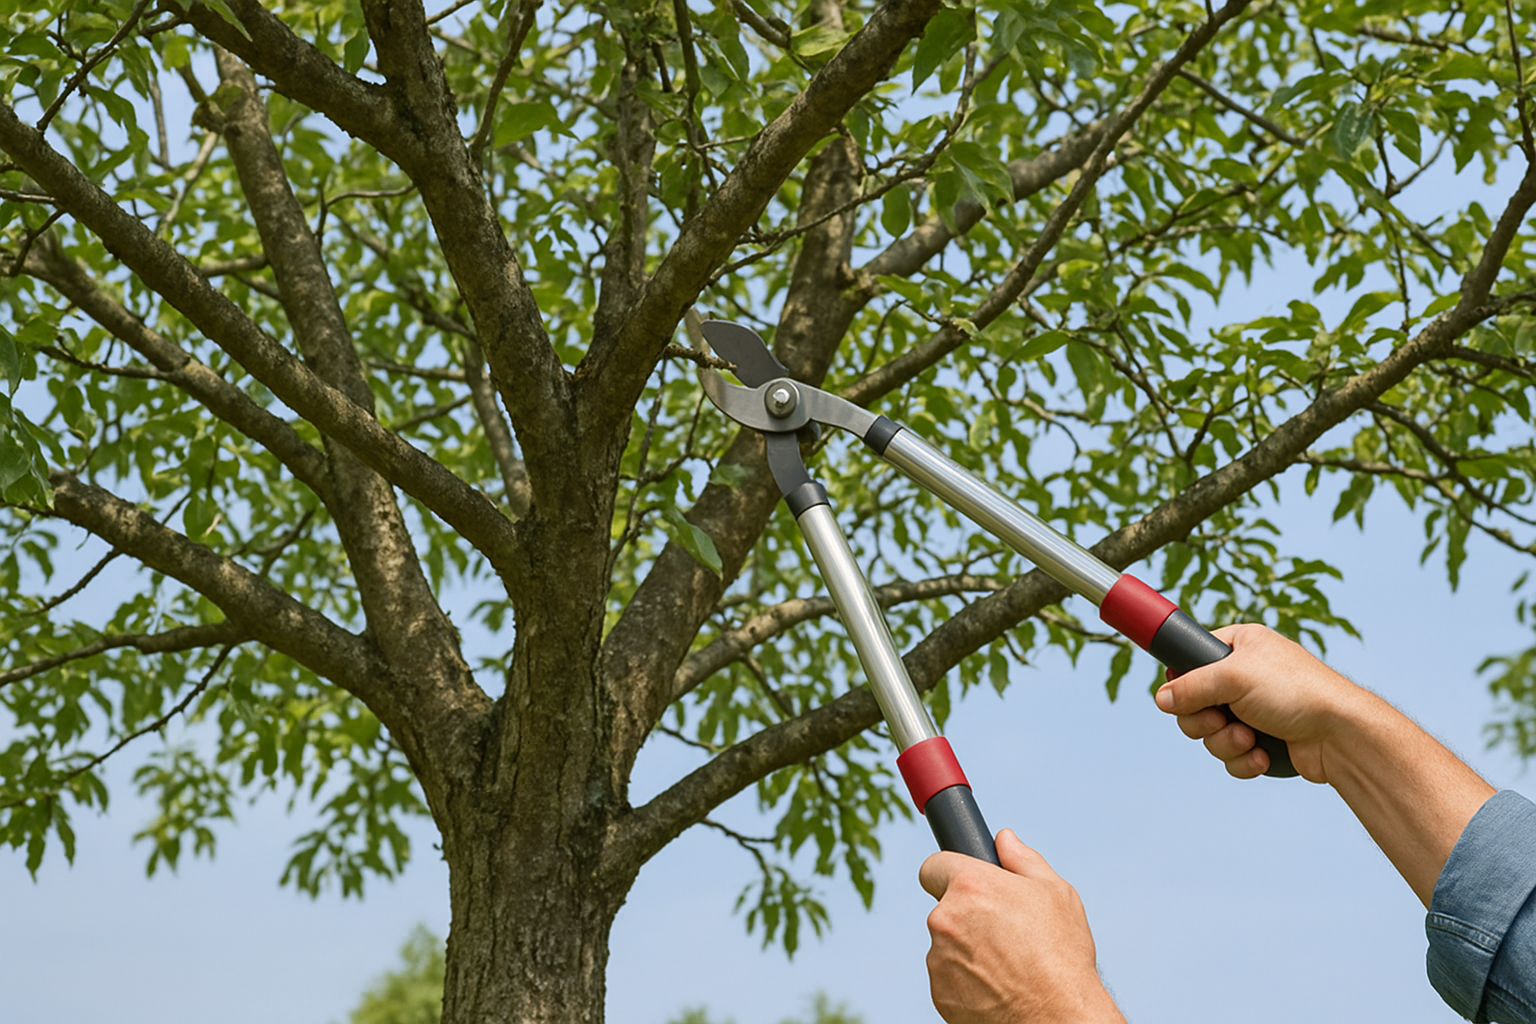
The right cutting tools for the job
Three tools cover most of the work on a mature tree. Hand pruners (secateurs) handle stems up to about 1.5 cm in diameter, loppers extend your reach and cutting leverage for branches between 1.5 cm and 4 cm, and a pruning saw takes care of anything thicker than that. Avoid using a standard carpenter saw on live wood; its teeth tear through tissue rather than slicing cleanly, which leaves a rough wound surface that invites infection and slows callus formation.
| Tool | Branch diameter | Primary use |
|---|---|---|
| Hand pruners | Up to 1.5 cm | Spurs, thin shoots, small crossings |
| Loppers | 1.5 cm to 4 cm | Medium laterals, water sprouts |
| Pruning saw | 4 cm and above | Scaffold limbs, major structural cuts |
Keeping your tools clean between cuts
Dirty blades carry fungal spores and bacterial pathogens directly from one cut site to the next, turning your pruning session into an infection route through your own tree. Wipe the blades with a cloth soaked in 70% isopropyl alcohol before moving from one branch to the next, and sterilize immediately after cutting into any tissue that looks discolored, sunken, or oozing.
Clean your cutting tools between every diseased cut, not just between separate trees, to stop pathogens from spreading through your own garden.
If you use a bleach solution (10% bleach in water works reliably), rinse the blades thoroughly with clean water afterward. Prolonged bleach contact corrodes metal and degrades the blade edge faster than regular use alone would.
Personal safety before you start
Wear safety glasses and thick work gloves throughout every session; cut wood falls unpredictably, and even short drops can cause serious eye or hand injuries when you're standing directly below a branch. For any cut above shoulder height, use a stable, load-rated ladder set on firm, level ground, and keep another person nearby to hold it steady while you work.
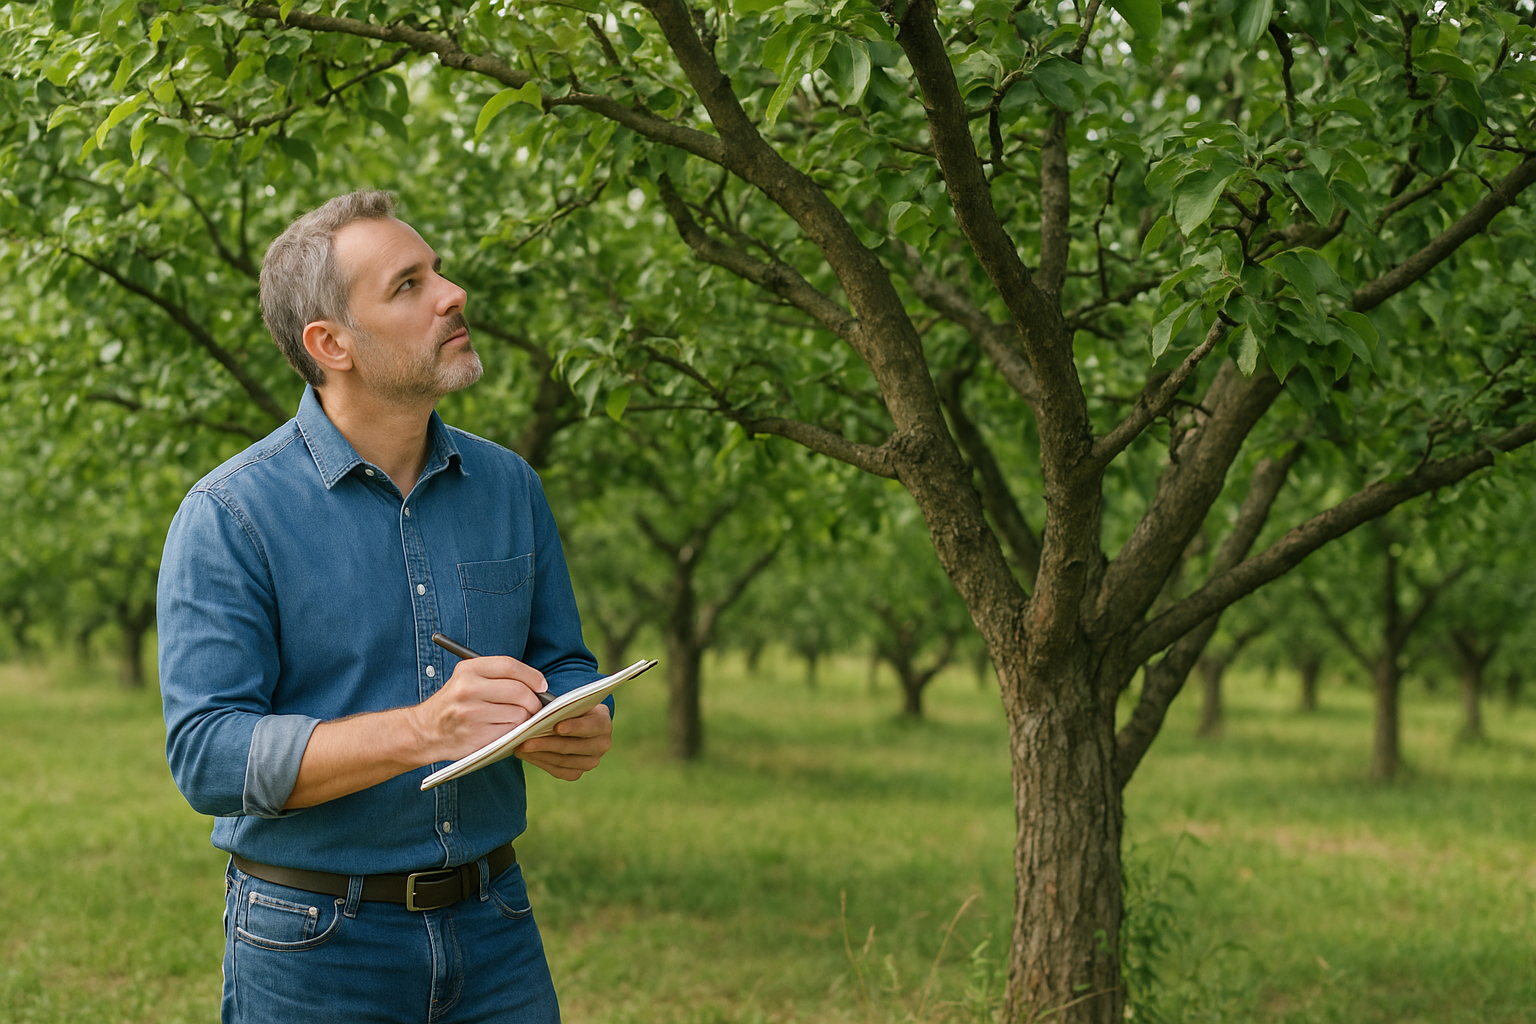
Step 1. Inspect the tree and set clear goals
Before making a single cut, walk around the tree slowly and look at it from multiple angles. Rushing into the work without a clear picture of the tree's structure is one of the most common mistakes people make when learning how to prune mature fruit trees. A 10-minute inspection saves you from cuts you'll regret once the branches are on the ground.
What to look for during your walkround
Stand back far enough to see the full canopy outline, not just the sections closest to you. You're looking for structural problems, not individual leaves or small shoots. Work methodically from the base of the trunk upward so you don't miss anything lower down once your attention shifts to the upper canopy.
Check these specific areas as you inspect:
- Trunk and main scaffold: Cracks, sunken bark, oozing sap, or soft spots that suggest rot or internal damage
- Branch crossings: Limbs rubbing against each other and creating open wound sites over time
- Canopy density: Areas where branches overlap so heavily that you can't see daylight through them
- Dead wood: Brittle, gray, or leafless branches that snap easily without any green tissue inside
- Water sprouts: Vigorous, upright shoots growing from old scaffold limbs with no lateral branching
- Overall height: Whether the tree has grown beyond a height you can manage safely from a stable ladder
Translating your observations into a clear goal
Once you know what the tree is dealing with, write down two or three specific objectives before you pick up your tools. Vague intentions lead to unfocused cutting that removes too much in some areas and not enough in others. A useful goal sounds like: "remove the two crossing scaffold branches on the north side, thin the upper canopy to let light reach the interior, and take out all dead wood."
Set your pruning goals in writing before you start cutting. A clear target keeps you from over-pruning in one session.
Your goals should also reflect what the tree needs most this season, not everything you'd like to correct over the long term. If the tree is heavily congested and diseased, prioritize health over shape. If it's structurally sound but unproductive, focus on light and spur renewal instead.
Step 2. Remove dead, diseased, and damaged wood
This step clears the tree of everything that draws resources without contributing to growth or fruit production. Dead wood harbors fungal spores and bark-boring insects, while diseased tissue spreads infection to healthy branches if you leave it in place. Completing this step first means the rest of your session focuses on improving structure rather than working around ongoing damage.
Identifying what needs to come out
Dead branches are easy to confirm once you know the test. Scratch the surface bark lightly with your thumbnail; healthy wood reveals green tissue underneath, while dead wood shows dry brown or gray. Snap a small twig from the branch in question, and if it breaks cleanly with no flex and no moisture inside, that branch is no longer alive and should come out.
Diseased wood often shows more subtle signals. Look for sunken, discolored, or cracked bark patches along the branch length, brown streaking inside the wood when you make a test cut across the surface, or oozing sap at points that don't correspond to any wound you've made. Cankers, which appear as dark, shrunken areas on the bark, almost always indicate fungal or bacterial infection spreading inward toward the scaffold.
Cut into suspicious wood before committing to remove the whole branch; if you see brown streaking in the cross-section, keep cutting back until you reach clean, white, healthy tissue.
How to make the cuts cleanly
Place your cut at least 15 to 20 cm back from any visibly infected tissue to ensure you're working into clean wood. Cutting right at the edge of discolored bark almost always means leaving infected tissue behind, which allows the problem to continue spreading. After each cut into diseased material, wipe your blade immediately with 70% isopropyl alcohol before touching another branch.
For larger limbs, use the three-cut method to prevent bark tearing. Make a shallow undercut about 30 cm from the trunk, follow with a top cut slightly further out to drop the main weight, then finish with a clean final cut just outside the branch collar. This sequence keeps the wound surface small and gives the tree the best chance to seal over cleanly, which is a fundamental part of how to prune mature fruit trees without triggering further structural damage at the cut site.
Step 3. Cut out suckers, water sprouts, and crossings
After you've cleared dead and diseased wood, the next target is the growth that actively competes with your tree's productive structure. Suckers, water sprouts, and crossing branches all drain stored energy without contributing fruit, and leaving them in place undoes most of the work you just completed. This step is one of the more repetitive parts of learning how to prune mature fruit trees, but it makes a measurable difference in how well your tree responds over the next two growing cycles.
Recognizing suckers and water sprouts
Suckers grow from below the graft union at the base of the trunk or directly from the roots. They carry the rootstock's genetics, not the fruiting variety, which means any fruit they produce, if they produce any at all, won't match the rest of the tree. Pull suckers away from the root rather than cutting them flush; cutting alone leaves the base intact and encourages regrowth from the same spot within weeks.
Water sprouts look different. They emerge from existing scaffold branches, grow straight upward with no lateral branching, and have long internodes with large, soft leaves. They're a sign that the tree redirected energy into unproductive bulk, often after a previous pruning session removed too much at once. Remove them by cutting cleanly at their point of origin, leaving no stub behind.
Remove suckers by pulling rather than cutting to avoid stimulating repeat growth from the same root tissue.
Dealing with crossing and rubbing branches
Two branches growing toward each other will eventually make contact and rub. The friction removes bark at the contact point, opening a wound that fungal spores reach before the tree can seal it. Identify the crossing pair, then decide which branch contributes more to an open, balanced canopy shape. Remove the weaker or more inward-growing branch with a thinning cut back to its origin.
Don't try to save both by redirecting them. In most cases, the growth angles are fixed, and the two branches will continue pressing against each other regardless of what you remove further along their length. One clean thinning cut now prevents repeated wound sites and the infection risk that comes with them across every season going forward.
Step 4. Open the canopy with thinning cuts
Opening the canopy is the step where light and air start reaching parts of the tree they haven't touched in years. Thinning cuts, which remove entire branches back to their point of origin, reduce the total number of growing points without triggering the flush of water sprouts that heading cuts produce. This is the technique that separates effective work on how to prune mature fruit trees from the kind of heavy cutting that leaves a tree worse off than before.
Choosing which branches to thin
Your goal here is to create visible gaps in the canopy so that sunlight reaches the inner scaffold branches and the fruit spurs attached to them. Stand underneath the tree and look upward; if you can't see clear patches of sky through the canopy, the tree needs thinning. Focus on the highest and most crowded sections first, since upper growth shades the most interior wood.
When selecting branches to remove, follow these priorities in order:
- Upward-growing laterals that push into the canopy rather than outward
- Parallel branches at the same height on the same side of the tree
- Weak, thin laterals attached to main scaffold limbs but carrying no productive spurs
- Branches growing back toward the trunk rather than away from it
Remove the branch that blocks the most light with the smallest cut, not the branch that's easiest to reach.
Making thinning cuts correctly
Position your saw or loppers just outside the branch collar, the slightly raised ring of tissue where the branch meets the parent limb. Cutting into the collar removes the specialized cells the tree uses to seal the wound, which slows recovery significantly and leaves the main scaffold exposed to infection longer than necessary. Cutting too far out and leaving a stub causes the stub to die back, creating a secondary entry point that works inward toward healthy wood.
Spread your thinning cuts evenly across the upper and middle canopy rather than removing several branches from the same zone in one pass. Taking too much from a single area concentrates the tree's recovery response there, which triggers a dense flush of water sprouts exactly where you've just created space. Distributing your cuts keeps the tree's energy redistribution balanced across all scaffold limbs and produces a more open, productive canopy shape by the following season.
Step 5. Reduce height without topping
A fruit tree that has grown beyond a safe working height creates a practical problem: you can't harvest fruit you can't reach, and you can't prune wood you can't safely access. The instinct most people follow is to cut the main stems straight across at a fixed height, which is called topping, and it's one of the most damaging things you can do to a mature tree. Effective height reduction uses a different technique entirely, one that keeps the tree structurally sound while bringing the canopy down to a manageable level over time.
Why topping damages your tree
Topping removes the terminal leader and main scaffold tops in a single flat cut with no lateral branch left to take over. The tree responds by pushing dozens of vigorous water sprouts from just below each cut site, producing a dense thicket of weak, poorly attached growth that regrows to its previous height within two to three seasons. Beyond the wasted effort, those water sprouts carry narrow branch angles and poor attachment strength, making them far more likely to split under the weight of a fruit crop than the original scaffold limbs you removed.
Never make a flat heading cut across a main scaffold or central leader; always cut back to a lateral branch that's at least one-third the diameter of the wood you're removing.
How to make a reduction cut
The correct technique is called a drop-crotch cut or reduction cut. Instead of cutting straight across, you cut back to a lateral branch large enough to assume the growth role of the removed section, typically at least one-third the diameter of the branch being removed. That lateral takes over as the new terminal point, keeps energy flowing outward, and produces a natural-looking canopy line rather than a flat, blunt-topped silhouette.
Follow these steps each time you reduce height on a scaffold limb:
- Identify a strong lateral branch growing outward at the height you want to target
- Make your cut just outside the branch collar of that lateral's attachment point
- Confirm the remaining lateral has enough foliage mass to sustain itself without excessive stress
- Spread your height reduction work across two to three seasons rather than dropping the full canopy in one pass
This step is a critical part of how to prune mature fruit trees without triggering structural decline. Reducing height gradually and always cutting to a living lateral keeps your tree productive, safe to work, and able to recover cleanly between sessions.
Step 6. Rejuvenate a neglected tree over 3 years
A neglected fruit tree that hasn't been touched in five or more years needs a different approach from everything covered in the previous steps. Removing more than 25 to 30 percent of the live canopy in a single session sends the tree into stress, triggering a defensive flush of weak water sprouts and stripping away the foliage mass the tree depends on to photosynthesize and recover. The core principle behind knowing how to prune mature fruit trees that have been left for years is this: the harder the task, the slower and more deliberate your pace needs to be.
Never remove more than 30 percent of a neglected tree's live canopy in a single pruning session, regardless of how much work the tree appears to need.
Why spreading the work across 3 years matters
Spreading your rejuvenation work over three full growing seasons gives the tree time to seal each round of wounds, redirect energy into productive growth, and stabilize its canopy structure before you remove the next section of old wood. Trees under heavy pruning stress are also more vulnerable to fungal infection and bark-boring insects, so a slower pace directly reduces your risk of compounding the problems you're trying to solve. Each year's work builds on the last, and the tree responds progressively rather than all at once.
What to do in each year
The three-year schedule below gives you a clear framework. Adjust the specifics based on how your individual tree responds after each session, since faster-recovering trees can sometimes handle slightly more work in year two.
| Year | Primary focus | What to remove |
|---|---|---|
| Year 1 | Health and safety | All dead, diseased, and damaged wood; suckers and water sprouts |
| Year 2 | Structure and light | Crossing branches, the most crowded scaffold sections, major height reduction cuts |
| Year 3 | Productivity | Remaining thinning cuts, spur renewal, final canopy shaping |
After completing year one's work, watch the tree through the following growing season before making any further decisions. If the tree pushes strong new growth from the remaining scaffold limbs and shows no signs of disease spreading from old cut sites, it's responding well and ready for the next round. If recovery looks slow or uneven, hold your year two cuts for another full season and let the tree continue building strength before you resume.
Aftercare that protects your next harvest
The work doesn't end when you put your tools down. What you do in the weeks immediately after pruning determines how quickly your tree seals its wounds, how strongly it pushes new productive growth, and whether the cuts you made actually translate into a better harvest. Aftercare is the part most people skip, and it's one of the reasons trees that were pruned correctly still underperform the following season.
Water, mulch, and feeding after pruning
Your tree loses a significant portion of its foliage and woody tissue during a pruning session, which temporarily reduces its ability to manage heat and moisture stress. In Malaysia's warm climate, that stress arrives fast. Water your tree deeply at the root zone every two to three days for the first four weeks after pruning, especially during dry spells. Shallow, frequent watering encourages surface root growth rather than deep roots, so aim for slow, deep soaks rather than quick passes with a hose.
Apply a 5 to 8 cm layer of organic mulch around the base of the tree, starting roughly 15 cm from the trunk and extending out to the drip line. Mulch holds soil moisture, moderates root temperature, and breaks down slowly to feed the soil below. Hold off on applying high-nitrogen fertilizers immediately after pruning, since a nitrogen surge pushes soft leafy growth rather than the sturdy productive wood you're trying to encourage. Wait four to six weeks before applying any balanced fertilizer, then follow the product's recommended rate for your tree's size.
Feed your tree for recovery first, not for rapid growth; a tree that heals cleanly after pruning builds better fruiting wood than one pushed into a fast but soft growth flush.
Monitoring cuts and catching problems early
Check each major cut site every 10 to 14 days for the first two months after your pruning session. Healthy callus tissue forms as a firm, slightly raised ring working inward from the wound edge. If you see sunken, discolored, or oozing tissue developing around a cut, that wound is likely infected and needs prompt attention before the problem moves inward toward the scaffold.
Part of knowing how to prune mature fruit trees well is recognizing that the pruning session itself only creates the opportunity for improvement. The aftercare period is when the tree either takes advantage of that opportunity or struggles against avoidable setbacks. Keep a simple log noting each cut site, the date you made it, and what the wound looks like on each inspection so you can spot changes before they become serious problems.
Next steps for a healthier harvest
Knowing how to prune mature fruit trees gives you a clear, repeatable process for turning an unproductive, overgrown tree back into something that genuinely earns its place in your garden. Every step in this guide builds on the last, from the initial inspection through three years of phased rejuvenation work, and the results compound across each growing season when you apply them consistently. Aftercare and monitoring complete the cycle, making sure the cuts you made actually translate into stronger scaffold structure, better light distribution, and a more productive crop the following season. Review your notes from each session, track how the tree responds, and adjust your approach in the next round based on what you observe.
Your outdoor space deserves the same level of care and intention as the trees growing in it. If you're ready to take your garden further, whether that means a full landscape redesign or expert guidance on what your existing plantings need, speak with the Konzept Garden team to get started.

