Compacted soil is one of the most common problems we see when consulting on garden projects across Malaysia. Roots suffocate, water pools on the surface instead of soaking in, and plants slowly decline, even when everything else seems right. The fix is aeration, but knowing how to aerate soil without damaging roots takes more care than most gardeners expect. Push a fork in the wrong spot or at the wrong depth, and you can sever the very root system you're trying to help.
At Konzept Garden, our botanists and landscape designers work with established plantings daily, from mature tropical trees to delicate groundcovers. We've learned which tools and techniques actually improve soil structure without causing setback, and which ones do more harm than good. That hands-on experience shapes everything in this guide.
Below, you'll find practical, root-safe aeration methods for houseplants, garden beds, and trees. We'll cover the right tools, timing, and technique so you can restore airflow and drainage to your soil, no matter what's already growing in it.
What soil aeration really does for roots
Soil aeration isn't just about loosening hard ground. When soil compacts, the pore spaces between particles collapse, cutting off the three things roots need most: oxygen, water, and room to grow. In Malaysia's humid climate, heavy clay soils and regular foot traffic around garden beds make this problem especially common. Plants show stress through yellowing leaves, stunted growth, and waterlogged surface soil, all signs that the root zone has become too dense to function properly.
How compaction starves roots
Roots don't just anchor plants; they actively breathe. In healthy soil, air-filled pores make up roughly 25% of the total soil volume, giving roots the oxygen they need for cellular respiration. When that oxygen drops, roots stop absorbing nutrients efficiently, even when fertilizer is present. Soil bacteria, which break down organic matter into plant-available nutrients, also need oxygen to survive. Compacted soil kills off these beneficial microbes and turns a once-productive bed into a hostile environment where plants slowly decline despite regular care.
Aeration restores those pore spaces, which lets oxygen back into the root zone and gives soil biology a real chance to recover.
What aeration actually restores
Knowing how to aerate soil without damaging roots starts with understanding exactly what you're restoring. Proper aeration opens channels for water to move downward rather than pool on the surface, which reduces root rot risk significantly. It also gives new root tips physical space to extend outward and anchor the plant more firmly. In practice, well-aerated soil holds moisture longer during dry spells because water distributes evenly through the soil profile rather than running off compacted surfaces.
For established plants, aeration also encourages deeper rooting over time. Shallow roots form when the top layer is the only zone with adequate oxygen. Once you open up the deeper layers, roots follow the path of least resistance downward, making the plant more drought-tolerant and structurally stable as a result.
Step 1. Check if compaction is the real problem
Before you reach for any tool, confirm that compacted soil is actually causing the decline. Poor drainage and root damage can also stem from overwatering, fungal disease, or poor soil mix, and aerating in any of those cases wastes effort without addressing the real issue. Knowing how to aerate soil without damaging roots starts with an accurate diagnosis, not a guess.
Simple tests to confirm compaction
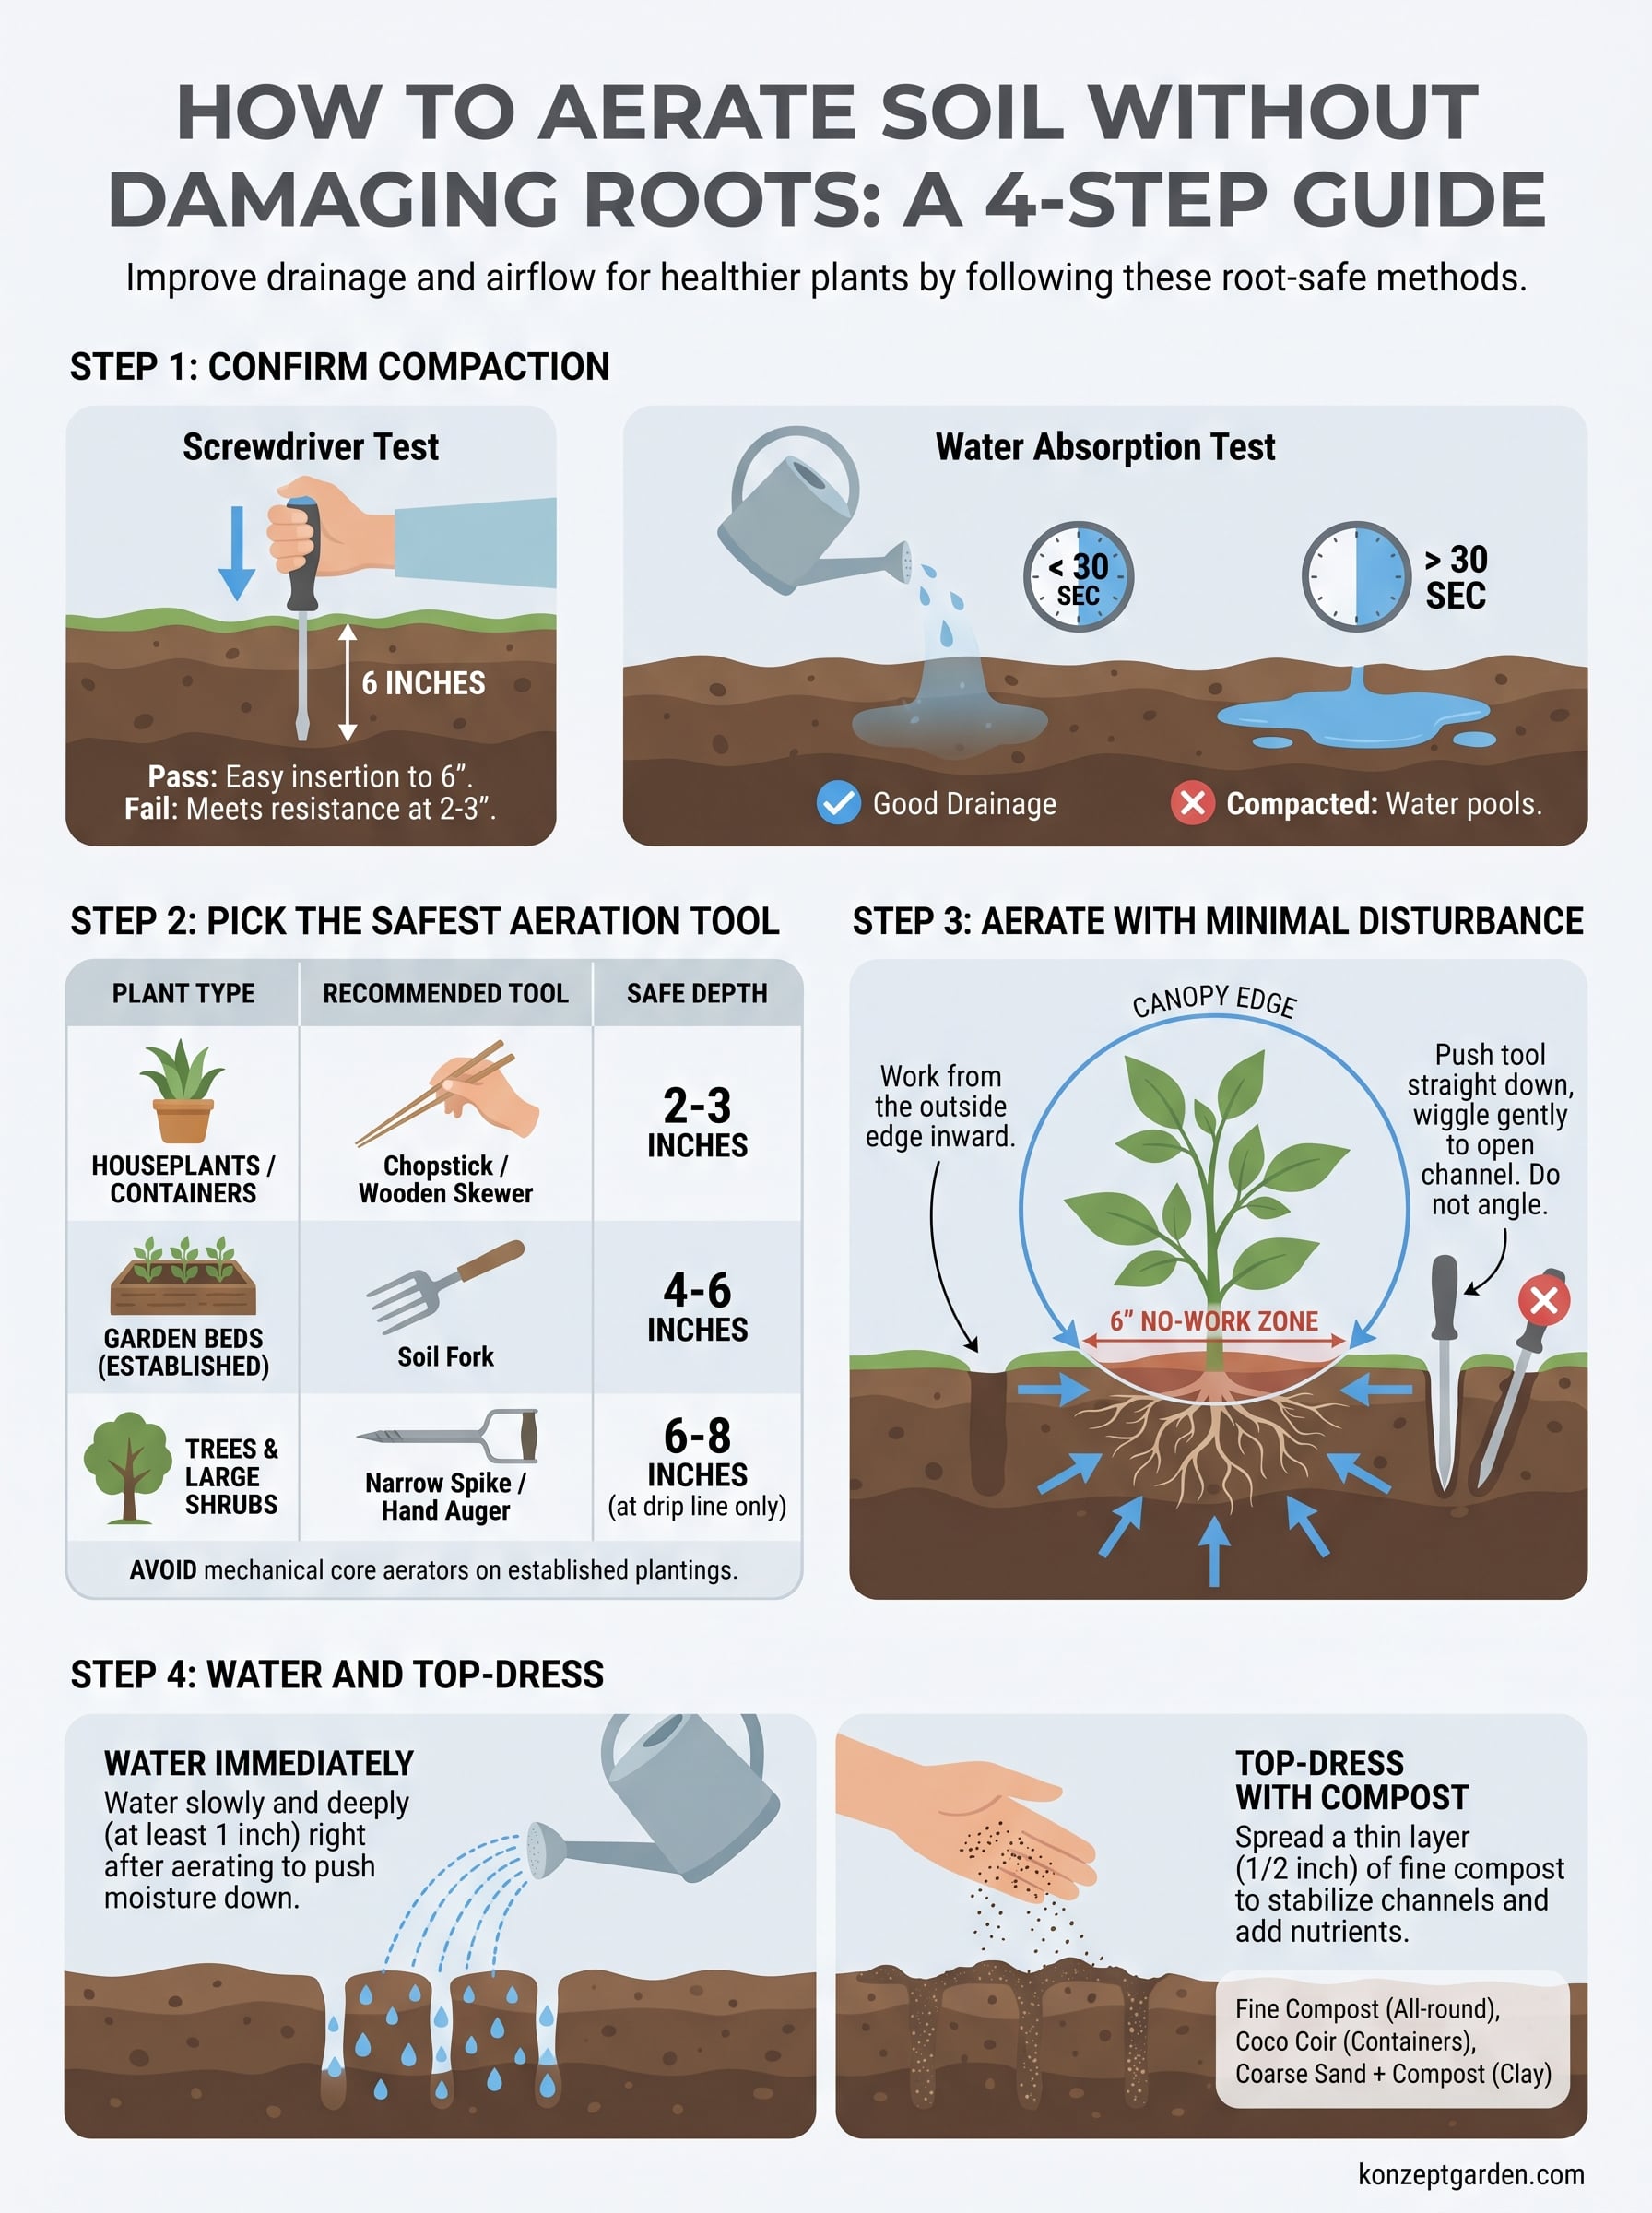
Two quick tests give you a reliable answer. Push a standard screwdriver or a thin wooden skewer into the soil to a depth of about 6 inches. If it meets serious resistance before reaching that depth, compaction is likely your problem. If it slides in easily, the issue lies elsewhere.
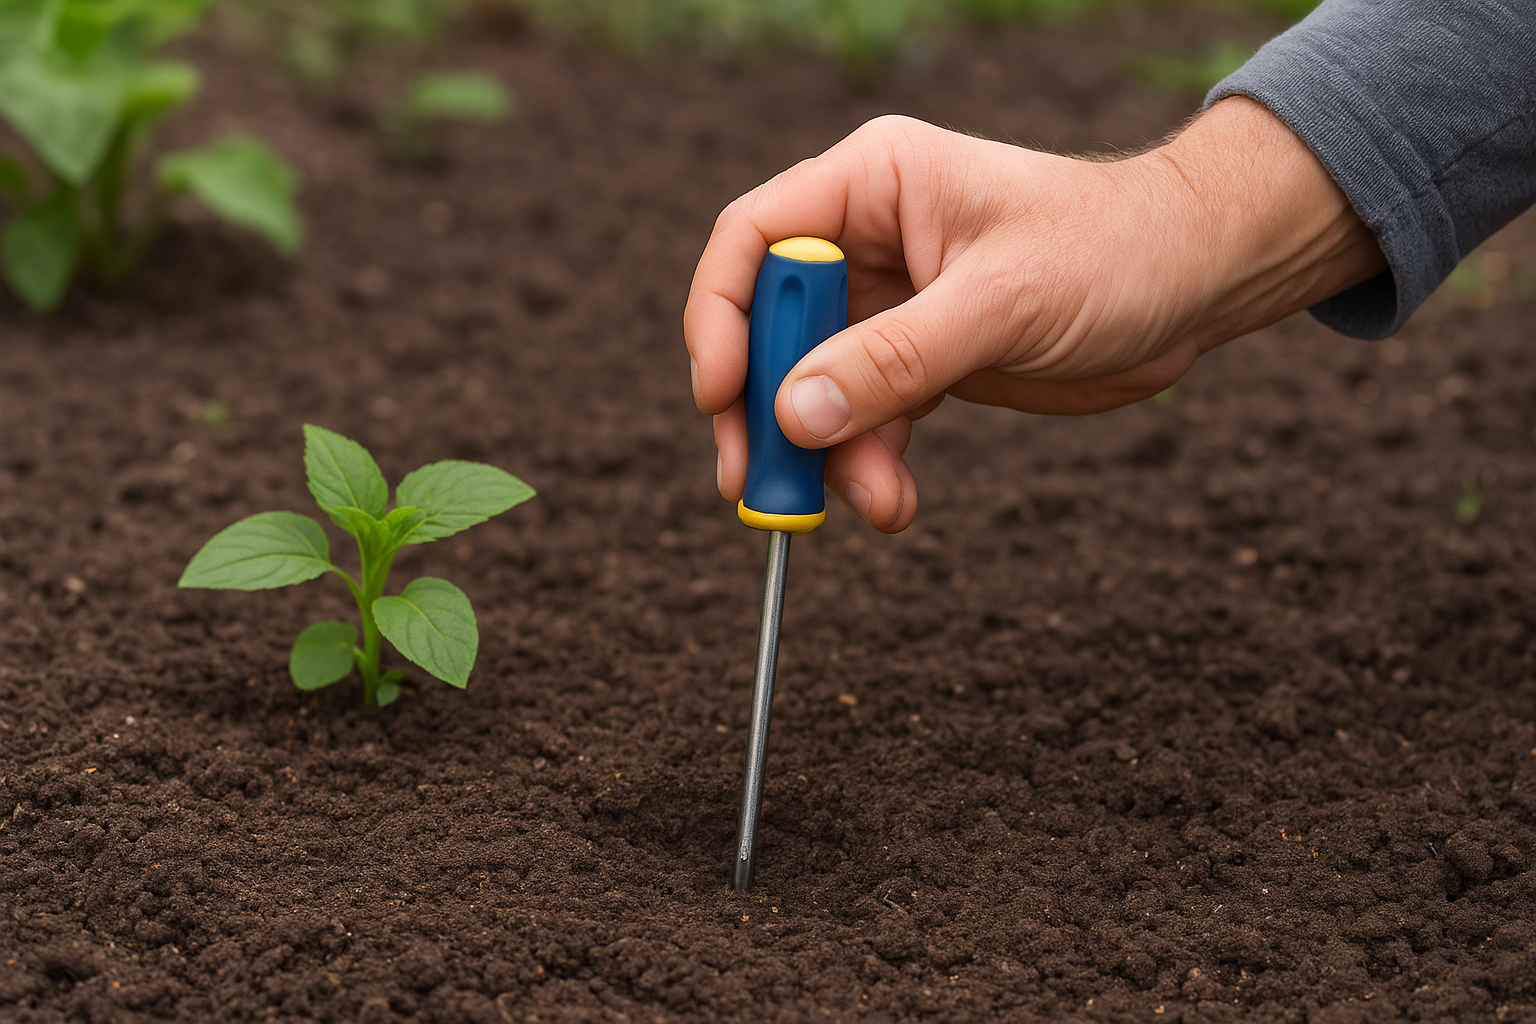
A screwdriver that stops at 2 to 3 inches of depth signals that roots in that same zone are struggling to breathe and grow.
You can also run the water absorption test: pour a small amount of water onto the soil surface and time how long it takes to soak in. Water that pools for more than 30 seconds before absorbing points to blocked pore spaces, which is a strong indicator of compaction. If both tests return positive results, you're ready to move forward and choose the right aeration method for your plant.
Step 2. Pick the safest aeration method for your plant
The right aeration tool depends on what's growing and how much root mass is already present. Knowing how to aerate soil without damaging roots means matching your method to the plant's growth stage and the depth of the existing root system. A shallow-rooted groundcover needs a completely different approach than a mature tree.
Match the tool to the plant type
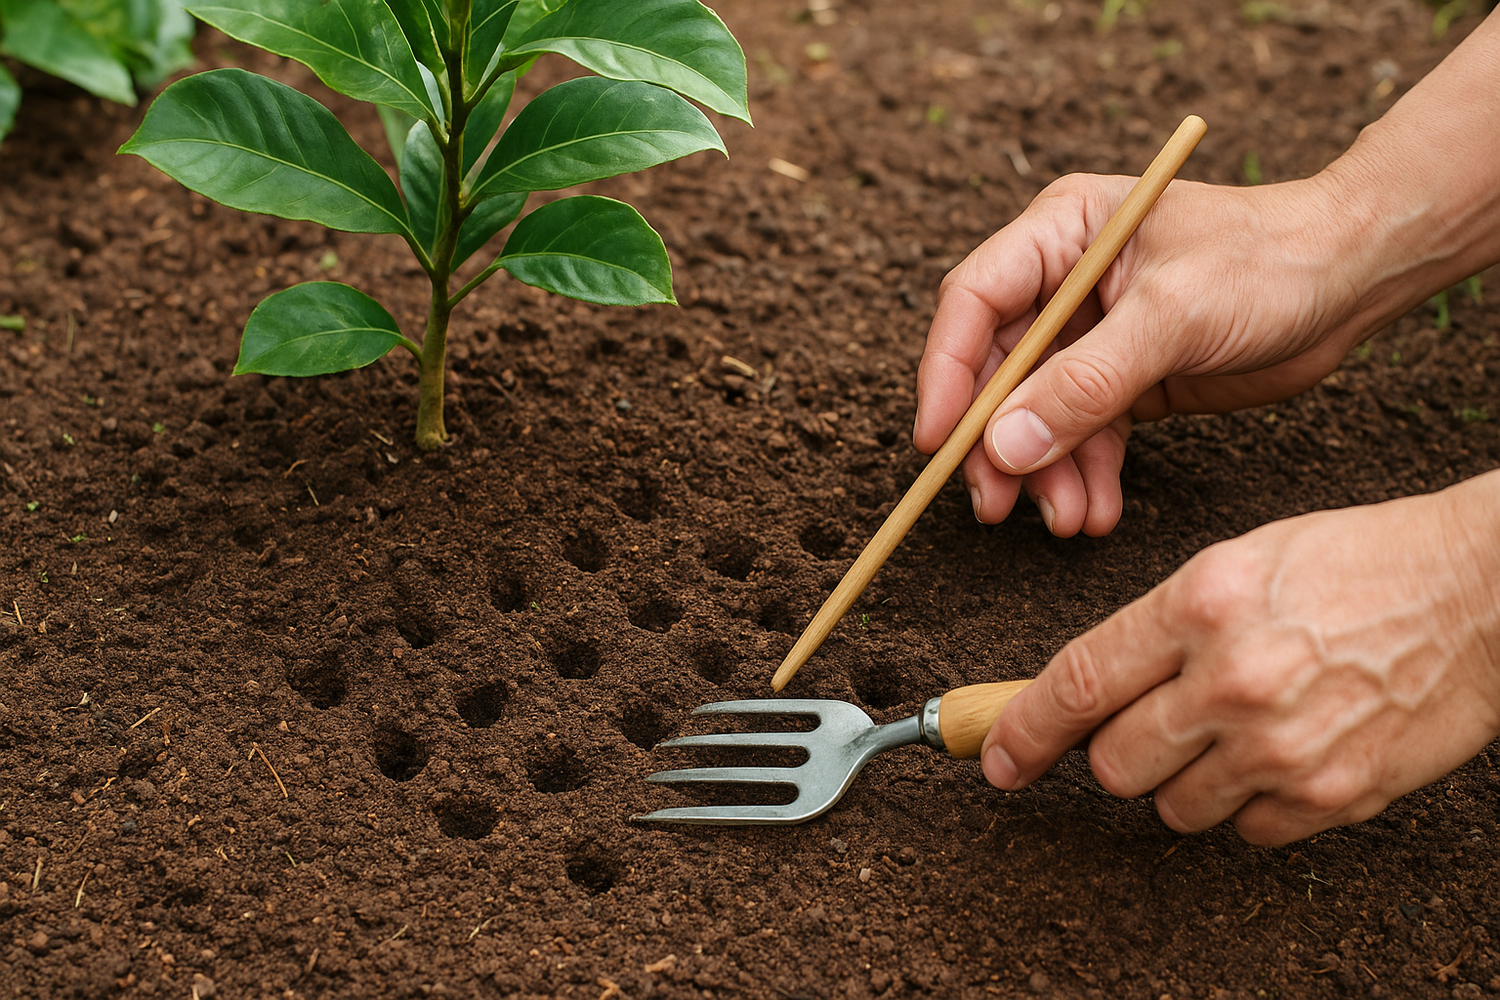
Three main tools cover most garden situations: a chopstick or wooden skewer for container plants, a soil fork or broad fork for open garden beds, and a narrow spike tool for areas close to tree trunks. Each one limits how deep and wide you penetrate, which directly controls root risk.
Choosing a tool that's too large for the root zone is the fastest way to cause damage you won't notice until the plant shows stress weeks later.
Use the table below to select your starting point before you touch the soil.
| Plant type | Recommended tool | Safe working depth |
|---|---|---|
| Houseplants / containers | Chopstick or wooden skewer | 2 to 3 inches |
| Garden beds (established) | Soil fork | 4 to 6 inches |
| Trees and large shrubs | Narrow spike or hand auger | 6 to 8 inches at drip line only |
Avoid mechanical core aerators around any established planting, since the rotating tines pull plugs blindly and cut through whatever root material sits in their path.
Step 3. Aerate the soil with minimal root disturbance
Once you've selected the right tool, your technique and working pattern matter as much as the tool itself. Knowing how to aerate soil without damaging roots means working in a deliberate grid rather than random stabs, staying aware of where root mass is most concentrated.
Work from the outside in
Start at the outermost edge of the plant's canopy and work inward gradually. Feeder roots are least dense at that outer perimeter, so your risk of cutting active root tissue is lowest there. Push your tool in straight down rather than at an angle, since angled entry creates a wider wound path and increases root contact.
Never work within 6 inches of a plant stem or trunk, regardless of the tool you're using.
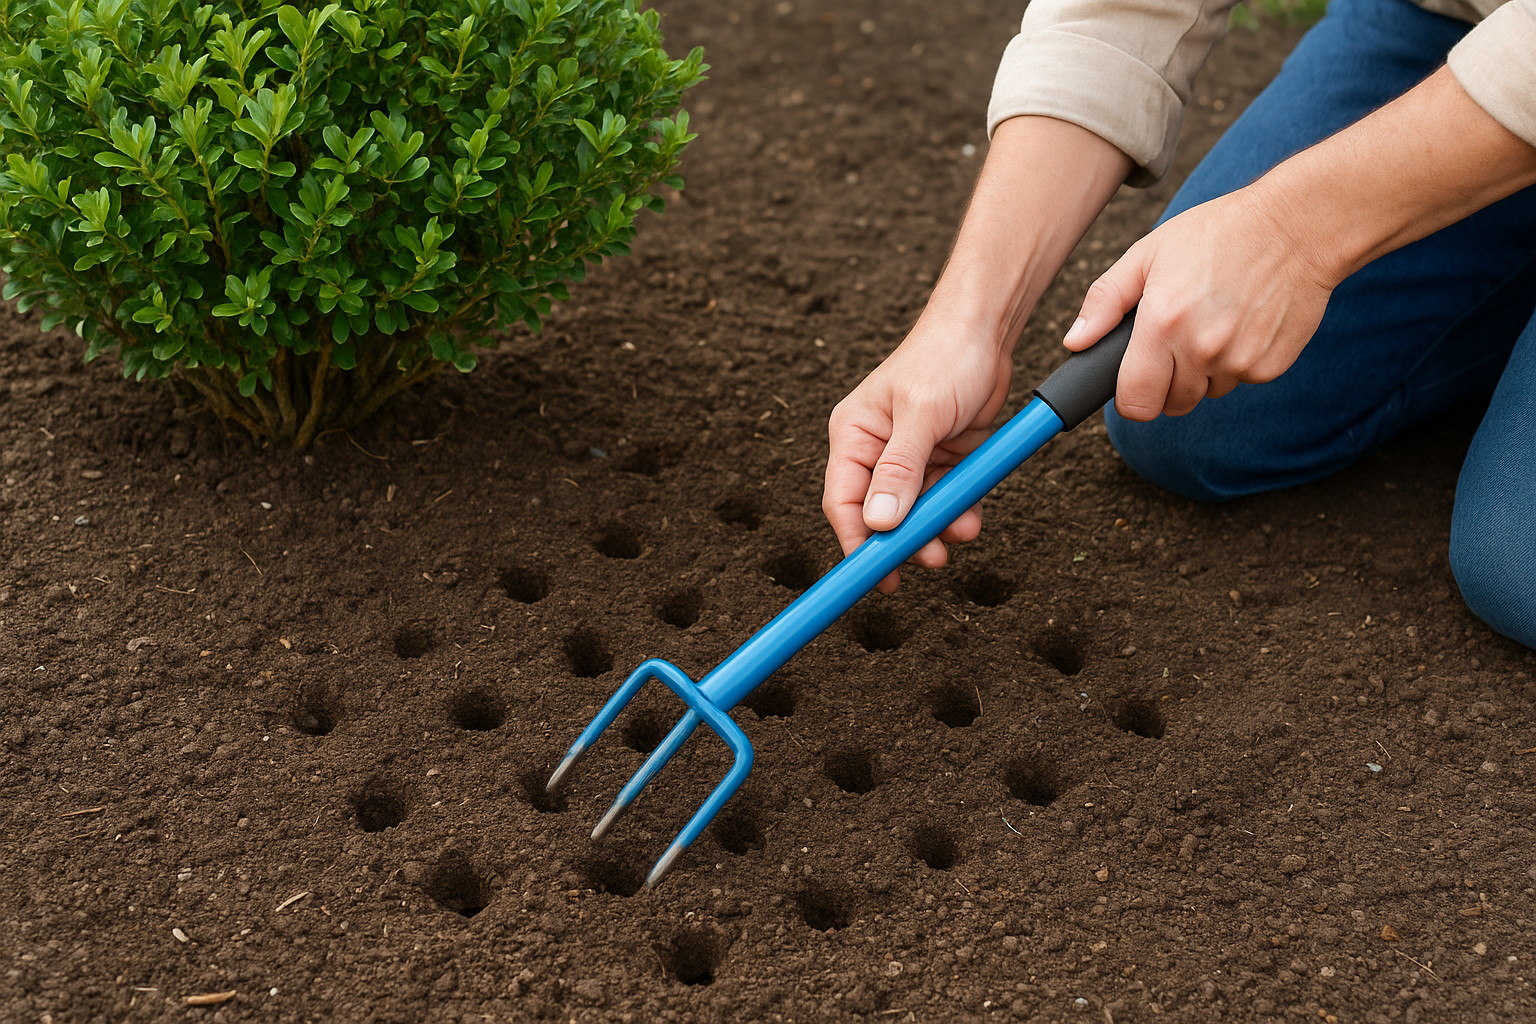
Space your aeration holes using this pattern:
- Place each hole 4 to 6 inches apart in a grid
- Stay within the safe depth range from Step 2
- Wiggle the tool gently side to side before withdrawing to open the channel
Signs you've gone too deep
If you feel sudden resistance give way sharply, you likely hit a root. Stop, withdraw the tool at the same angle you inserted it, and shift at least 3 inches before trying again.
Visible white root material on the tool tip is a clear signal to reduce your working depth for that entire area before continuing.
Step 4. Water and top-dress to lock in the benefits
Aeration creates channels, but those channels need immediate reinforcement to stay open. Without follow-up, soil particles shift back and reduce the benefit you just created. This final step locks in the improved soil structure so your roots can take full advantage over the coming weeks.
Water the aerated area right away
Water slowly and deeply right after aerating, using a gentle hose setting or a watering can with a rose head. Aim for at least 1 inch of water across the entire treated area to push moisture down through each channel to the root depth you worked at in Step 3. A slow, steady application keeps the channels from collapsing under heavy water pressure.
Watering immediately is one of the most overlooked steps in knowing how to aerate soil without damaging roots, yet it directly determines how long the benefit lasts.
Top-dress with compost to stabilize the channels
Spread a thin layer of fine compost (about 1/2 inch) over the treated soil surface after watering. Work it lightly into the aeration holes using your fingers or a soft brush. Compost prevents the channels from collapsing and adds slow-release organic matter that soil microbes break down into nutrients over the next several weeks. Choose your top-dressing based on your plant setup:
- Fine compost: best all-round option for garden beds and established plantings
- Coco coir: ideal for container plants that need consistent moisture retention
- Coarse sand mixed with compost: suited for clay-heavy garden beds prone to waterlogging
Key takeaways and next steps
Learning how to aerate soil without damaging roots comes down to four repeatable steps: confirm compaction first, match your tool to the plant type, work from the outer edge inward at a controlled depth, and follow up with water and compost immediately. Skipping any one of these steps reduces the benefit and increases the risk of root damage, so treat the sequence as a complete process rather than a checklist you can shortcut.
Your soil will respond within a few weeks. Watch for improved drainage, firmer stems, and new leaf growth as early signs that the root zone has recovered. Repeat the process once or twice a year for established garden beds and seasonally for container plants.
If you want expert eyes on your garden before you start, our team at Konzept Garden is ready to help. Get in touch with our landscape specialists for a consultation tailored to your outdoor space.
