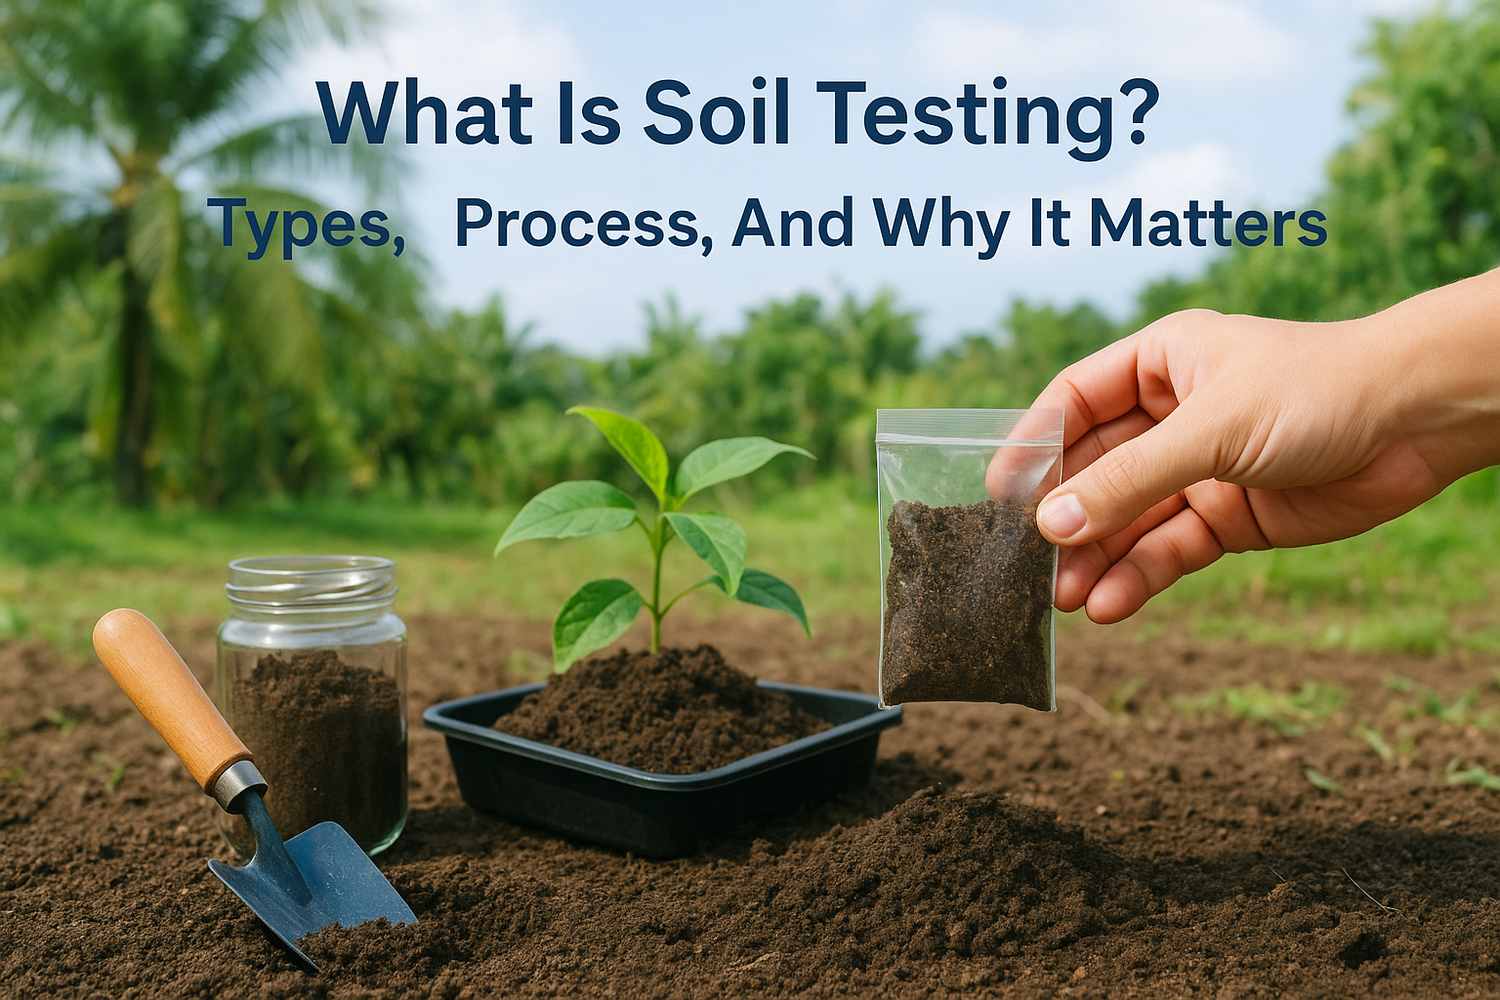
Every successful garden starts below the surface. Before a single plant goes into the ground or a foundation gets poured, understanding what is soil testing, and why it matters, can mean the difference between a thriving outdoor space and a costly mistake. Whether you're planning a backyard garden in Kuala Lumpur or preparing land for a commercial development, soil testing gives you the data you need to make smart decisions from day one.
At Konzept Garden, soil conditions directly shape how we approach every landscape design project. The pH level, nutrient content, drainage capacity, and structural composition of the soil all influence which plants will flourish, what amendments are needed, and how long a design will hold up over time. Skipping this step is one of the most common, and most expensive, oversights we see among property owners in Malaysia.
This article breaks down the types of soil tests used in both agriculture and construction, walks you through the sampling and analysis process, and explains exactly why testing matters before you break ground. By the end, you'll have a clear understanding of how soil testing works and when to invest in it for your own project.
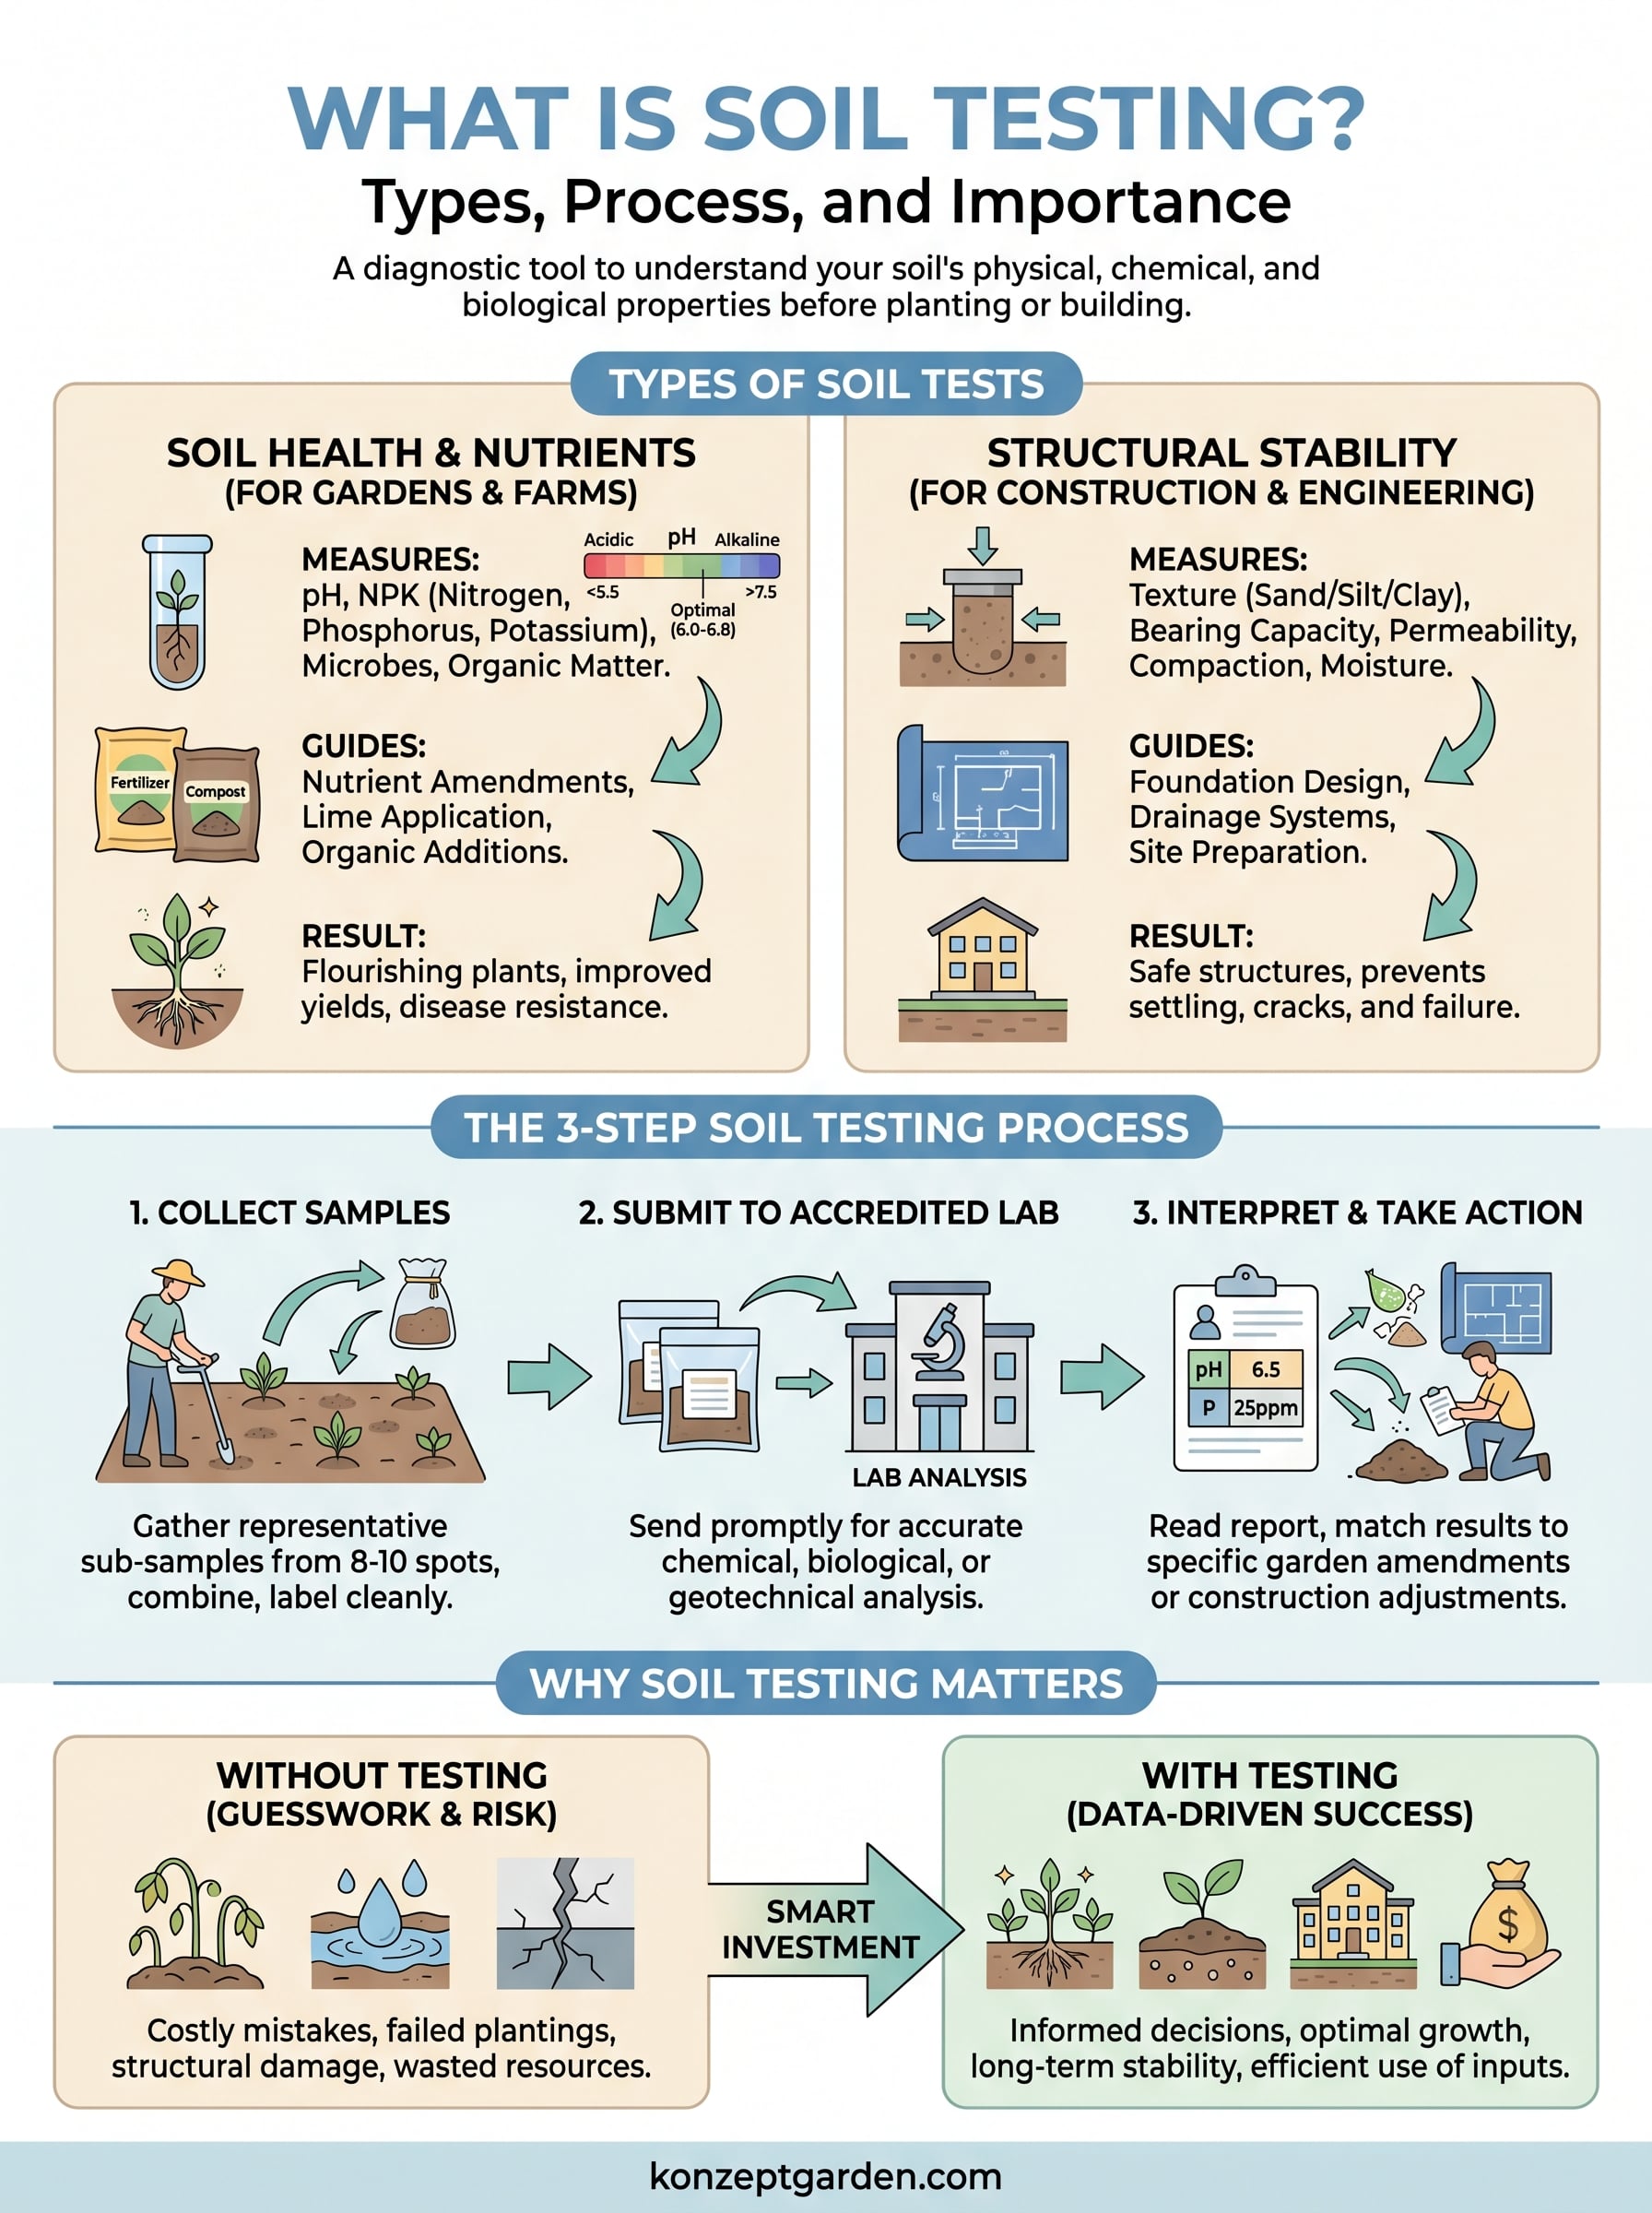
What soil testing is and what it measures
At its core, soil testing is the process of collecting a sample of soil and analyzing it in a laboratory to determine its physical, chemical, and biological properties. When people ask what is soil testing, the short answer is: it's a diagnostic tool. Just as a blood test tells a doctor what's happening inside your body, a soil test tells you what's actually happening inside the ground you're working with. The results guide every decision that follows, from what fertilizer to apply to whether a site can safely hold a structure.
What a soil sample actually contains
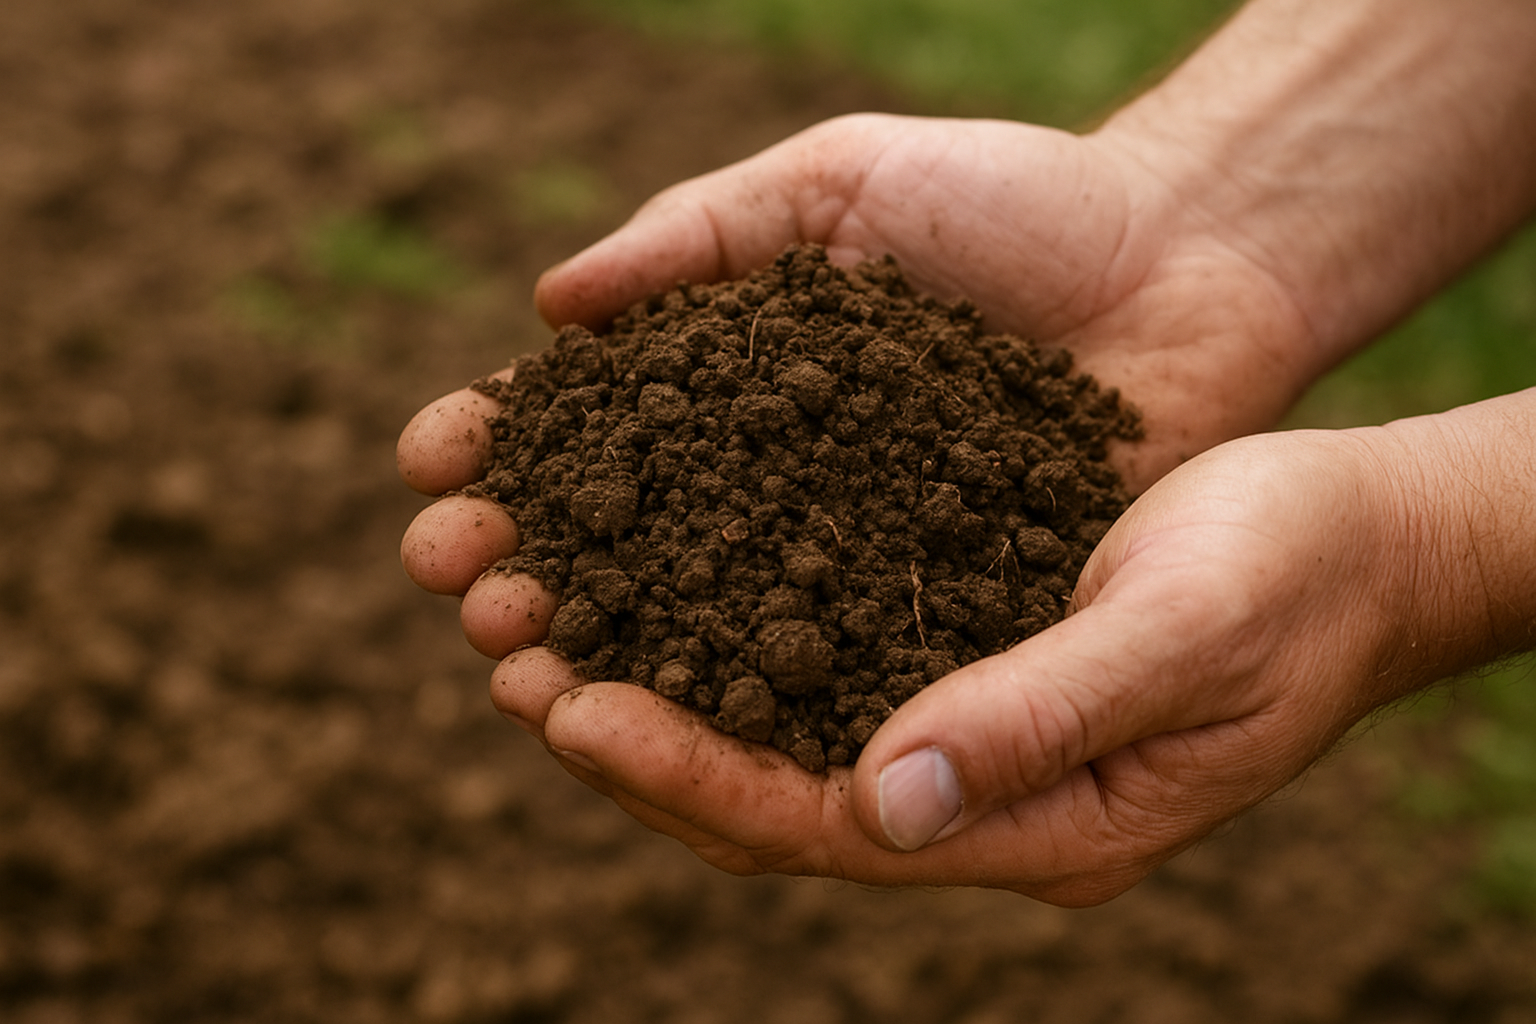
A soil sample looks simple, but it holds a surprising amount of information. Each handful contains mineral particles, organic matter, water, air, and billions of microorganisms, all interacting in ways that directly affect what grows in the soil or what gets built on top of it. When you send a sample to a lab, technicians break it apart and measure specific characteristics that reveal the soil's condition and capability.
The depth and location of your sample matter as much as the sample itself. Topsoil and subsoil behave very differently, and a test that only captures the surface layer can miss structural problems sitting just a few centimeters below. For garden projects, samples typically come from the top 15 to 30 cm. For construction or civil engineering work, samples often go much deeper, sometimes several meters down, depending on what the project requires.
Physical properties soil tests measure
Physical testing focuses on how soil behaves under pressure, water, and load. The texture of soil (the ratio of sand, silt, and clay particles) determines how well it drains, how easily roots can penetrate it, and how much it will compact over time. Soil structure, which describes how particles clump together, affects aeration, water retention, and root development in measurable ways.
Here are the key physical properties a soil test typically evaluates:
- Texture: The percentage of sand, silt, and clay present
- Bulk density: How tightly packed the soil particles are
- Permeability: How fast water moves through the soil profile
- Compaction: The soil's resistance to compression under load
- Moisture content: The amount of water currently held in the sample
Knowing your soil's drainage rate before planting or building can prevent waterlogging, root rot, and in construction contexts, serious foundation failure.
Chemical properties soil tests measure
Chemical analysis tells you what nutrients are present, which are lacking, and whether the soil environment supports healthy plant growth or poses risks to a structure. Soil pH is usually the first number reported because it controls how available nutrients are to plant roots. A pH that's too high or too low locks out essential minerals even when they're physically present in the soil.
Beyond pH, nutrient levels including nitrogen, phosphorus, and potassium are the most commonly measured values for agricultural and garden use. Labs also test for secondary nutrients like calcium, magnesium, and sulfur, along with trace elements that affect both plant health and long-term soil stability. In construction contexts, chemical tests screen for contamination, salinity, and high organic content that could compromise concrete or steel performance over time.
Why soil testing matters for gardens, farms, and builds
Understanding what is soil testing helps, but knowing why it matters in practice is what drives the decision to actually do it. Skipping a soil test means making expensive, preventable guesses about conditions that a simple analysis could reveal. Whether your project involves planting a tropical garden in a high-rainfall area or preparing land for a commercial structure, the soil underneath will either support your goals or work against them.
For gardens and landscape design
Soil composition directly determines which plants can survive and thrive in your outdoor space. In Malaysia's tropical climate, many residential plots carry laterite soils that are acidic, low in phosphorus, and prone to waterlogging. Without a test, you risk planting species that are fundamentally incompatible with the ground they're going into. A result showing pH level, drainage rate, and organic matter content lets you correct problems before they destroy an entire planting scheme.
Testing before you plant costs a fraction of what it costs to replace failed plants, rework drainage, or re-amend soil across a mature garden.
Applying amendments based on guesswork can deplete soil health over time and contribute to groundwater runoff. Under-fertilizing, on the other hand, leaves plants weak and vulnerable to disease. A test gives you exact quantities to apply rather than broad estimates, which protects both your plants and the surrounding environment.
For farms and construction projects
In agriculture, soil chemistry controls crop yield, disease resistance, and long-term land productivity. Farmers who test regularly can track how soil health shifts across growing seasons and adjust their inputs accordingly. Those who skip testing often face declining yields that cost far more to reverse than a straightforward lab analysis would have.
Construction projects carry even higher stakes when soil conditions go unexamined. Poor bearing capacity, high shrink-swell clay content, or contamination from previous land use can cause foundations to shift, crack, or fail entirely over time. Geotechnical soil testing identifies these risks before any work starts, giving engineers the data they need to design appropriately and giving contractors a clear basis for site preparation decisions.
Types of soil tests for health and stability
Not all soil tests serve the same purpose. Understanding what is soil testing in full means recognizing that different tests answer different questions, and choosing the right one depends on what you plan to do with the soil. Some tests focus on nutrient availability and pH for growing plants, while others evaluate load-bearing capacity and drainage behavior for engineering applications.
Tests that measure soil health
Soil health tests give you a chemical and biological picture of what is available to your plants and what the soil needs to improve. The most common starting point is a standard nutrient panel, which measures pH, nitrogen, phosphorus, and potassium alongside secondary nutrients like calcium and magnesium. You get specific numbers for each element, which lets you apply targeted amendments rather than broad, wasteful treatments.
Beyond nutrients, organic matter content testing tells you how biologically active your soil is. High organic matter supports microbial life, improves water retention, and feeds plant root systems over time. Labs also run cation exchange capacity (CEC) tests, which measure how well your soil holds nutrients against leaching, an important metric in Malaysia's high-rainfall conditions where nutrients wash out quickly.
A complete soil health test costs relatively little compared to the cost of replacing dead plants or rebuilding a planting scheme from scratch.
Tests that assess structural stability
Construction projects require a different set of measurements focused on how soil performs under physical stress. The most widely used geotechnical tests include bearing capacity tests, Atterberg limits tests, and the standard Proctor compaction test. Together, these reveal whether the ground can hold the weight of a structure and how it will respond to changes in moisture over time.
Permeability testing measures how fast water moves through the soil profile, which matters for both drainage design and foundation performance. High-clay soils that expand when wet and shrink when dry can crack slabs and shift footings if your engineer does not account for that behavior upfront. Running these tests before construction starts gives your team clear data to design the right foundation for the actual site conditions you are working with.
How the soil testing process works step by step
Knowing what is soil testing is only useful if you understand how to actually carry one out. The process runs through three clear stages: sampling, laboratory analysis, and results review. Each stage has specific requirements that determine how accurate and useful your final data will be. Cutting corners on any one of them reduces the value of everything that follows.
Step 1: Collect your soil samples
Proper sampling is the foundation of a reliable test. Random or careless collection skews your results, making the data less representative of what the soil actually contains across your site. For a garden or planting area, collect 8 to 10 sub-samples from different spots across the plot, then combine them into a single composite sample. Avoid collecting near compost heaps, drainage pipes, or well-worn paths, since those locations do not reflect the broader soil condition.
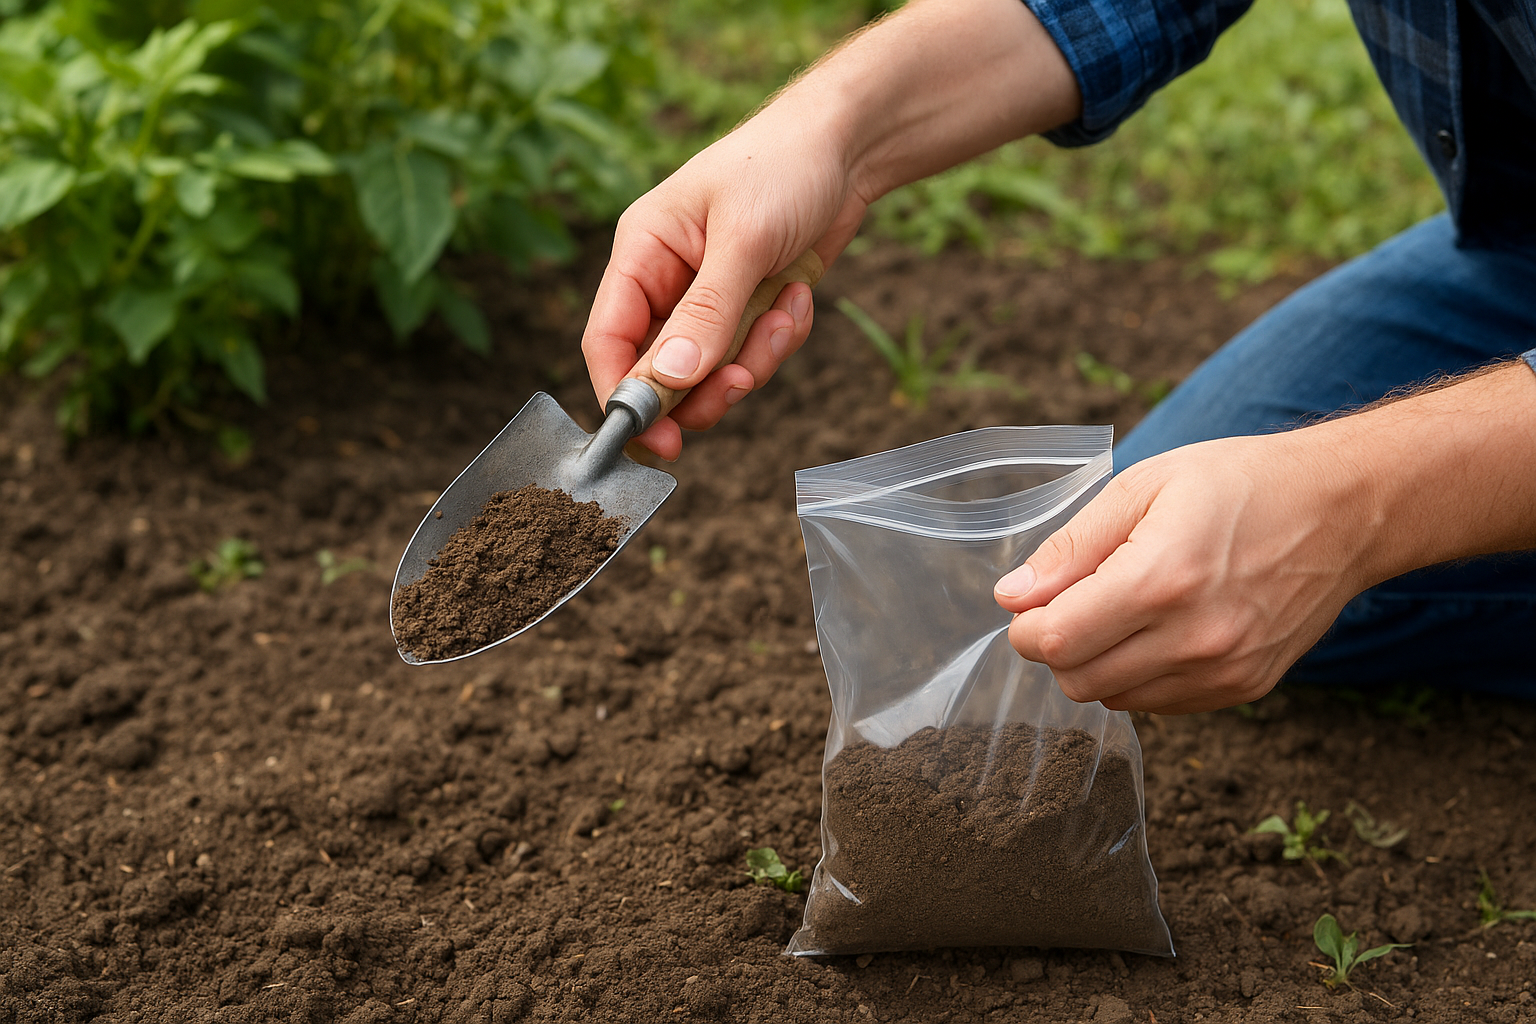
Your tools and containers matter just as much as your technique. Use the following to get a clean, usable sample:
- A stainless steel trowel or soil probe, free of chemical residue
- A clean plastic bag labeled with location, depth, and intended land use
- Separate bags for areas with noticeably different soil texture or color
- Tight sealing to preserve moisture content before lab submission
Step 2: Submit samples to a laboratory
Once you have your samples, send them to an accredited soil testing laboratory as quickly as possible. Fresh samples produce more accurate biological readings because microbial activity shifts over time and can alter results. Most labs provide submission forms where you specify what panels you need tested, whether that is basic nutrients and pH for a planting project, or a full geotechnical battery for a construction site.
Choosing a lab familiar with Malaysian soil conditions gives you results benchmarked against local standards, which makes the data far more actionable than generic international ranges.
Step 3: Receive and read your report
Labs typically return results within 3 to 10 working days, depending on the tests requested and the current volume at the facility. Your report lists numerical values for each parameter measured, usually alongside reference ranges that indicate whether each result falls low, adequate, or high. Some reports include brief interpretation notes, but many deliver raw data without guidance, which is why understanding how to read those numbers before you act on them is a critical part of the process.
How to interpret results and take action
Receiving your lab report is only half the job. Understanding what the numbers mean and translating them into specific steps for your garden or construction site is where the real work happens. Many people complete the testing process but then struggle to connect their results to a concrete plan of action, which defeats the entire purpose of understanding what is soil testing in the first place.
Reading pH and nutrient values
Your report will list pH as a number between 0 and 14, with 7 being neutral. Most tropical plants grown in Malaysian gardens perform best in a range of 6.0 to 6.8, where nutrients are most accessible to roots. Results below 5.5 indicate high acidity that often calls for lime applications, while readings above 7.5 suggest you need to lower pH with elemental sulfur or acidic organic matter before planting.
A one-unit shift in pH changes nutrient availability significantly, so even small corrections can produce noticeable improvements in plant health.
Nutrient values are reported in parts per million or as percentage composition. Use this reference to quickly interpret the most common readings:
| Parameter | Low | Adequate | High |
|---|---|---|---|
| pH | Below 5.5 | 6.0 to 6.8 | Above 7.5 |
| Phosphorus (P) | Below 15 ppm | 15 to 40 ppm | Above 40 ppm |
| Potassium (K) | Below 100 ppm | 100 to 200 ppm | Above 200 ppm |
| Organic Matter | Below 2% | 2% to 5% | Above 5% |
Translating results into garden or site adjustments
Once you know where your soil stands, match each deficiency or problem to a specific amendment or design adjustment. Low phosphorus responds well to bone meal or rock phosphate worked into the planting bed. Poor organic matter levels improve steadily with regular compost additions, which also support the microbial activity your plants rely on through every growing season in Malaysia's humid conditions.
For construction projects, your geotechnical results guide foundation design directly. High plasticity clay calls for deeper footings or ground improvement techniques, while low bearing capacity may require soil stabilization before any slab work begins. Share your full report with your structural engineer or landscape designer before finalizing any construction drawings, because the numbers in that document should drive every technical decision your team makes from that point forward.
A simple plan for your next test
Now that you understand what is soil testing and how it shapes every decision that follows, the next step is straightforward: test before you invest. Start by identifying the specific purpose of your project, whether that is a new planting bed, a lawn renovation, or a construction site. Collect your samples correctly, label them clearly, and submit them to an accredited lab that understands Malaysian soil conditions.
Once your results arrive, match each finding to a concrete action before you buy a single plant or pour concrete. Fix pH issues, address nutrient deficiencies, and consult a professional if your geotechnical numbers raise red flags. Soil work done right at the start protects every dollar you spend on design and installation.
Ready to build an outdoor space that lasts? Talk to the Konzept Garden team today and let expert design guidance turn your soil results into a garden worth living in.

