Heavy rain hits your property and water rushes off your roof, driveway, and walkways. It carries dirt, chemicals, and pollutants straight into storm drains and eventually into streams and rivers. Meanwhile, that same water could be nourishing your garden instead of causing flooding and pollution problems.
A rain garden offers a simple way to capture and filter this runoff right on your property. This shallow planted depression uses native plants and enhanced soil to soak up rainwater naturally. Rain gardens can absorb 30% more water than regular lawns while removing up to 90% of pollutants from runoff.
This guide explains exactly what a rain garden is and walks you through the complete process of creating one. You'll learn how to choose the right location, calculate the proper size, select plants that thrive in wet conditions, and build a functional rain garden that benefits both your property and the environment.
What is a rain garden and why it matters
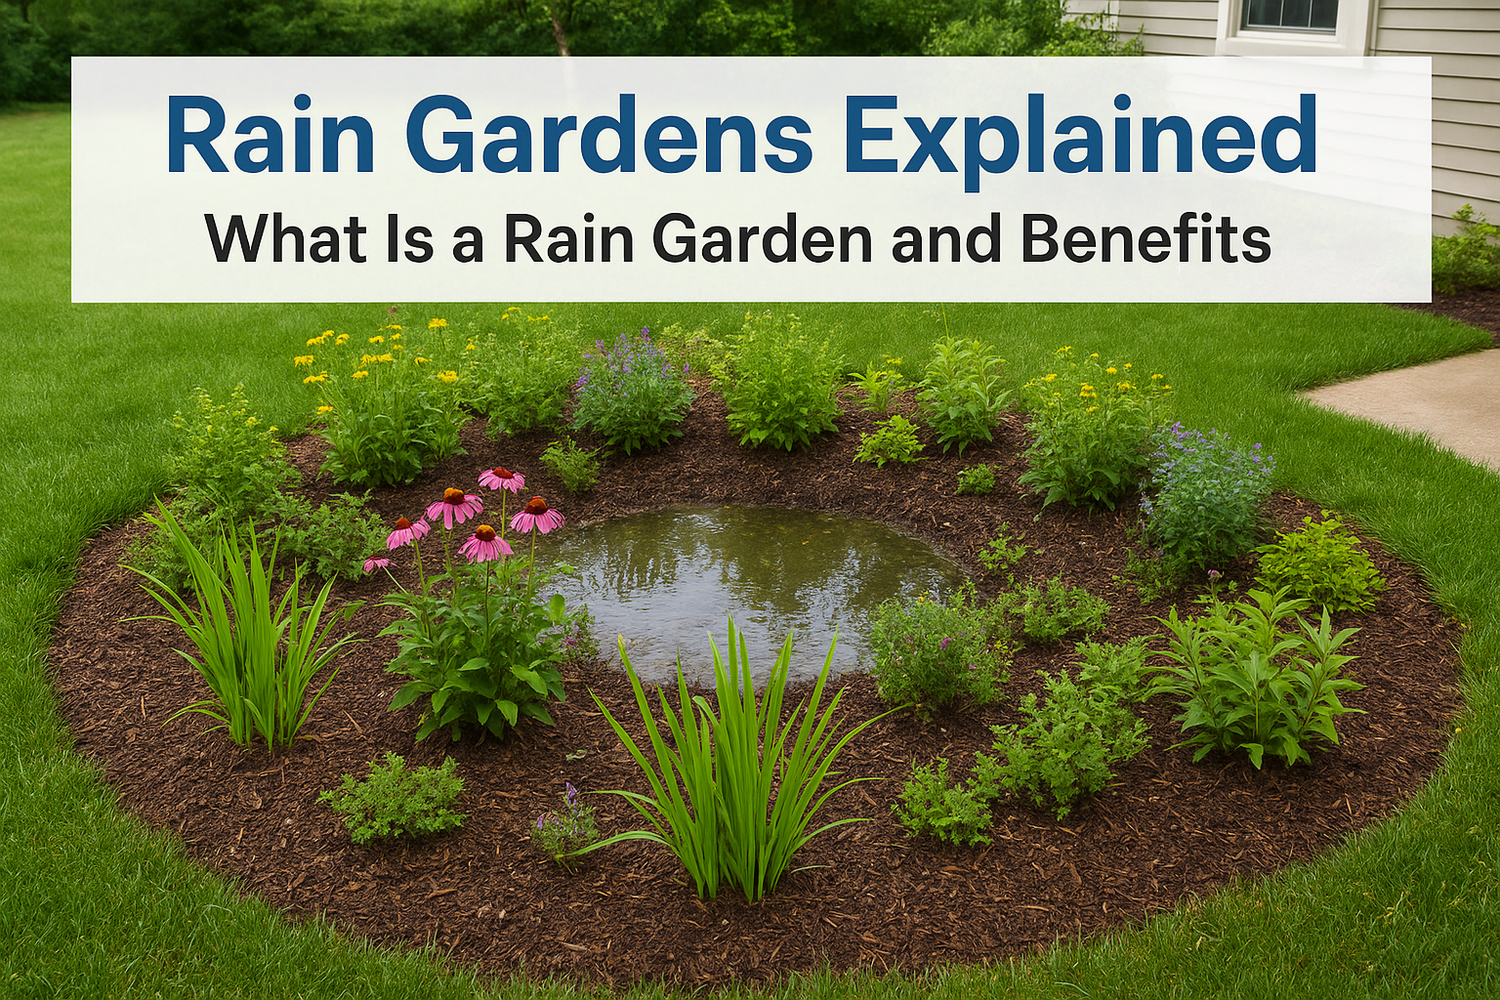
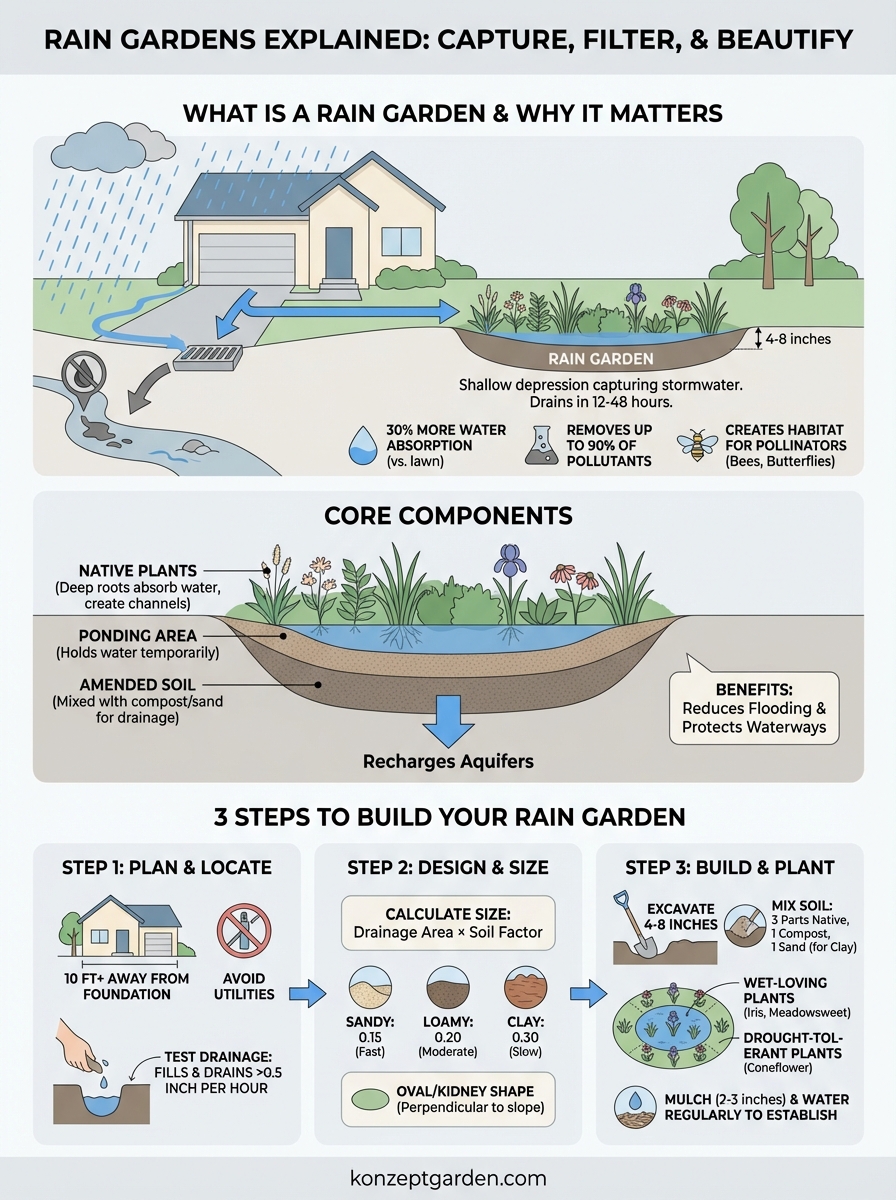
A rain garden is a shallow planted depression that captures and filters stormwater runoff from your property's hard surfaces. The garden typically sits 4-8 inches below ground level and uses native plants with deep root systems to absorb water that would otherwise flow into storm drains. Unlike ponds or wetlands, rain gardens drain completely within 12-48 hours after rainfall, preventing mosquito breeding while protecting local waterways.
Core components of a rain garden
Your rain garden consists of three essential layers that work together to manage water effectively. The bottom layer contains amended soil mixed with compost and sand to improve drainage rates, while the middle zone holds standing water temporarily during and after rain events. Native plants occupy the top layer, with their extensive root networks creating natural channels for water to penetrate deep into the ground and recharge aquifers.
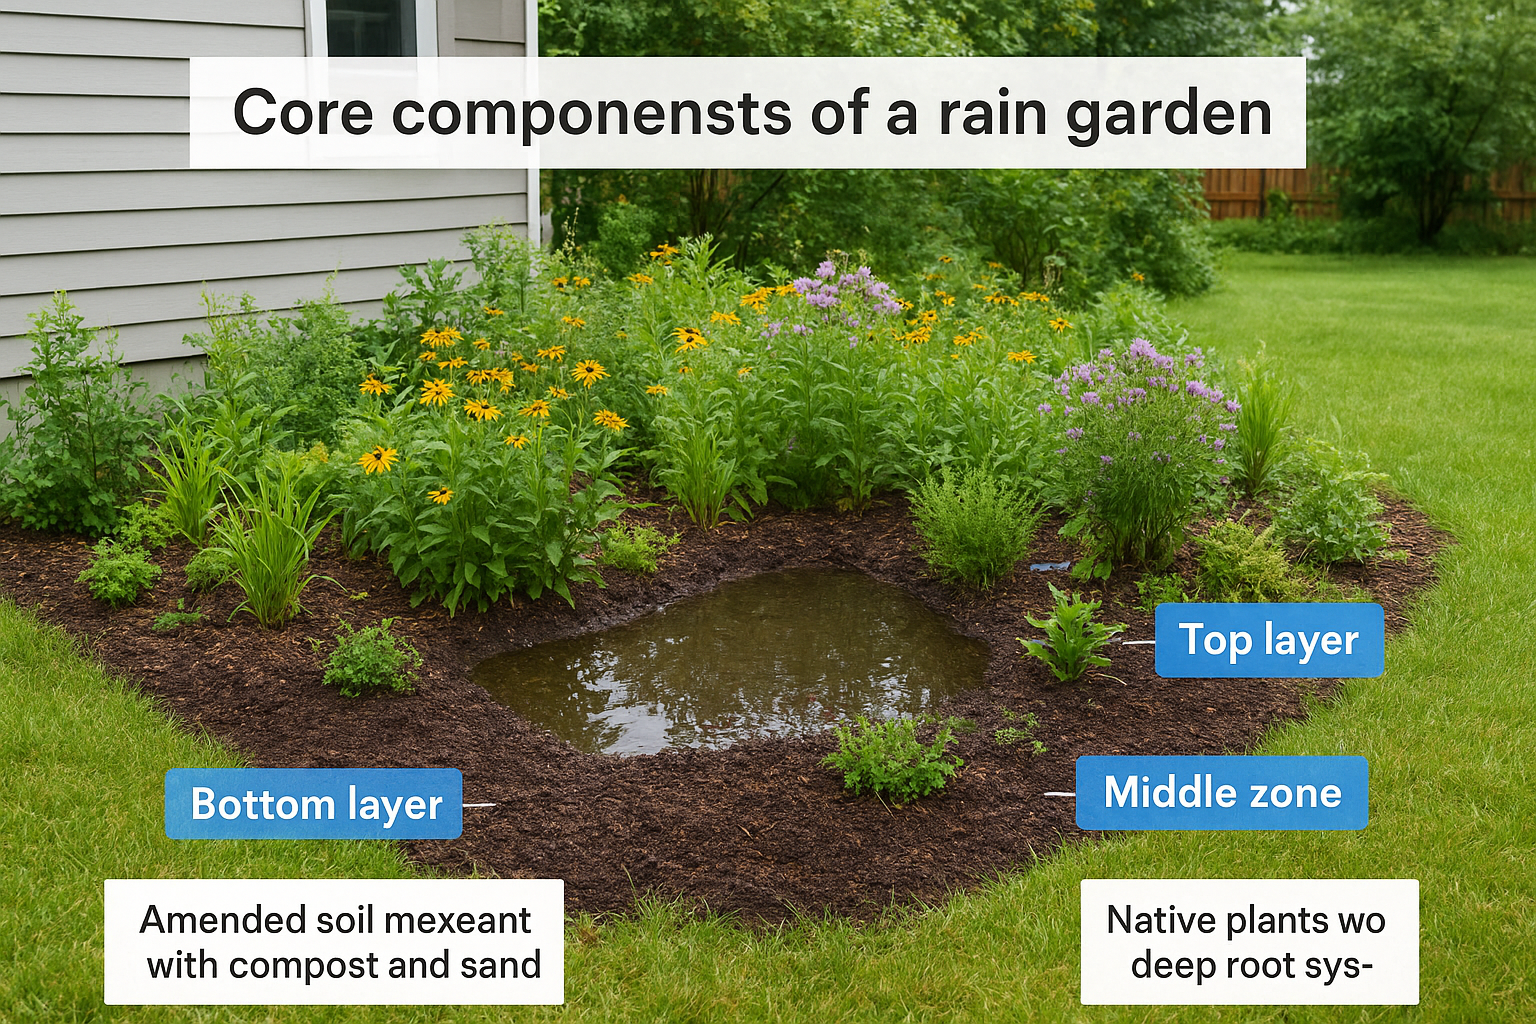
Rain gardens remove up to 90% of pollutants including fertilizers, pesticides, and motor oil from runoff before it reaches waterways.
Why your property needs one
Rain gardens solve multiple problems simultaneously on your property without requiring complex installation. They reduce flooding by capturing 30% more water than standard lawns and eliminate pollutants before they contaminate local streams and rivers. You'll also create valuable habitat for butterflies, bees, and beneficial insects while reducing the burden on municipal drainage systems during heavy rainfall.
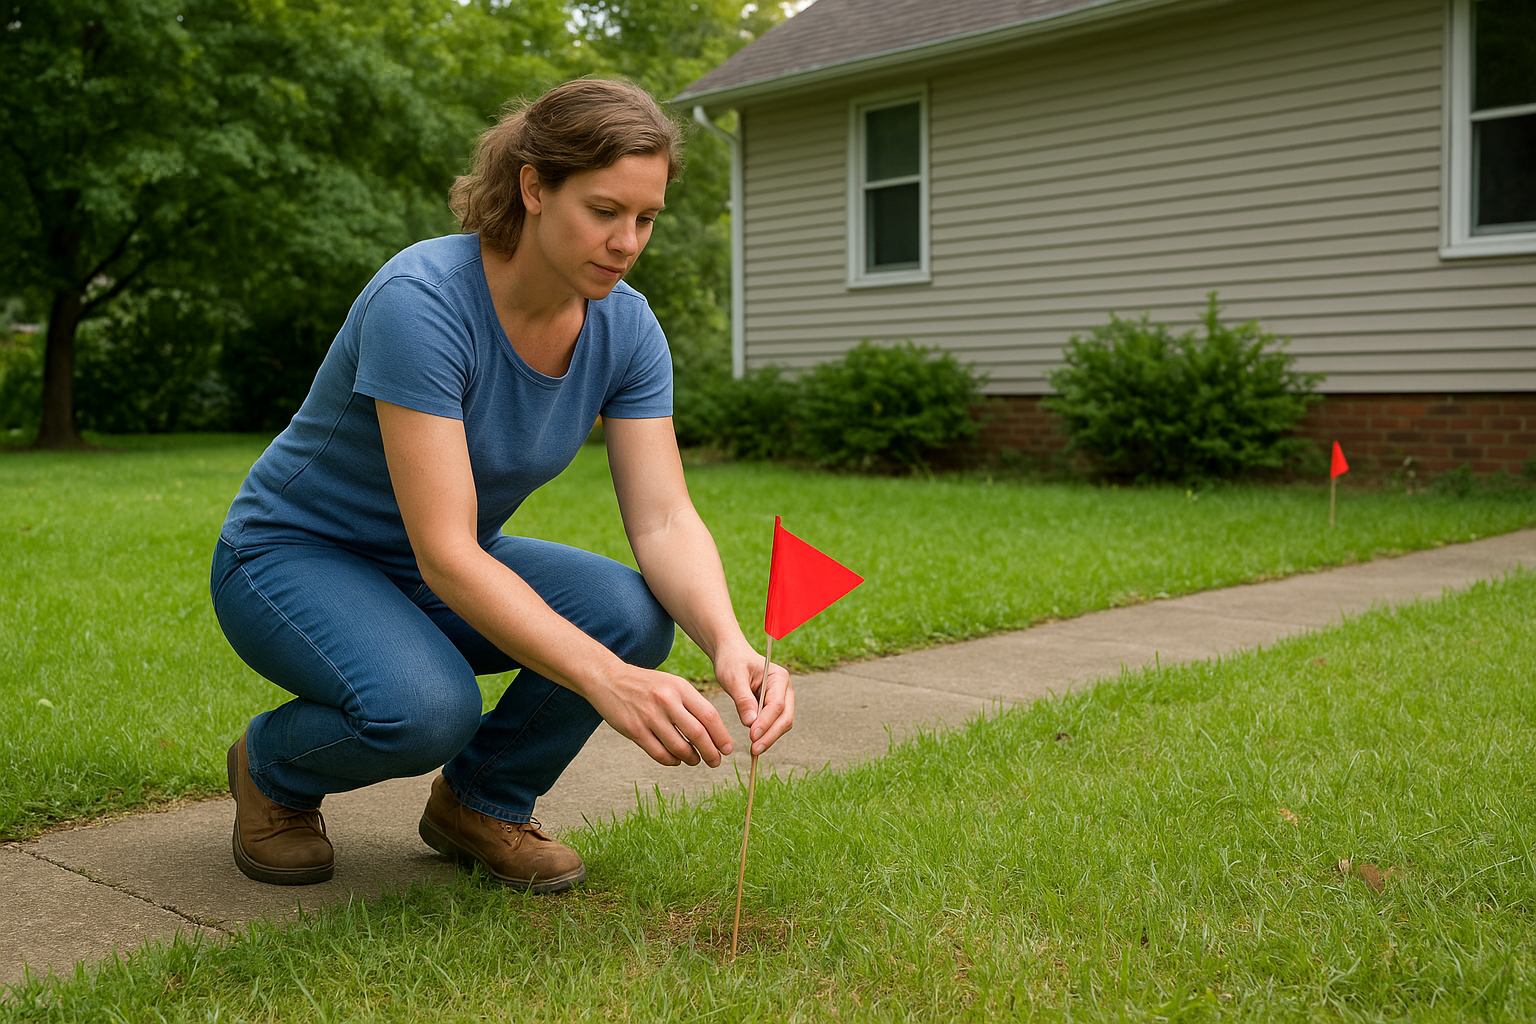
Step 1. Plan your rain garden site
Start by identifying where water naturally flows on your property after rainfall. Your rain garden needs to sit in a location at least 10 feet away from your home's foundation to prevent water damage, and you should avoid placing it over septic systems, utility lines, or underground pipes. Walk your property during or immediately after a rainstorm to observe drainage patterns and mark potential collection points with stakes or flags.
Choose the optimal location
Your best site captures runoff from gutters, driveways, or walkways while meeting specific safety requirements. Position the garden on a natural slope perpendicular to water flow to maximize collection, and ensure the area doesn't already pool water for extended periods. Sites that drain poorly indicate compacted soil or a high water table, both of which create unsuitable conditions for what is a rain garden designed to accomplish.
Test your soil drainage
Dig a hole 6-12 inches deep and 4 inches wide at your proposed site to verify proper drainage rates. Fill the hole completely with water and let it soak for 1-2 hours to pre-wet the surrounding soil, then refill and measure water depth with a ruler or stick. After one hour, your water level should drop by at least half an inch, confirming adequate drainage for a functional rain garden.
Sites with clay soil that drains less than a quarter inch per hour require soil amendments or an alternative location.
Step 2. Design and size your rain garden
Calculate your rain garden size based on the drainage area feeding into it and your soil type. Your garden should cover approximately 20% of the roof, patio, or driveway area that drains into it, though clay soils require larger gardens (up to 30%) while sandy soils need smaller ones (15%). Measure the square footage of your drainage area, multiply by the appropriate percentage, and you'll have your minimum rain garden size.
Calculate the garden dimensions
Use this simple calculation template to determine your specific rain garden size based on your property's drainage area:
Drainage Area (sq ft) × Soil Factor = Garden Size (sq ft)

Soil Factor Guide:
- Sandy soil: 0.15 (drains fast)
- Loamy soil: 0.20 (drains moderate)
- Clay soil: 0.30 (drains slow)

Example:
500 sq ft roof × 0.20 = 100 sq ft rain garden
For a typical residential downspout draining a 500-square-foot roof section, you need a rain garden between 75 and 150 square feet depending on soil type. Convert this into dimensions that fit your yard, such as a 10×10-foot garden for loamy soil or 12×12 feet for clay-heavy ground.
Shape and depth specifications
Design your rain garden as an oval or kidney shape that's longer than it's wide to maximize water collection along the natural slope. Position the longest dimension perpendicular to the slope so water flows evenly across the entire garden surface rather than rushing through one end. Your garden should measure 4-8 inches deep at the center, with sides gradually sloping up to meet the existing ground level.
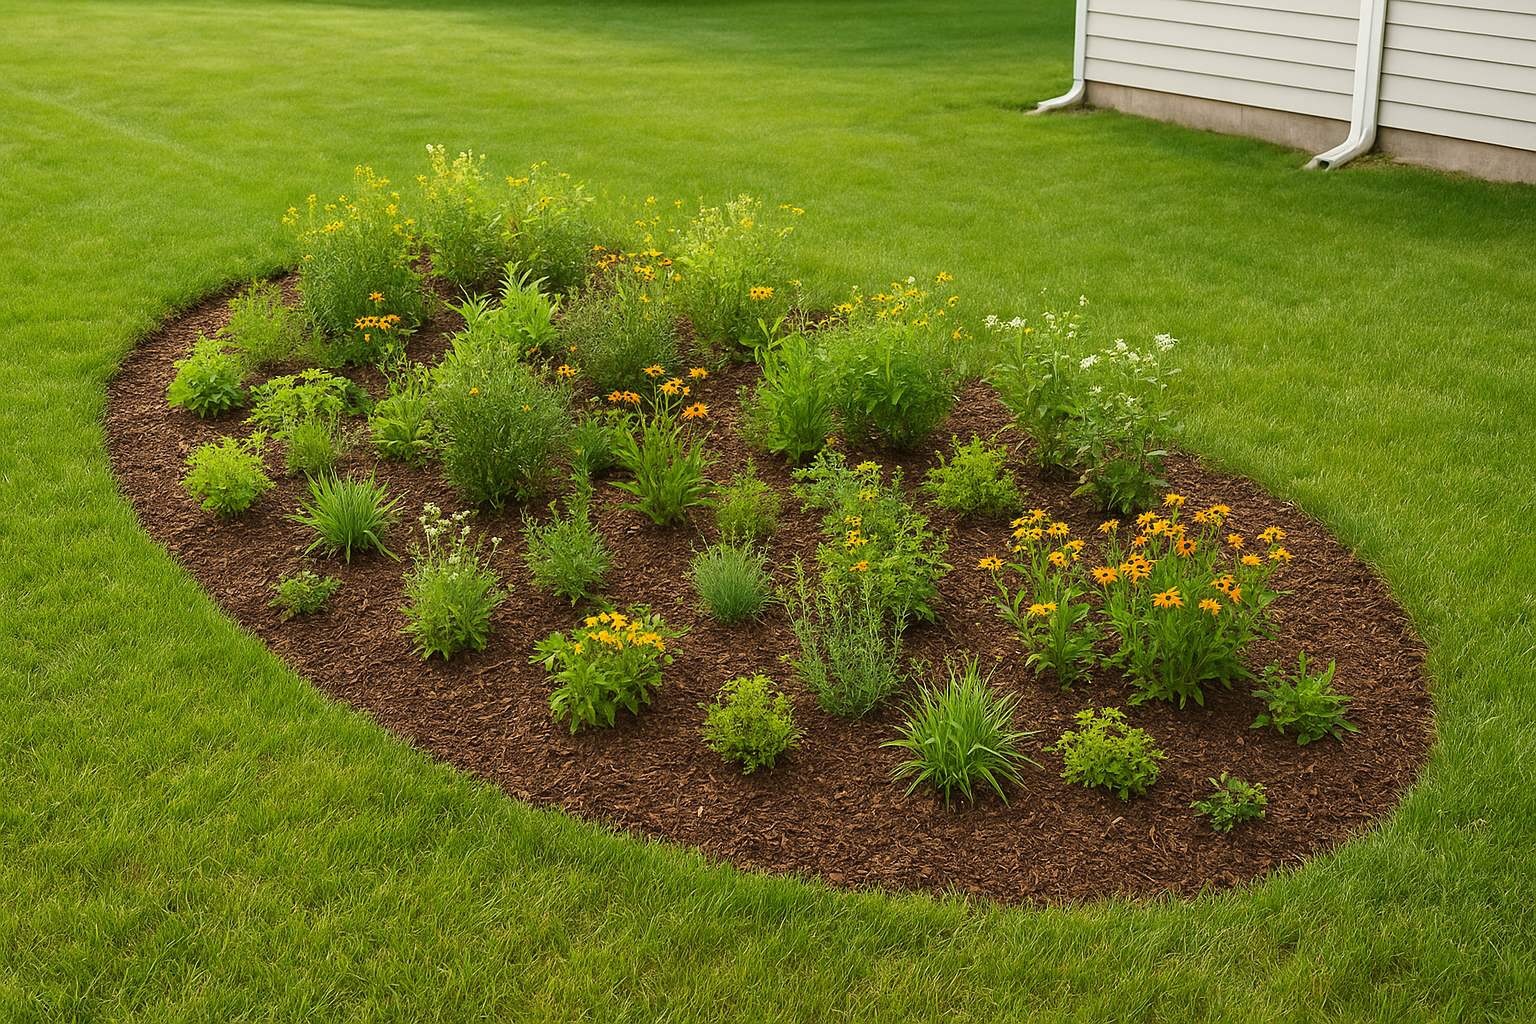
Properties on slopes require a berm on the downhill side, built from excavated soil, to contain water and prevent overflow during heavy storms.
Step 3. Build and plant your rain garden
Call 811 before you dig to locate underground utility lines, then mark your rain garden outline with stakes and string. Remove all grass and vegetation from the marked area and excavate soil to your planned depth of 4-8 inches, creating a level bottom across the entire garden. Pile the excavated soil on the downhill side to form a berm if your property slopes, or spread it elsewhere in your yard if the site is relatively flat.
Prepare the soil mixture
Mix your excavated soil with amendments to improve water infiltration and plant growth. Combine 3 parts native soil with 1 part compost and 1 part coarse sand for clay-heavy ground, or use 4 parts soil with 1 part compost for sandier sites. Return this amended mixture to your excavated garden, filling to within 2-3 inches of the surrounding ground level to allow space for mulch and temporary water pooling.
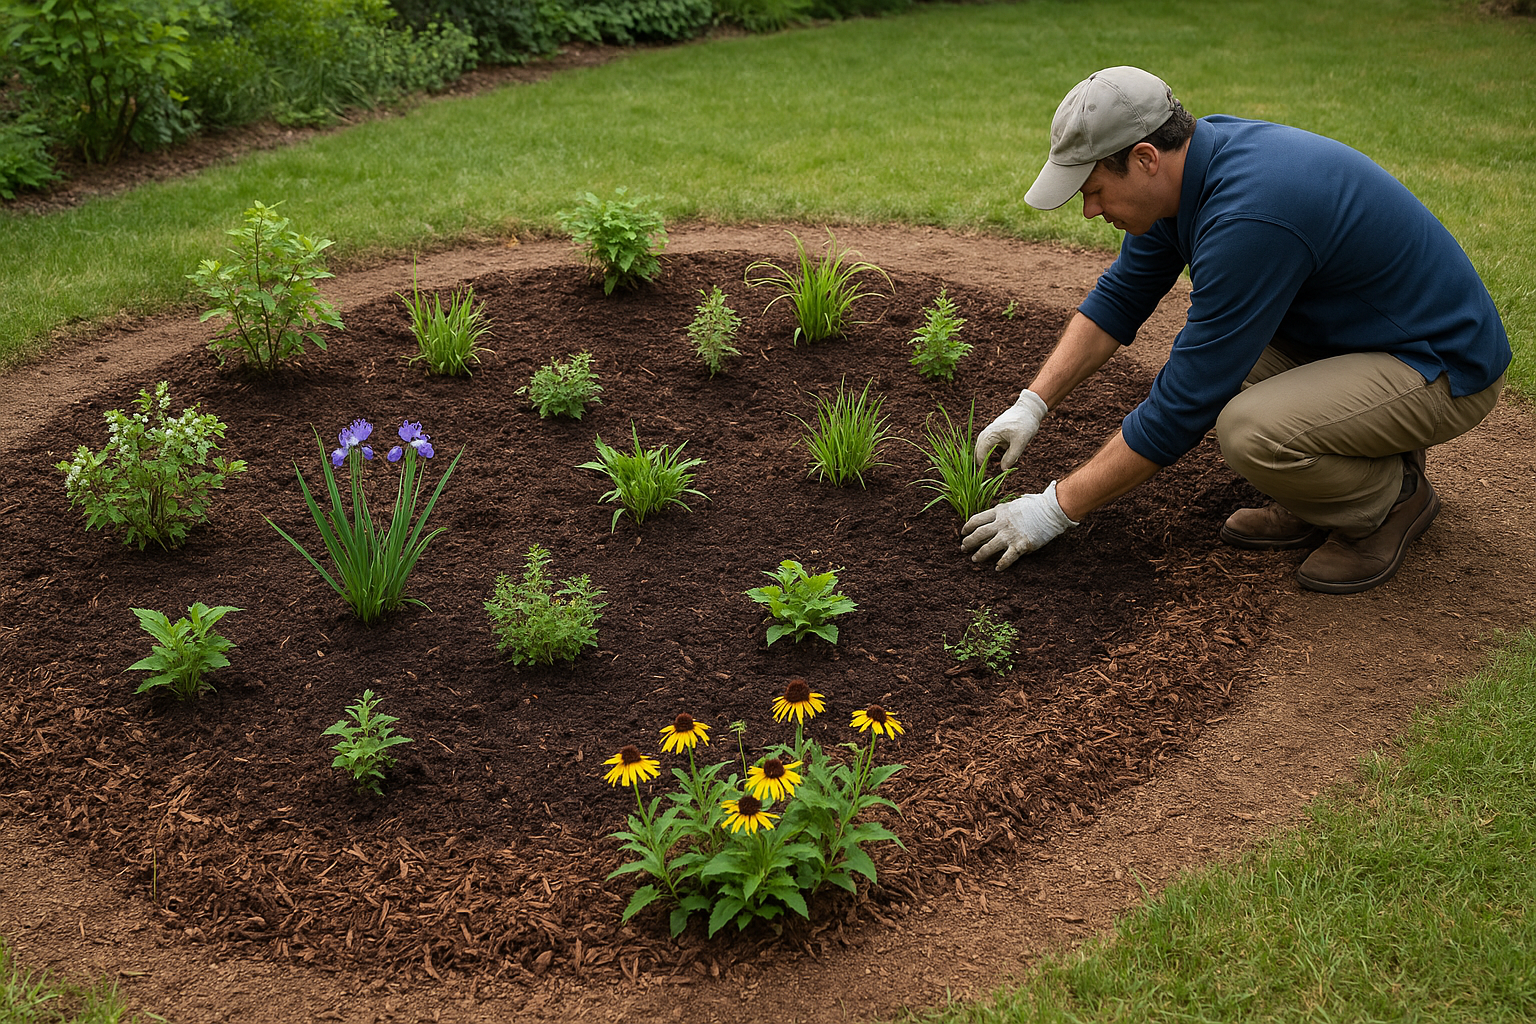
Plant native species strategically
Select 8-12 native plant species that tolerate both wet and dry conditions, placing them in zones based on moisture levels. Position water-loving plants like iris and meadowsweet in the center where water pools deepest, while drought-tolerant species like coneflower occupy the outer edges and berm. Space plants 12-18 inches apart to allow for growth, arrange them in groups of 3-5 of the same species for visual impact, and water thoroughly after planting.
Native plants eliminate the need for fertilizers and require minimal maintenance after the first growing season.
Apply 2-3 inches of shredded hardwood mulch around all plants, keeping mulch 2 inches away from plant stems. Water your new rain garden daily for the first two weeks, then twice weekly for the remainder of the growing season until plants establish strong root systems.
More ideas and examples
You can adapt what is a rain garden to fit various property sizes and situations. Small urban yards benefit from compact designs as small as 25 square feet, while larger properties can incorporate multiple rain gardens positioned at different downspouts or drainage points. Each garden you install reduces runoff incrementally, so even modest efforts create meaningful environmental benefits.
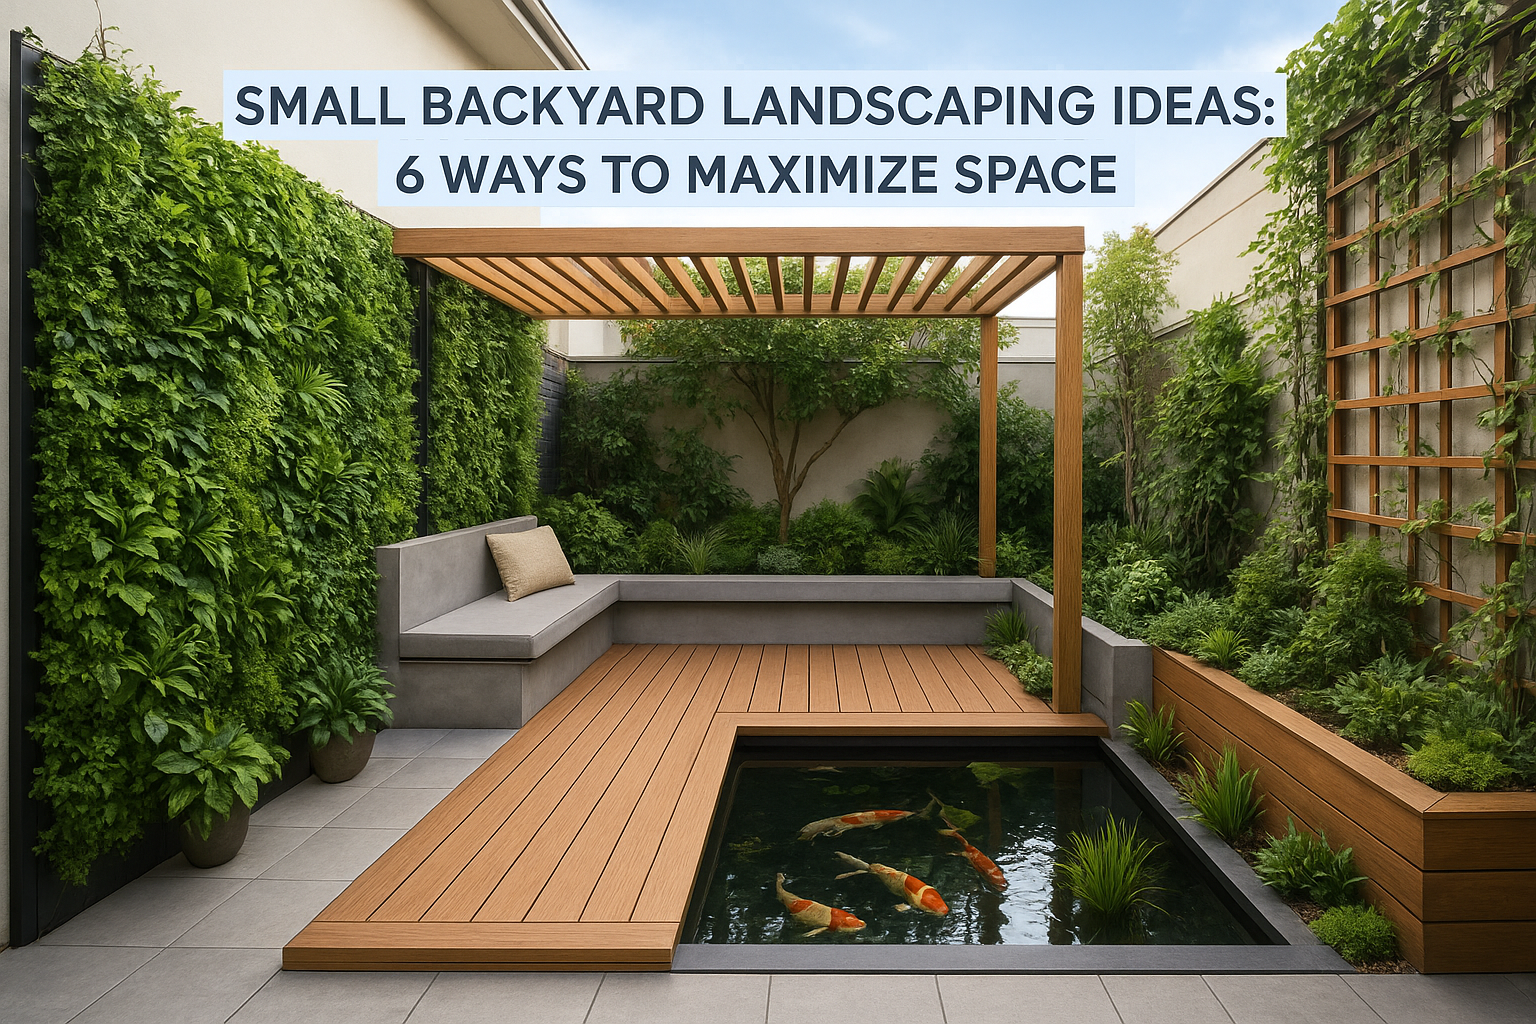
Small-space rain gardens
Convert a 3×8-foot strip along your driveway into a functional rain garden that captures runoff from concrete surfaces. Position containers or raised planters under downspouts when ground-level excavation isn't possible, using self-watering planter boxes filled with native plants to intercept roof runoff before it reaches storm drains. Apartment dwellers can create balcony rain gardens using large containers with drainage holes and moisture-loving plants.
Channel and rill systems
Direct water to your rain garden using decorative channels carved into your landscape. Install shallow gravel-lined rills that guide downspout water across your yard to the garden, creating visual interest while serving a practical purpose. These channels should slope gently toward the rain garden at a 2% grade (a quarter-inch drop per foot) and include small catch basins every 10-15 feet to trap debris.
Properties with creative water routing systems can transform necessary drainage into attractive landscape features that children find engaging.
Next steps for your garden
Your rain garden will transform stormwater management on your property while creating habitat for beneficial wildlife throughout the seasons. Monitor the garden for the first 48 hours after heavy rainfall to ensure water drains completely within the expected timeframe, and pull weeds weekly during the first growing season until your native plants establish strong root systems. After establishment, your garden requires only occasional maintenance like removing accumulated debris and dividing overgrown plants every few years.
Consider expanding your water features beyond what is a rain garden by adding complementary elements that enhance your overall landscape design. Integrate a natural pond or water feature that connects to your existing rain garden system, creating a complete backyard ecosystem. Our Zen Bio Koi Pond designs combine expert water management with tranquil aesthetics, perfect for properties already managing stormwater sustainably.