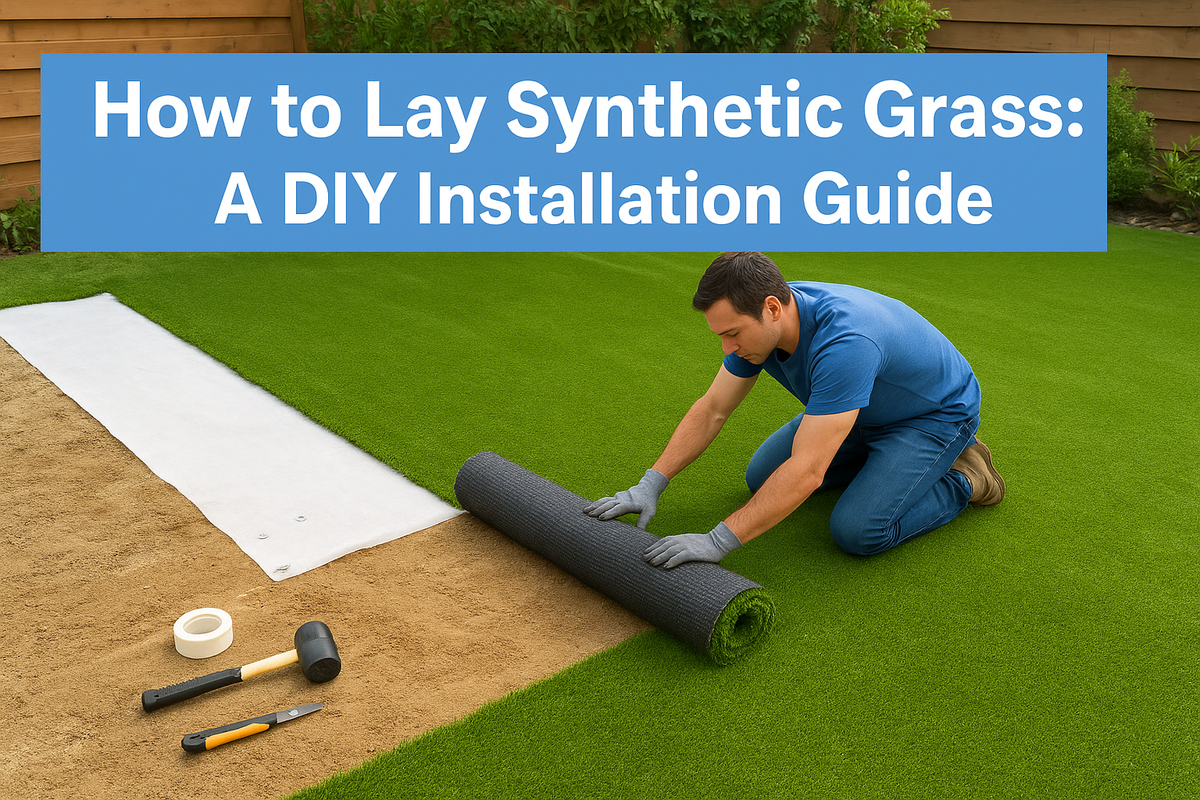
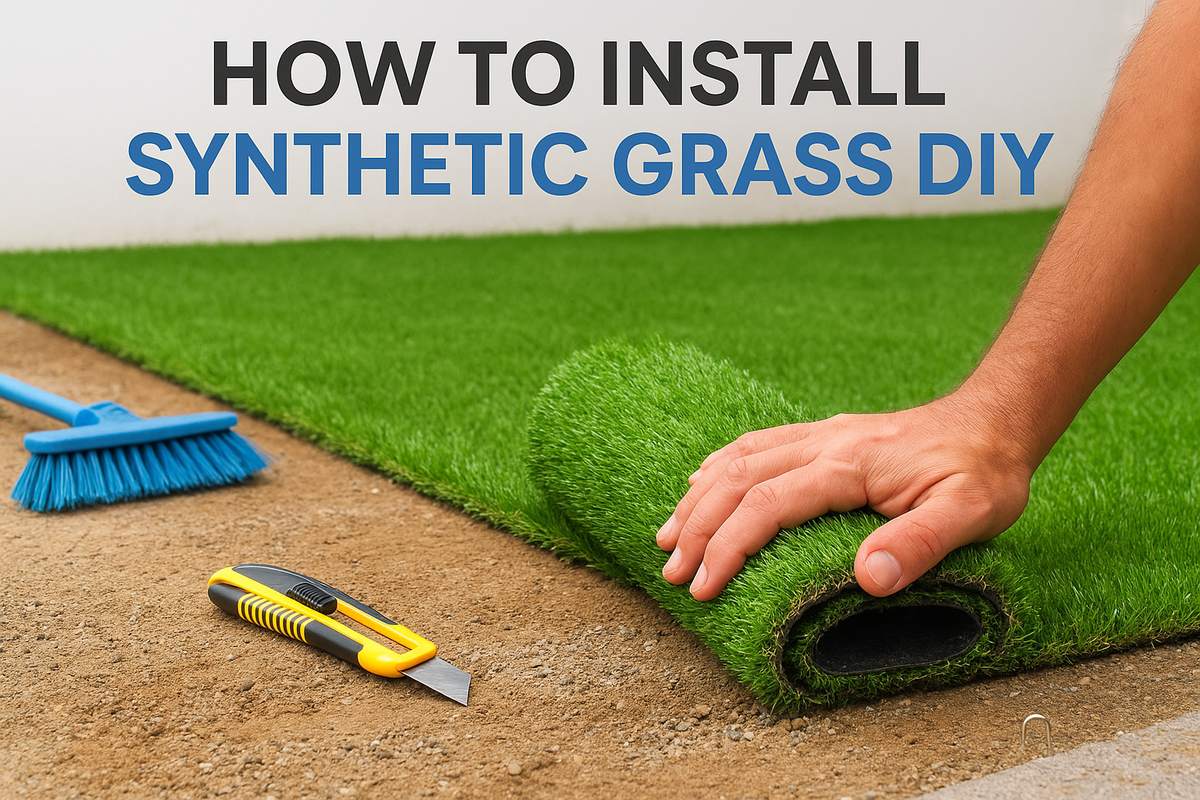
Your lawn looks patchy, the rainy season turns it into mud, and mowing every week feels like a losing battle. If you're weighing whether to hire a contractor or handle it yourself, going the synthetic grass diy route can save you a significant chunk of your budget, provided you know what you're doing before you cut open that first roll.
This guide answers exactly what you're searching for: how to pick the right synthetic grass roll, prepare your base, and lay turf that actually stays flat and looks natural for years, not months. We'll walk through the tools, the materials, and the sequence of steps that separates a professional-looking finish from a lumpy, curling mess that peels up at the edges.
We've installed artificial turf across Malaysian homes and commercial properties long enough to know where DIY jobs usually go wrong, from skipping proper drainage to using the wrong infill. This article breaks the process into clear, sequential steps so you can install synthetic grass yourself with confidence, and know exactly when it's worth calling in a professional like our team at Konzept Garden instead.
What you need before installing synthetic grass
Getting this stage right saves you at least one wasted weekend. Before you touch a shovel, gather every tool and material you'll need, because stopping mid-project to run to the hardware store almost always leaves you with a rushed, uneven finish the next day. Take stock of your site too: measure the square footage, note any slopes, and check where rainwater currently pools after a storm. That last point matters more than most first-timers expect.
Tools you'll need on-site
You don't need a contractor's toolkit, but a few specific items make the difference between a tidy edge and a ragged one.
- Sharp utility knife with spare blades (turf dulls blades fast)
- Stiff push broom or power broom for brushing infill
- Turf pegs or nails, roughly one every 30cm along seams and edges
- Seaming tape and adhesive, or a seaming iron for larger jobs
- Wheelbarrow, rake, and a plate compactor (rentable by the day)
- Tape measure and chalk line for marking straight cuts
- Work gloves and knee pads, since you'll spend hours kneeling
Choosing the right synthetic grass roll
Not every synthetic grass roll suits every space, whether you're looking at a budget-friendly 30mm turf roll or something plusher, and this is where a lot of DIY buyers get it wrong. Pile height, backing material, and density all affect how the lawn feels underfoot and how well it holds up to Malaysia's heat and rain. A shorter, denser pile like our Cruz 30 turf suits high-traffic areas such as a play space, while a longer, more relaxed blade looks better on a decorative front lawn that sees less foot traffic.
Buy your synthetic grass roll based on how the space will actually be used, not just how it looks in a photo.
| Pile Height | Best For | Feel Underfoot |
|---|---|---|
| 20-25mm | Play areas, pet zones, high traffic | Firm, springs back quickly |
| 30-35mm | Standard residential lawns | Balanced, natural look |
| 40mm+ | Ornamental or low-traffic display areas | Soft, plush, slower recovery |
We supply our own Noble Grass range in a few of these pile heights, including a 35mm premium artificial grass roll, and it's worth checking a physical sample against your actual soil color and lighting before you commit to a full order. Screen colors lie.
Base materials and drainage supplies
Beneath the turf itself, you'll need a proper base to stop pooling and shifting over time. Stock up on crushed granite or road base (roughly 5-7cm depth for standard residential lawns), a weed control membrane, and coarse silica sand or rubber infill depending on the look and feel you're after. Skimping here is the single most common reason DIY lawns fail within a year, so don't treat this as the place to cut costs. Order slightly more base material than your calculations suggest, since compaction always eats into your volume more than expected.
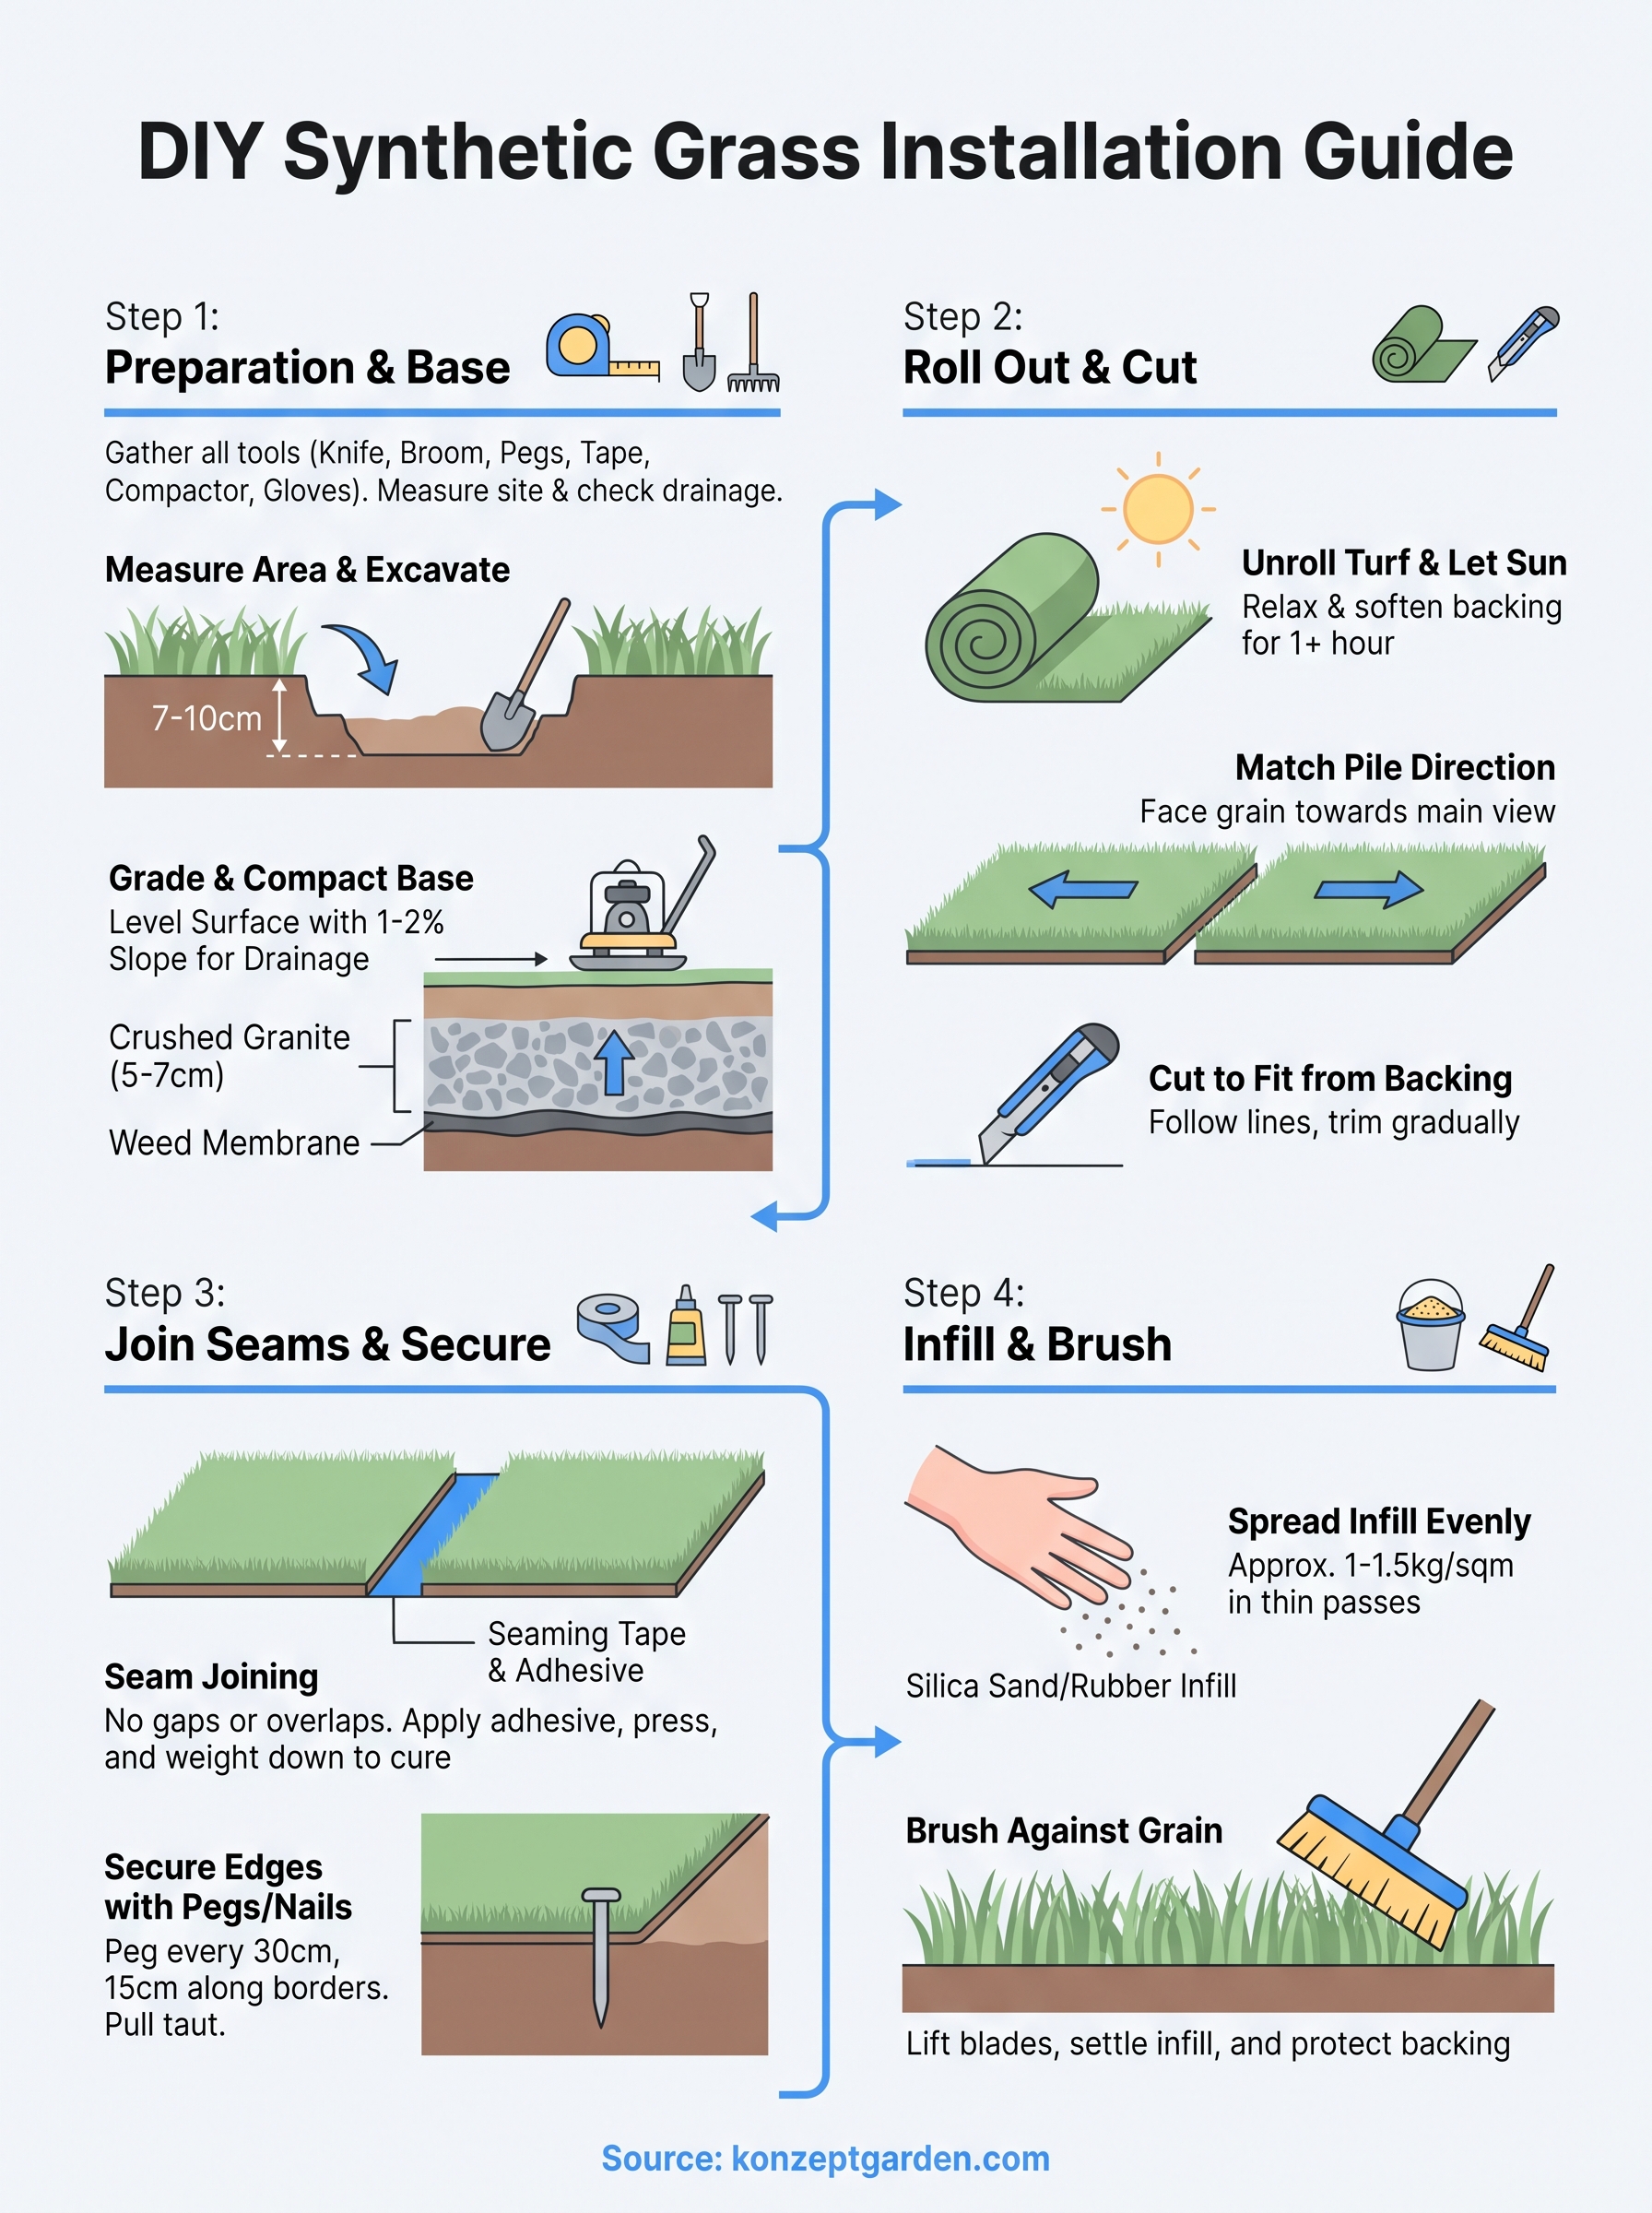
Step 1. Measure the area and prepare the base
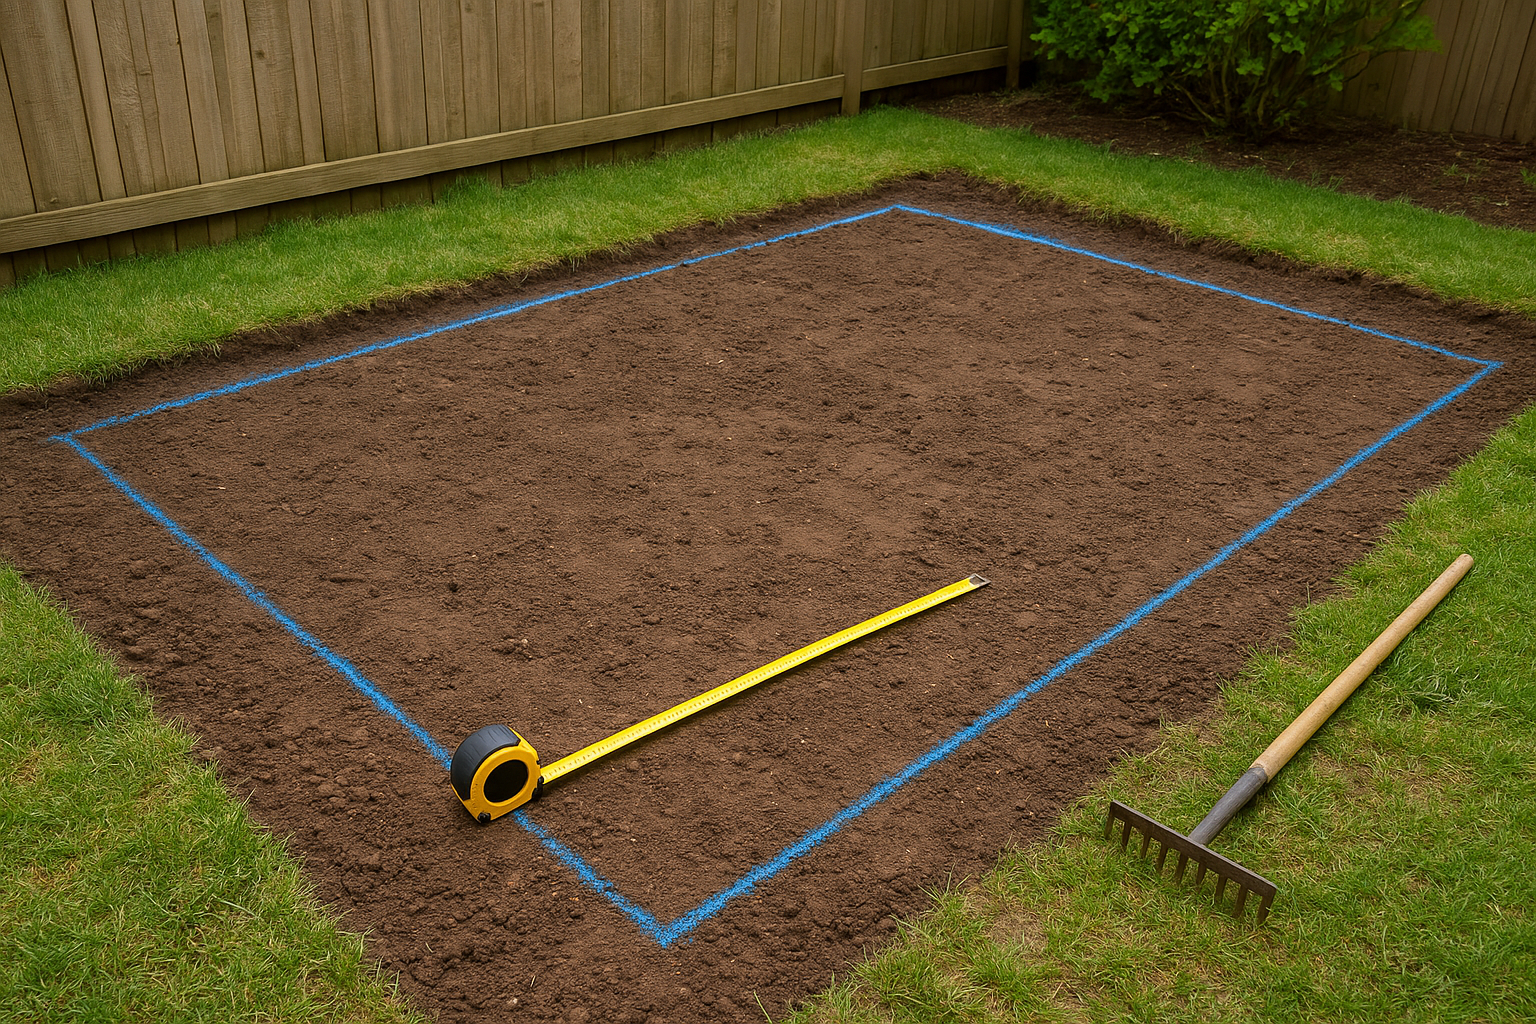
Start by marking out the exact boundaries of your lawn with a chalk line or string, then measure the length and width in sections if the shape isn't a simple rectangle. Accurate measurements now prevent you from buying too little or too much synthetic grass roll later, and Malaysian suppliers typically sell in fixed roll widths, so plan your layout around 2m or 4m widths to minimize seams. Photograph the area from above if you can, since it helps when you're calculating cuts back at the workbench.
Clearing and excavating
Once your boundaries are set, remove all existing grass, roots, and topsoil to a depth of about 7-10cm across the whole area. Digging too shallow is the most common shortcut DIYers take, and it's exactly why lawns settle unevenly within months. Check the soil underneath for any tree roots, old irrigation pipes, or debris, and clear them out completely, since anything left behind will eventually push through the surface as a lump.
Grading for drainage
Grade the excavated area with a slight slope, roughly 1-2%, away from your house or any structure. Malaysia's rainy season is unforgiving on flat installations, and standing water underneath turf breeds mold and a persistent smell that no amount of brushing fixes later.
A lawn that doesn't drain properly will fail within a year, no matter how good the turf itself is.
Laying and compacting the base
Lay your weed membrane first, overlapping the edges by at least 10cm, then spread your crushed granite or road base evenly to the 5-7cm depth you calculated earlier. Rent a plate compactor for this stage rather than tamping by hand; it's cheap for a day and does a far better job of locking the aggregate into a firm, level surface. Run the compactor over the area at least twice, in different directions, checking with a long level or straightedge as you go. Water the base lightly before your final pass, since damp aggregate compacts tighter than dry material and gives your synthetic grass roll a stable, long-lasting foundation to sit on.
Step 2. Roll out and cut the turf to fit
With your base compacted and level, unroll your synthetic grass roll across the prepared area and let it lie flat for at least an hour before you cut anything. Rolling out the turf this way lets the material relax and lose the tight curl it picks up from shipping, which makes straight cuts far easier and reduces the chance of visible waves once it's pegged down. If you're covering a large lawn with multiple rolls, lay them all out side by side first so you can see the whole picture before committing to a single cut.
Let the sun do some of the work
Malaysia's heat is actually useful here. Leaving the turf out in direct sun for an hour or two softens the backing and helps it lie naturally against the base, especially near corners where the roll tends to spring back up. Skipping this step is a common shortcut that leads to stubborn ripples you'll fight with for the rest of the install.
A turf roll that hasn't had time to relax in the sun will fight you at every seam and edge.
Match the pile direction before you cut
Every synthetic grass roll has a grain, similar to carpet, and all sections need to face the same way once installed. Check this before making a single cut, since mismatched pile direction is one of the most obvious giveaways of a DIY job from a distance. Lay the rolls with their grain running toward the main viewing angle of the lawn, usually from the house or entrance.
Cutting for a clean, tight fit
Use your utility knife with a fresh blade and cut from the backing side, following your chalk lines rather than eyeballing curves. Cut roughly 2-3cm oversized along borders and hardscapes, then trim back gradually until the edge sits snug against pavers, walls, or edging strips. Trimming gradually beats one aggressive cut every time, since turf doesn't forgive a mistake once it's severed.
Step 3. Join seams and secure the edges
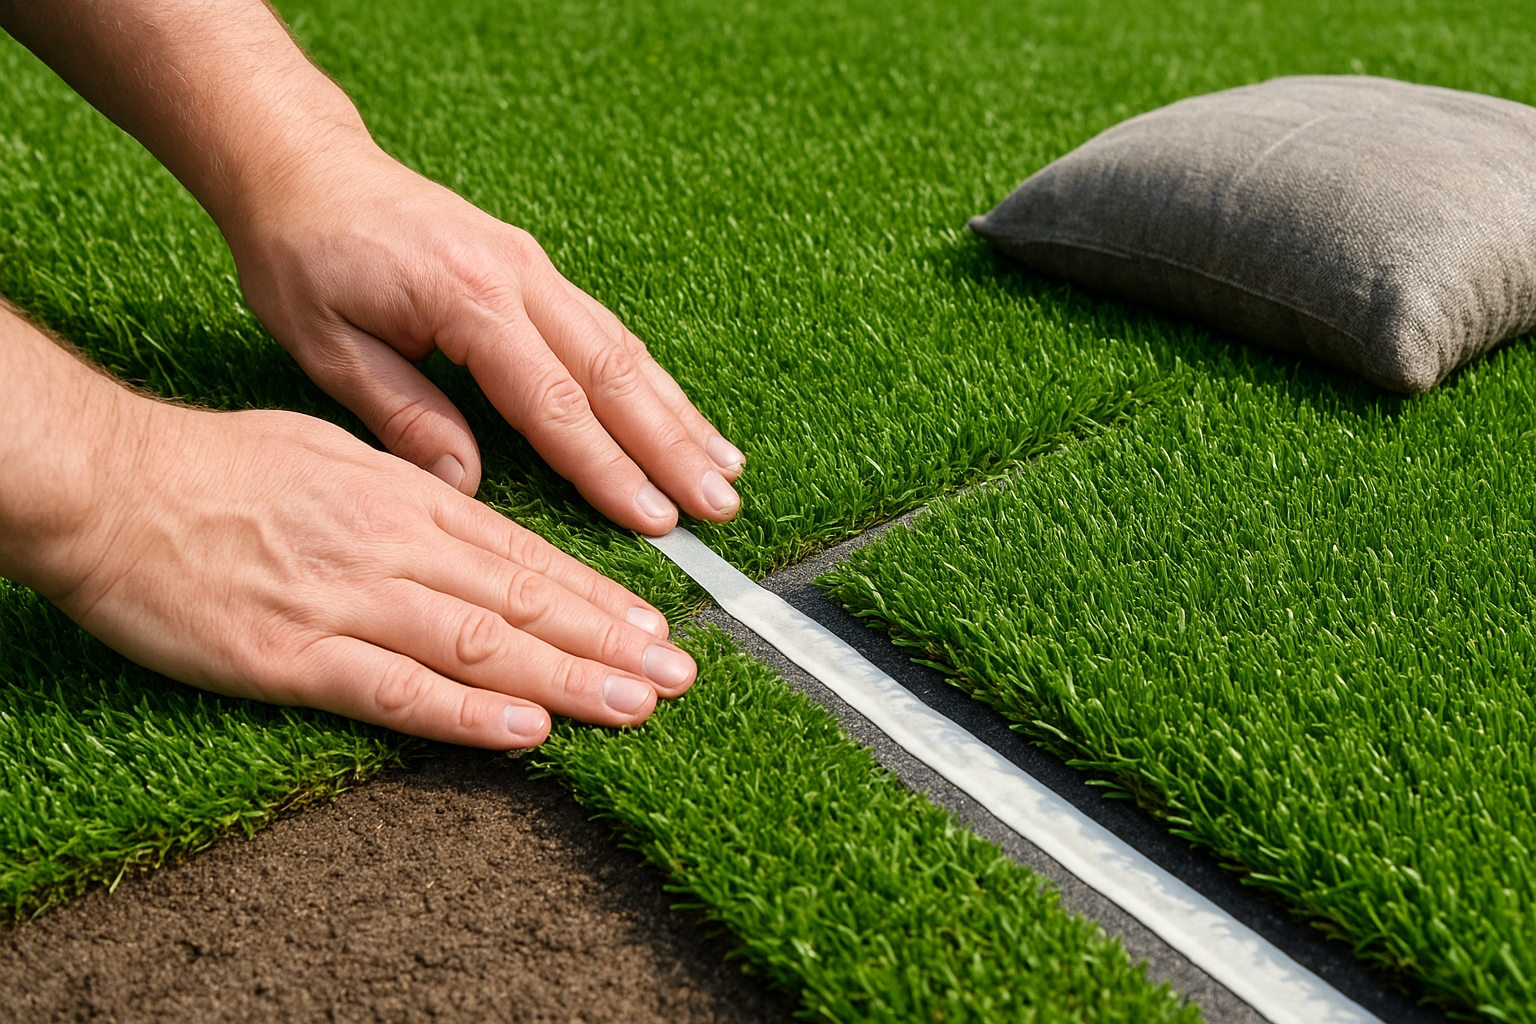
Seams make or break the look of a DIY lawn, so take your time here rather than rushing to the infill stage. Joining seams properly means the two edges of turf sit flush against each other with no gap and no overlap, and the pile direction must run the same way across both pieces or you'll get a visible line even after brushing.
Preparing the seam
Lay a strip of seaming tape, adhesive side up, directly under the join between two pieces of turf, centering it so roughly equal width sits under each side. Apply seaming adhesive evenly along the tape following the manufacturer's instructions, then carefully lower both edges of turf onto the glue, pressing them together from one end to the other. Work in small sections and check the join constantly, since adhesive sets fast in Malaysia's heat and you won't get a second chance once it grabs.
A seam that's even slightly misaligned will show every time the sun hits it at an angle.
Weighting and curing
Once the seam is pressed down, place sandbags or heavy boards along its length and leave it undisturbed for the curing time stated on your adhesive, usually a few hours. Skipping this step is tempting when you're eager to finish, but a seam that lifts later is far harder to fix than one you simply left weighted overnight.
Securing the edges
With seams cured, turn your attention to the perimeter. Push turf pegs through the backing roughly every 15cm along borders and every 30cm across the open field, angling them slightly for extra grip in loose soil. Nail into edging strips or timber borders where available rather than relying on pegs alone, since edges take the most foot traffic and weather exposure of the whole lawn. Pull the turf taut as you go, working outward from the center, so no ripples get locked in before you move on to infill.
Step 4. Add infill and brush for a natural finish
With edges pegged and seams cured, the final stage is what actually makes synthetic grass look and behave like real turf. Infill weighs down the blades, protects the backing from UV wear, and keeps the pile standing upright instead of matting flat under foot traffic. Skip this step, or spread it unevenly, and even the best synthetic grass roll on the market will look flat and lifeless within weeks.
Choosing the right infill for your space
Silica sand suits most residential lawns and costs less, while rubber crumb infill adds extra cushioning and works well for play areas or spaces used by pets. Kiln-dried silica sand also helps the lawn drain faster after Malaysia's heavy afternoon downpours, so it's the safer default if you're not sure which to pick.
| Infill Type | Best For | Notes |
|---|---|---|
| Silica sand | Standard lawns, decorative areas | Cheaper, improves drainage |
| Rubber crumb | Play areas, pet zones | Softer cushioning, slightly warmer underfoot |
| Zeolite-coated sand | Pet-heavy households | Helps control odor |
Spreading the infill evenly
Using a drop spreader or simply broadcasting by hand from a bucket, apply the infill in thin, even passes rather than dumping it in one spot and raking it around. Aim for roughly 1-1.5kg per square meter, working in two or three light passes so the sand settles between the blades instead of sitting on top of them.
A lawn with too little infill flattens fast; one with too much looks stiff and unnatural.
Brushing for the final natural look
Once the infill is down, brush the entire lawn against the grain using your stiff push broom, lifting the blades upright and helping the infill drop deeper into the base. Work in overlapping strokes, and go over high-traffic zones twice, since those areas mat down fastest and need the extra lift to look convincing once you're standing back and admiring the finished lawn.
Your new lawn, ready to enjoy
Stand back and look at what you've built. A properly installed lawn should sit flat, drain fast after a downpour, and hide its seams even up close. Walk across it barefoot and check for soft spots or sand that's shifted unevenly, since catching these small issues now beats fixing them in six months once the base has settled further. Give it a light rinse and one more brushing pass, and you've got a lawn that needs nothing more than an occasional rinse and brush for years to come.
Not every yard is a straightforward DIY job though. Steep slopes, heavy shade, or a design that includes water features and hardscaping usually call for professional hands. If your project has grown beyond a weekend job, or you'd rather skip the guesswork entirely, speak to our artificial turf installers and we'll help you get it right the first time.