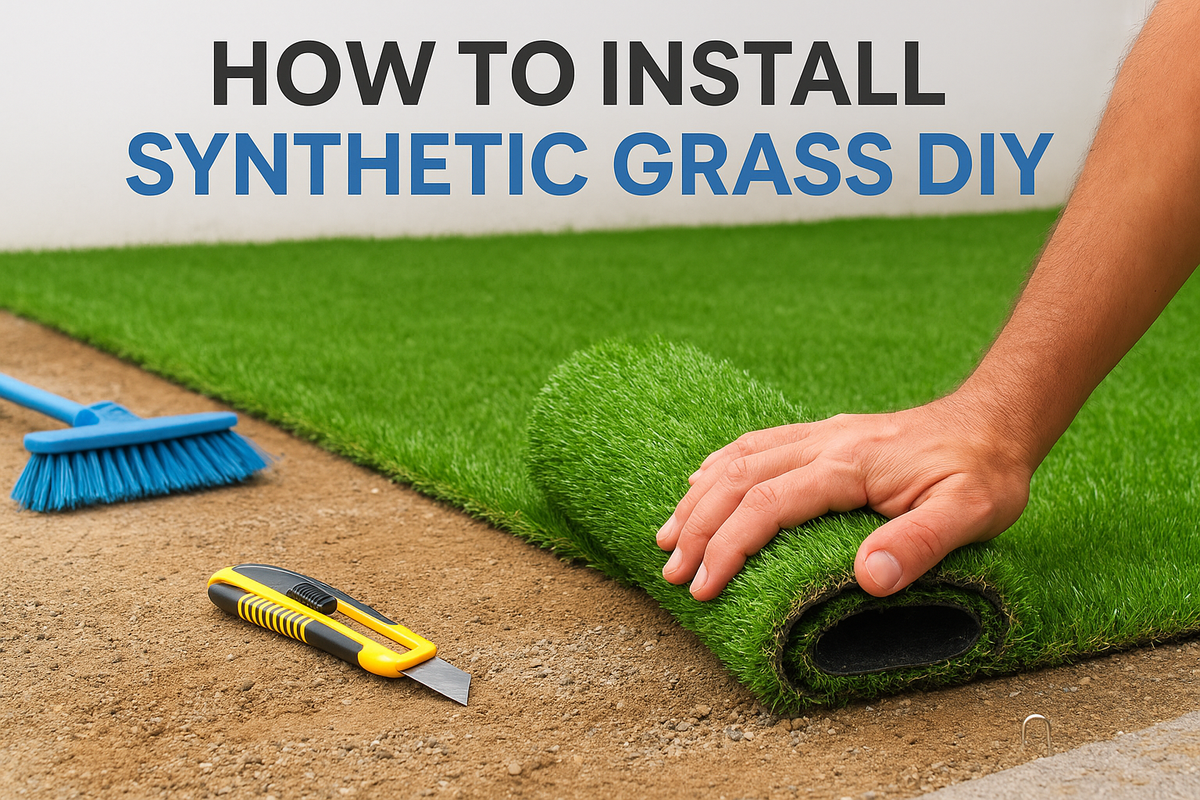
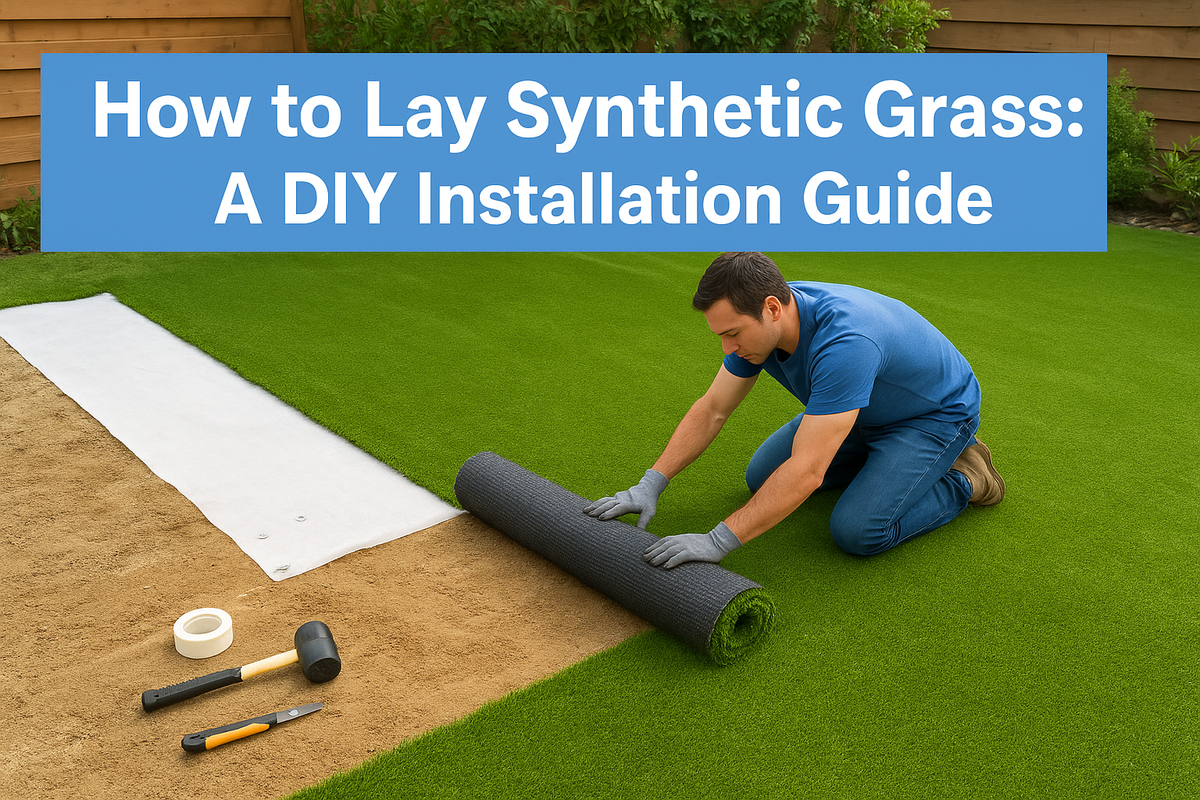
You have decided to skip the mud, the mowing, and the endless watering bills, and you want a lawn that stays green through Malaysia's wet and dry spells alike. Before you order rolls of turf, though, you need to know how to lay synthetic grass the right way, because a rushed job shows up fast as bumps, wrinkles, or drainage problems after the first storm.
This guide walks you through the full synthetic grass installation process, from clearing and compacting your base to cutting, joining, and securing the turf so it looks natural and lasts for years. We cover the tools you need, the base materials that actually matter, and the mistakes that turn a weekend project into a redo.
At Konzept Garden, we install artificial turf like NobleGrass Premium 35 synthetic grass for homeowners across Malaysia, and this artificial grass installation guide draws on that hands-on experience. If you would rather hand the job to professionals after reading through the steps, our team is ready to handle everything from ground prep to the final trim.
What you need before laying synthetic grass
Getting your artificial grass installation guide shopping list right before you start saves you from midweek hardware store runs and mismatched materials. Malaysia's rain means you need a base that drains fast, turf rated for UV exposure, and fixings that won't rust within a season. Gather everything below before you touch a shovel.
Tools you'll need
Most of these tools are already in a typical toolbox or available cheap at a hardware store. You don't need anything specialized to get a professional-looking result.
- A spade or turf cutter to strip existing grass
- A wheelbarrow for moving crushed stone and sand
- A plate compactor (rentable by the day) to firm the base
- A stiff push broom or power broom to brush the pile upright
- A sharp carpet knife or turf cutter for trimming edges
- A rubber mallet and galvanized nails or fixing pins
- A tape measure and chalk line for accurate layout
- Landscape fabric scissors and turf jointing tape
Base materials and turf quantity
Buying the right depth and grade of base material matters more than the turf itself. A cheap grass laid over a poor base will still look bad, while quality grass over a solid base lasts well past ten years.
A great lawn starts underground, not on top of it.
| Material | Typical amount | Purpose |
|---|---|---|
| Crushed granite (0-20mm) | 50-75mm depth across the area | Structural base and drainage |
| Sharp sand (optional top layer) | 20-30mm depth | Levelling before turf goes down |
| Weed membrane | Full area coverage | Blocks weed growth through the base |
| Synthetic turf | Measured area plus 10% waste allowance | The visible lawn surface |
| Jointing tape and adhesive | Per seam length | Bonds turf rolls together invisibly |
| Fixing nails/pins | 1 every 20-30cm along edges | Anchors turf to the ground |
| Silica sand infill | 4-6kg per square meter | Weighs down the pile and supports blades |
Quality matters as much as quantity here. If you're sourcing turf, look at something like the NobleGrass Cruz 30 turf rolls, which are built for Malaysia's heat and humidity rather than imported turf designed for cooler climates. Ordering slightly more turf and base material than your measurements suggest also protects you against cutting mistakes on installation day, and a budget-friendly roll like Valu 30 artificial grass makes that spare allowance easier to justify.
Step 1. Clear and prepare the ground
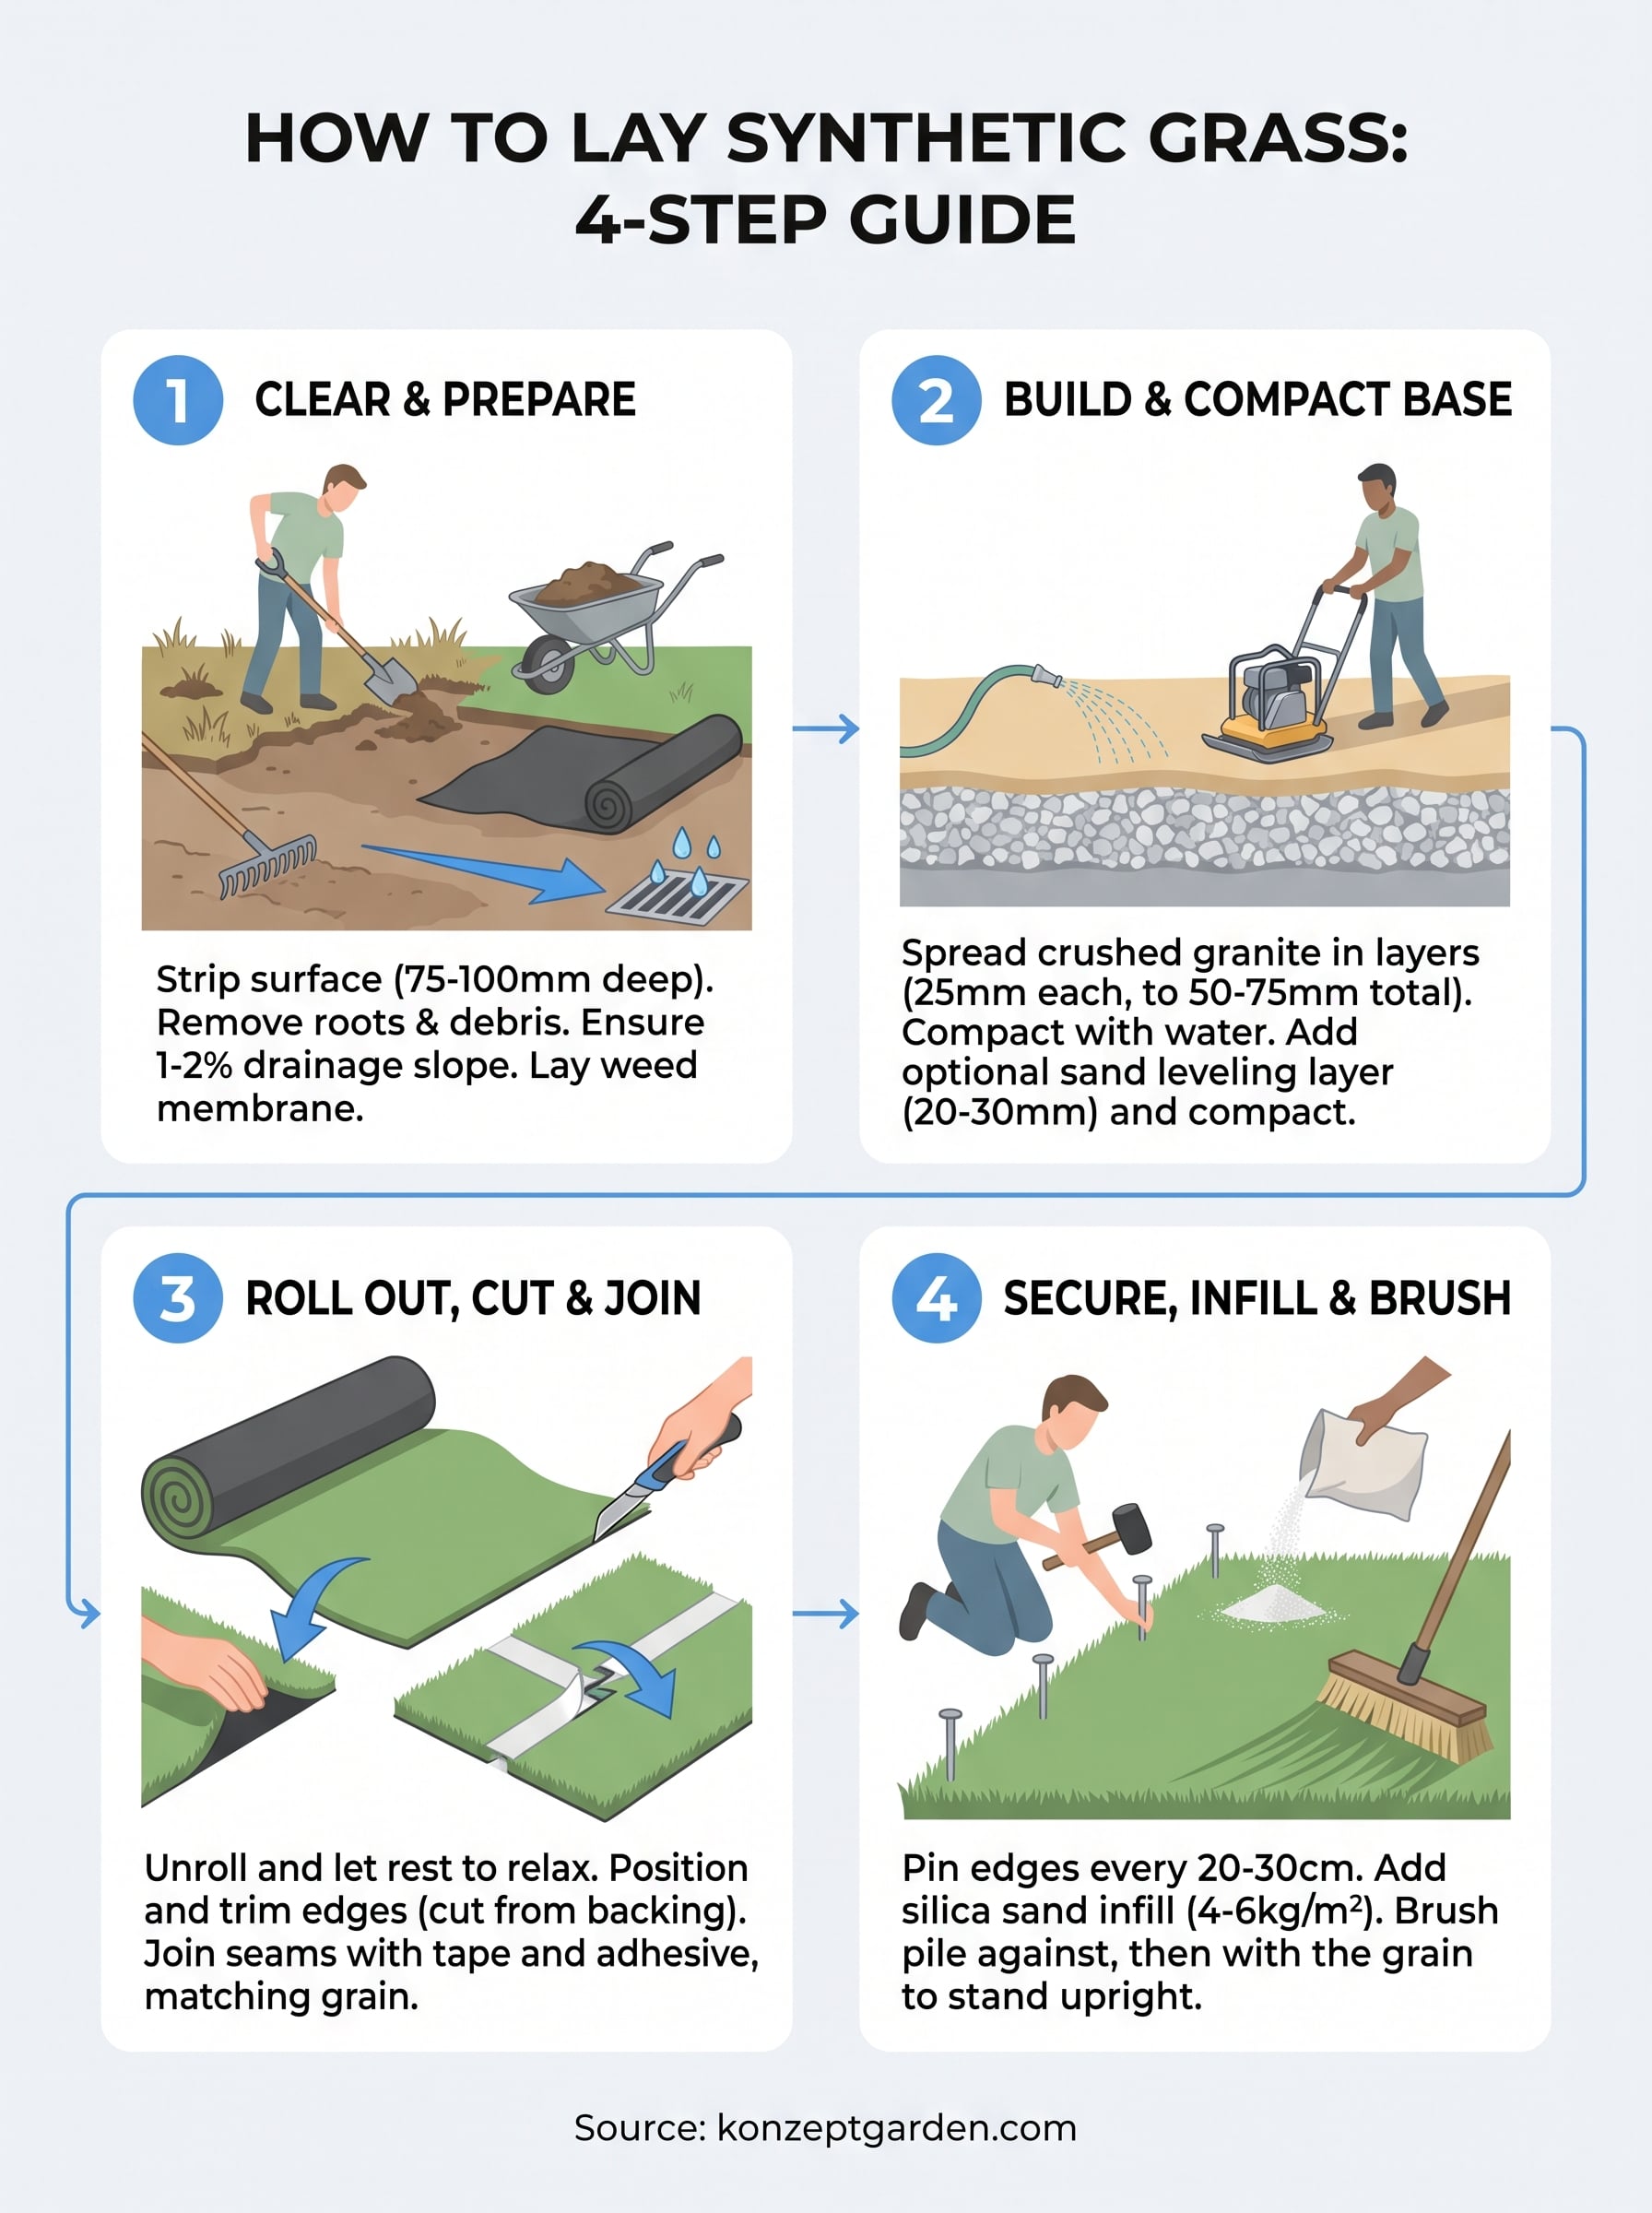
Starting with a clean, level surface is the single biggest factor in how long your synthetic grass installation lasts. Skip this step or rush it, and every bump in the soil will telegraph through the turf once it's down. Give yourself a full day for a mid-sized garden, longer if you're removing established lawn or tree roots.
Strip the existing surface
Begin by cutting away turf, weeds, and any organic topsoil down to a depth of about 75-100mm. Organic material left in the ground will decompose, sink, and create dips in your new lawn within a year.
- Use a spade or turf cutter to slice the old grass into manageable strips
- Dig out roots, stones, and construction debris as you go
- Rake the exposed soil flat and remove any remaining clumps
Check levels and drainage
Once the area is stripped, walk the site and check where water naturally pools after rain. Malaysia's downpours are heavy and frequent, so proper drainage has to be built in now, not fixed later. Slope the ground slightly, roughly 1-2% grade, toward a drain, gravel trench, or garden bed where excess water can escape.
Fix drainage before you lay a single blade of turf, because you can't fix it afterward without tearing everything up.
Finally, lay landscape fabric or a weed membrane across the entire cleared area, overlapping seams by at least 100mm. This blocks weeds from pushing through your turf later and keeps the base layer separate from the soil beneath it.
Step 2. Build and compact the base layer
Once the ground is level and covered with membrane, it's time to build the layer that carries all the weight above it. Getting the base compaction right prevents footprints, uneven patches, and pooling water down the line. Work in thin layers rather than dumping the entire load at once, since a compactor can't fully compress a deep pile in a single pass.
Spread the crushed granite
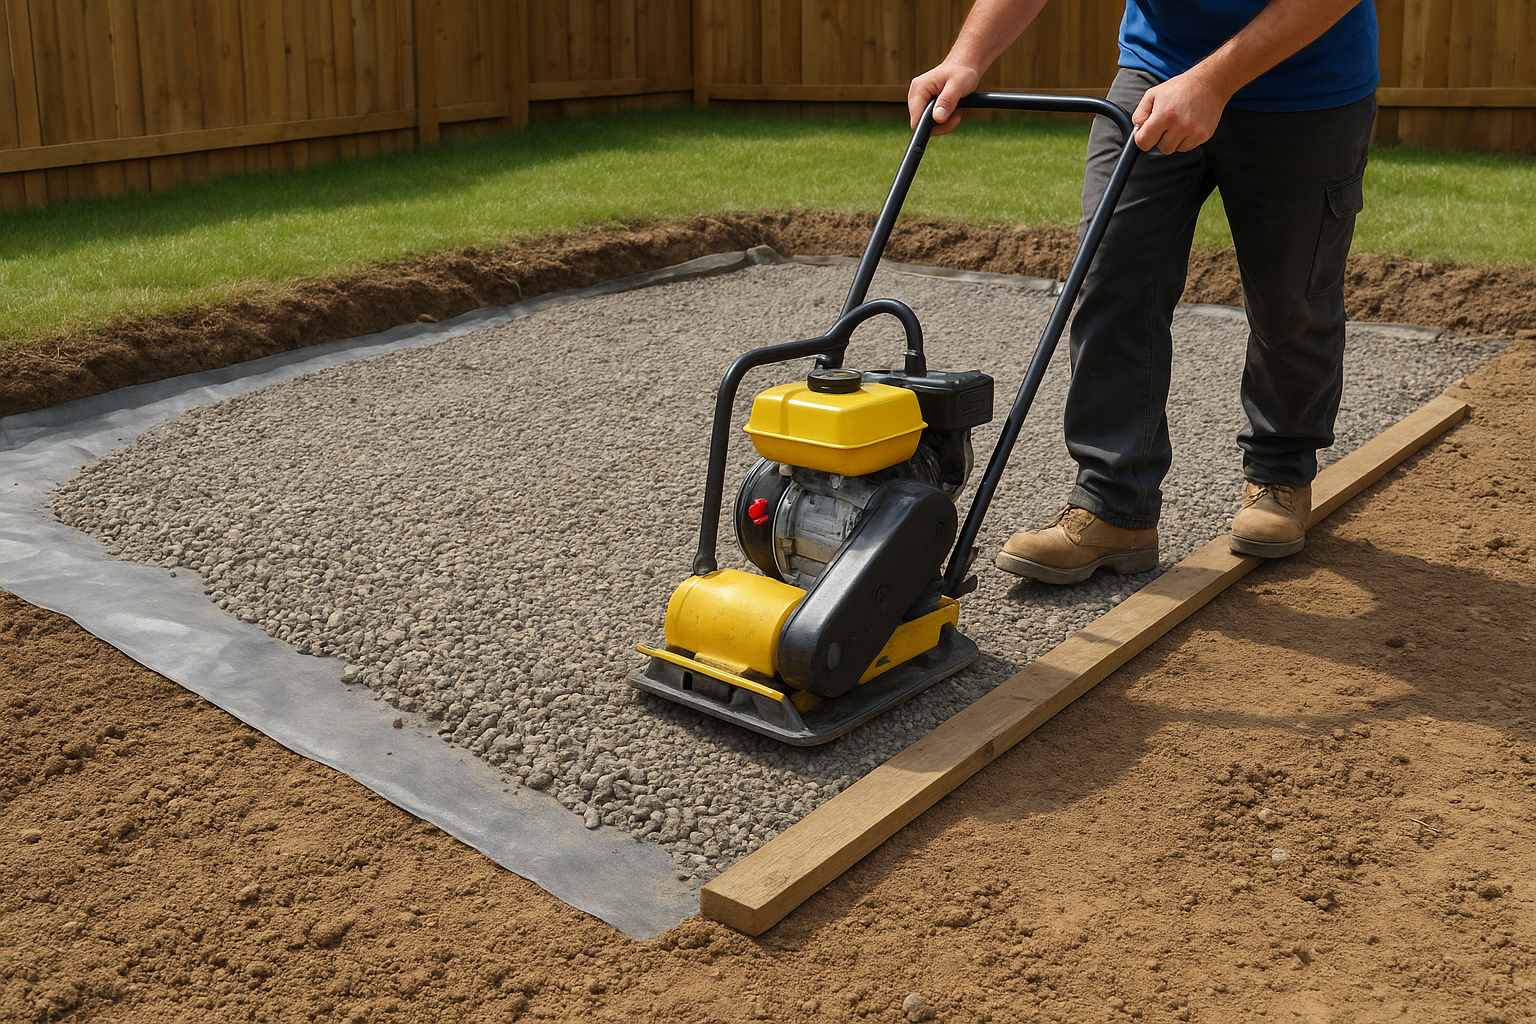
Pour crushed granite (0-20mm) across the area in layers no thicker than 25mm. Rake each layer flat before running the plate compactor over it, working in overlapping passes and finishing each pass by watering the layer lightly. The moisture helps particles lock together instead of shifting underfoot later.
- Spread the first 25mm layer and compact it
- Add a second layer to reach 50-75mm total depth
- Compact again until the surface feels solid, not springy
- Check for a consistent slope toward your drainage point
A base that gives under your foot today will give under your furniture tomorrow.
Add a sand leveling layer
Sand isn't always necessary, but if your soil is uneven or you want an extra-smooth finish, spread 20-30mm of sharp sand over the compacted granite. Screed it flat with a straight length of timber, dragging it across two guide rails set at your finished height. Then compact this layer too, lightly, so the sand settles without disturbing the level you just created. This final pass in your synthetic grass installation sets everything up for rolling out the turf in the next step, so don't skip it just because the ground already looks flat.
Step 3. Roll out, cut and join the turf
With your base compacted and level, unroll the turf and let it rest in the sun for an hour before cutting anything. This relaxes the fibers and backing, so the turf lays flat instead of curling at the edges once pinned down. Position each roll so the grain, the direction the blades lean, runs the same way across your whole lawn, since mismatched grain directions show up as visible color blocks once the sun hits them from different angles.
Position and trim the edges
Lay the turf loosely over the base first, letting excess hang over borders, walls, and pathways. Walk the surface gently to settle it before you commit to any cuts. Then work section by section:
- Trim excess turf along hard edges with a sharp carpet knife, cutting from the back of the turf so you can follow the backing lines
- Leave a small margin and trim in stages rather than cutting to the exact line in one pass
- Cut around obstacles like sprinkler heads, tree bases, or pond edges carefully, since backing material doesn't forgive a rushed cut
Measure twice, cut once, because turf doesn't stretch back after a bad trim.
Join seams invisibly
Where two rolls meet, the seam joining technique determines whether your lawn looks like one continuous piece or two obvious strips. Push the edges together so the blades interlock, matching the pile direction exactly. Fold both edges back, lay jointing tape glue-side up underneath the seam, then apply adhesive and press the turf down firmly onto the tape. Weight the seam with sandbags or bricks for the time stated on your adhesive, usually a few hours, before walking on it again. A properly joined seam should be invisible once the pile is brushed over it, which is exactly the goal for this stage of your artificial grass installation guide.
Step 4. Secure, infill and brush the grass
Fastening the turf properly is what keeps it from lifting in a gust or shifting underfoot over the years. Skip this stage or use flimsy pins, and you'll be re-securing edges within months, especially along Malaysia's exposed patios and rooftop gardens where wind gets under loose corners.
Pin down the edges
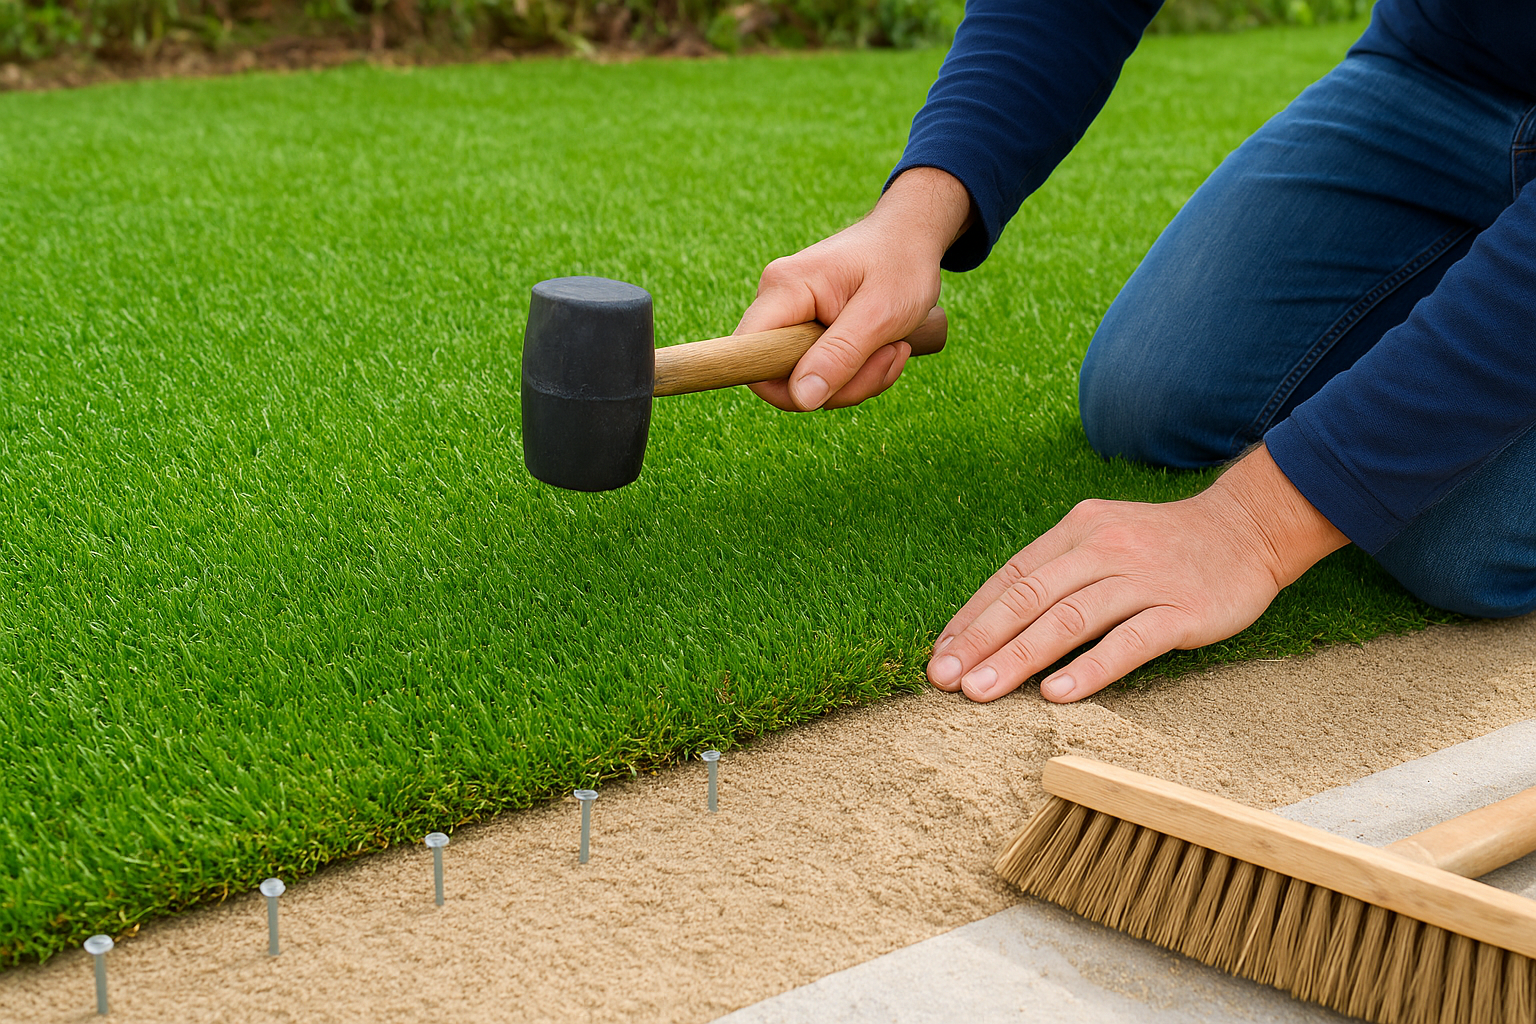
Galvanized fixing nails or pins go around the full perimeter of the lawn, spaced roughly every 20-30cm, angled slightly outward so they grip the backing without puncturing straight through the base membrane. Drive them flush with a rubber mallet, checking that no nail head sits proud enough to snag a bare foot. Along seams and any joints you glued in Step 3, add extra pins on both sides for reinforcement.
- Perimeter pins every 20-30cm
- Extra pins along seams and high-traffic zones
- Check nail heads sit flush, not raised
A poorly pinned edge is the first thing that fails, usually within the first hard rain.
Add infill and brush the pile
Once everything is pinned, spread silica sand infill evenly across the surface at roughly 4-6kg per square meter, working it down between the blades with a stiff broom or power broom. This infill weighs the turf down, supports the blades so they stand upright, and improves drainage through the backing. Brush against the grain first to work the sand in, then finish by brushing with the grain to fluff the pile and give it a natural, freshly mowed look. A final walk-through with the broom, done a day or two after installation, settles any stray fibers and completes the job.
Enjoying your new lawn
Stand back and look at what you just built. A properly prepared base, tight seams, and a good brush-in are the difference between a lawn that looks patched together and one that fools your neighbors into thinking you hired a crew. Now that you know how to lay synthetic grass from start to finish, maintenance is light: an occasional rinse, a rebrush after heavy foot traffic, and a top-up of infill every few years is all it takes to keep the pile standing tall.
Gardens rarely stop at grass, though. Many homeowners who finish a turf project start eyeing the empty corner for a water feature next. If that's you, take a look at our Zen Bio koi fish pond designs, or reach out to our team directly if you'd rather have a professional handle the whole yard from turf to pond in one go.