A fruit tree left unpruned doesn't just look messy, it produces less fruit, invites disease, and becomes harder to manage with each passing season. Knowing how to prune fruit trees properly is one of the most impactful skills any gardener in Malaysia can develop, whether you're growing mango, guava, papaya, or citrus. Yet many homeowners either skip pruning entirely or hack away without a plan, causing more harm than good.
At Konzept Garden, we design and build outdoor spaces where every plant has a purpose. Our botanists and landscape designers work with fruit-bearing trees regularly, selecting species, positioning them within garden layouts, and advising clients on the ongoing care that keeps those trees productive and beautiful. Pruning sits at the center of that care. It's not just maintenance; it's shaping your garden's long-term health and ensuring your trees contribute to a space that looks intentional, not overgrown. That hands-on experience across dozens of residential and commercial projects in Malaysia is exactly what informed this guide.
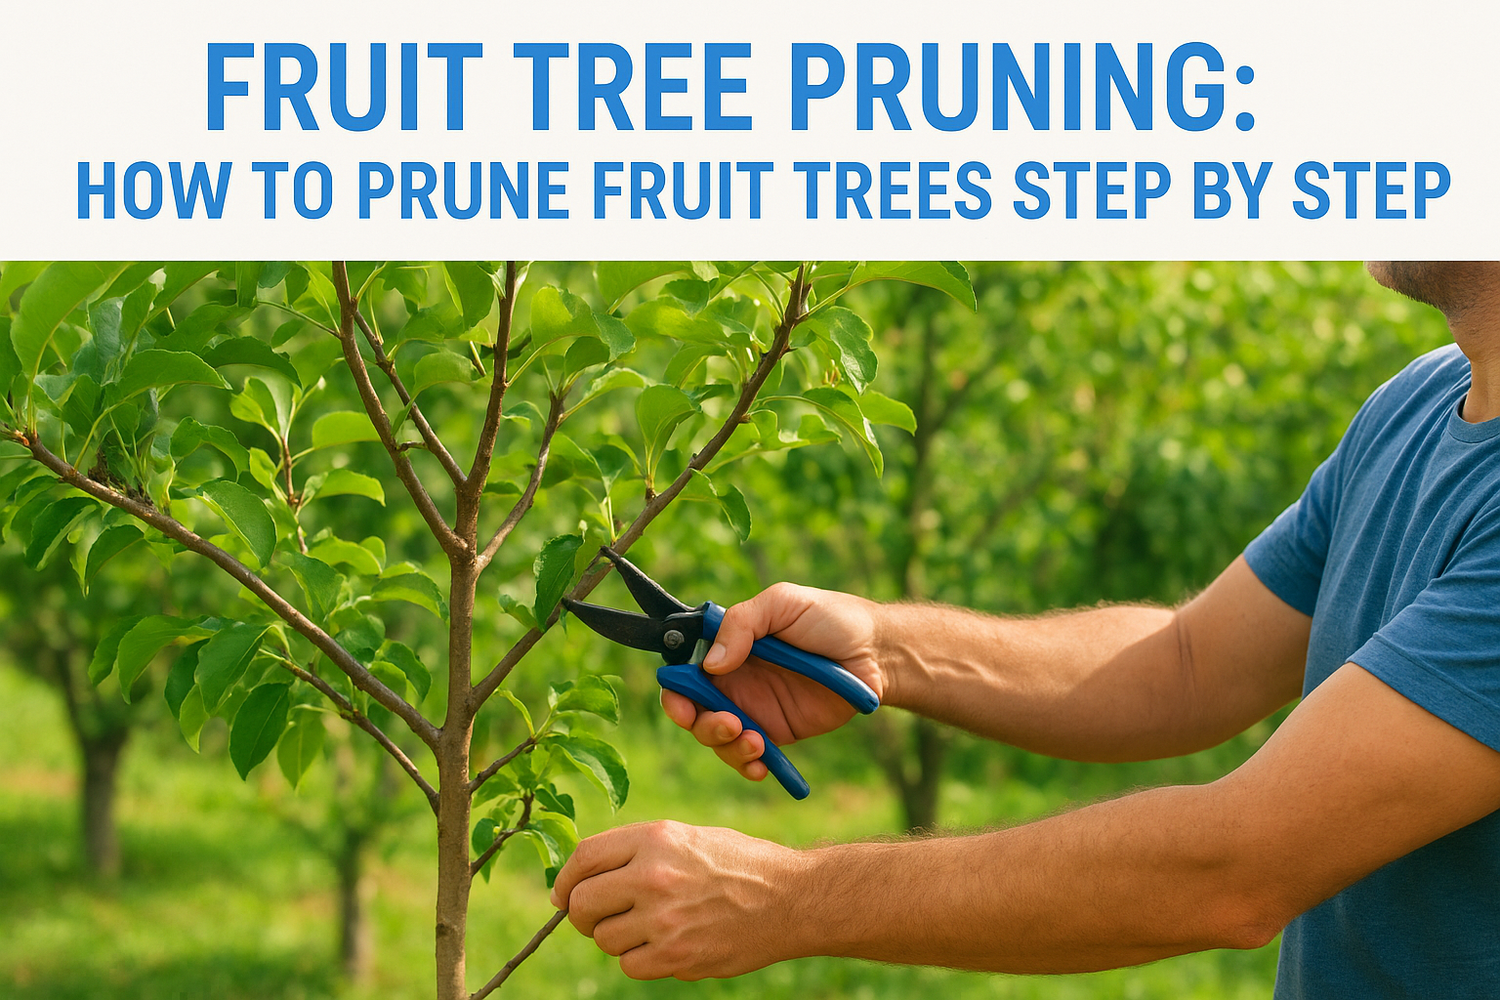
This article walks you through fruit tree pruning step by step, from understanding why each cut matters, to choosing the right tools, to timing your pruning for Malaysia's tropical climate. Whether you're a first-time gardener or someone finally ready to give your neglected trees the attention they deserve, you'll leave with a clear, practical framework you can apply this weekend.
What pruning changes and what it cannot fix
Pruning is not a rescue operation and it is not magic. It is a targeted intervention that changes how a tree allocates its energy, how light moves through its canopy, and how air circulates around its branches. Before learning how to prune fruit trees step by step, you need a clear picture of what each cut actually accomplishes inside the tree, and where even the sharpest saw has no effect at all. Getting this right from the start stops you from over-cutting a stressed tree or expecting pruning to solve problems that live in the soil, not the canopy.
What pruning actually does for your tree
Every cut you make sends a signal through the tree. Removing a branch redirects the tree's stored energy toward the buds and shoots that remain, which is why a well-pruned mango pushes out strong new growth within a few weeks of the cuts. That redirected energy is not just about growth volume; it concentrates resources into fewer, stronger points, which directly improves fruit size and sweetness when done correctly.
Pruning also reshapes the physical structure of the canopy so that sunlight reaches the interior branches where most fruiting spurs develop. Without that light penetration, inner branches go dormant and eventually die back. You end up with fruit clustered only at the outermost tips of an increasingly tangled tree, which makes harvesting harder and reduces overall yield each season.
Light is the raw material your tree converts into sugar, and sugar is exactly what fills each piece of fruit, so canopy openness is directly tied to fruit quality.
Airflow is the other major outcome of purposeful pruning. Dense, tangled canopies trap humidity, and in Malaysia's year-round heat and moisture, that trapped air creates ideal conditions for fungal diseases like anthracnose on mangoes and brown rot on citrus. Opening the canopy with deliberate cuts reduces how often you need to apply fungicides, which means less chemical use and a healthier tree overall.
What pruning cannot fix
Pruning corrects structure and redirects energy, but it cannot reverse fundamental problems in your soil, root system, or nutrition. If your tree produces small, tasteless fruit, the answer is often in your fertilizer schedule or soil pH, not in the number of branches you remove. Cutting more branches off a malnourished tree just adds stress to a plant that is already struggling to maintain what it has.
Similarly, pruning cannot cure a tree with a systemic bacterial or fungal infection that has already moved into the vascular tissue. You can cut out visibly diseased wood, but if the pathogen has traveled through the xylem, the tree may continue to decline regardless of how carefully you prune.
Here are the common problems that pruning alone will not solve:
| Problem | What it looks like | What actually fixes it |
|---|---|---|
| Nutrient deficiency | Yellowing leaves, stunted growth | Soil testing and targeted fertilization |
| Compacted or waterlogged soil | Slow growth, root rot | Aeration, organic matter, drainage improvement |
| Systemic fungal or bacterial wilt | Wilting despite watering, discolored wood | Fungicide treatment or tree removal |
| Poor variety for local climate | Consistently low yields despite good care | Variety selection suited to your region |
| Watering imbalance | Leaf drop, fruit splitting, tip dieback | Consistent moisture management |
Recognizing these limits protects your tree from being over-pruned during a period when it is already under stress. A practical guideline is to never remove more than 25 percent of a tree's live canopy in a single season. If the tree is visibly weak or recovering from disease, reduce that further. Pruning works best as one part of a complete care routine, and understanding that boundary is where good garden management begins.
When to prune fruit trees in Malaysia and beyond
Most pruning guides are written for temperate climates with four distinct seasons, where the standard rule is simple: prune during dormancy in late winter. Malaysia does not have a dormant season, which means that framework does not apply here. Understanding when to prune fruit trees in the tropics comes down to reading your tree's active growth cycles rather than following a fixed calendar date, and getting that timing right can make the difference between a productive tree and one that stalls for months.
Pruning fruit trees in Malaysia's tropical climate
In Malaysia, most fruit trees grow in continuous or semi-continuous cycles rather than pausing for a cold rest period. The practical window for pruning is immediately after harvest, when the tree has finished fruiting and is about to push a new flush of vegetative growth. At that point, the tree has already directed its energy into producing fruit, so removing branches does not interrupt that process. Pruning right after harvest also gives the tree its maximum recovery window before the next fruiting cycle begins, which is typically three to six months later depending on the species.
For common Malaysian fruit trees, here is a general timing reference:
| Fruit Tree | Best Pruning Window |
|---|---|
| Mango | Immediately after harvest, before new vegetative flush |
| Guava | After each fruiting cycle, roughly every 4-6 months |
| Citrus (calamansi, lime) | After the main harvest, typically post-rainy season |
| Papaya | Light pruning year-round; remove lower leaves regularly |
| Starfruit (carambola) | After harvest; avoid any cuts during active flowering |
Pruning too close to flower bud development removes those buds before they can set, which costs you an entire fruiting season with one mistimed cut.
Timing adjustments for temperate varieties
Some homeowners in Malaysia grow temperate or semi-temperate varieties in highland areas such as Cameron Highlands or Kundasang, where cooler temperatures allow certain apple cultivars to perform. For these trees, you follow a modified version of temperate pruning timing. Target the coolest and least active period of the highland year, which typically falls between November and January, as this mimics the light dormancy these varieties experience in their native climates. Regardless of species or elevation, never prune when a tree is actively flowering or when a new leaf flush is just emerging.
Choose a training style before you start cutting
Understanding how to prune fruit trees correctly means making one key decision before you touch a single branch: what shape do you want your tree to grow into? Training style determines where you make cuts, which branches you keep, and how the tree's energy flows through its structure for years to come. Choosing a style before you start prevents the most common beginner mistake, which is cutting randomly and ending up with a tree that never settles into a productive, manageable form.
Open center (vase) shape
The open center, also called the vase shape, removes the central upright leader and develops three to five main scaffold branches that angle outward and upward from the trunk. This structure floods the interior of the canopy with light and air, making it the preferred choice for guava, mango, and citrus trees in Malaysia.
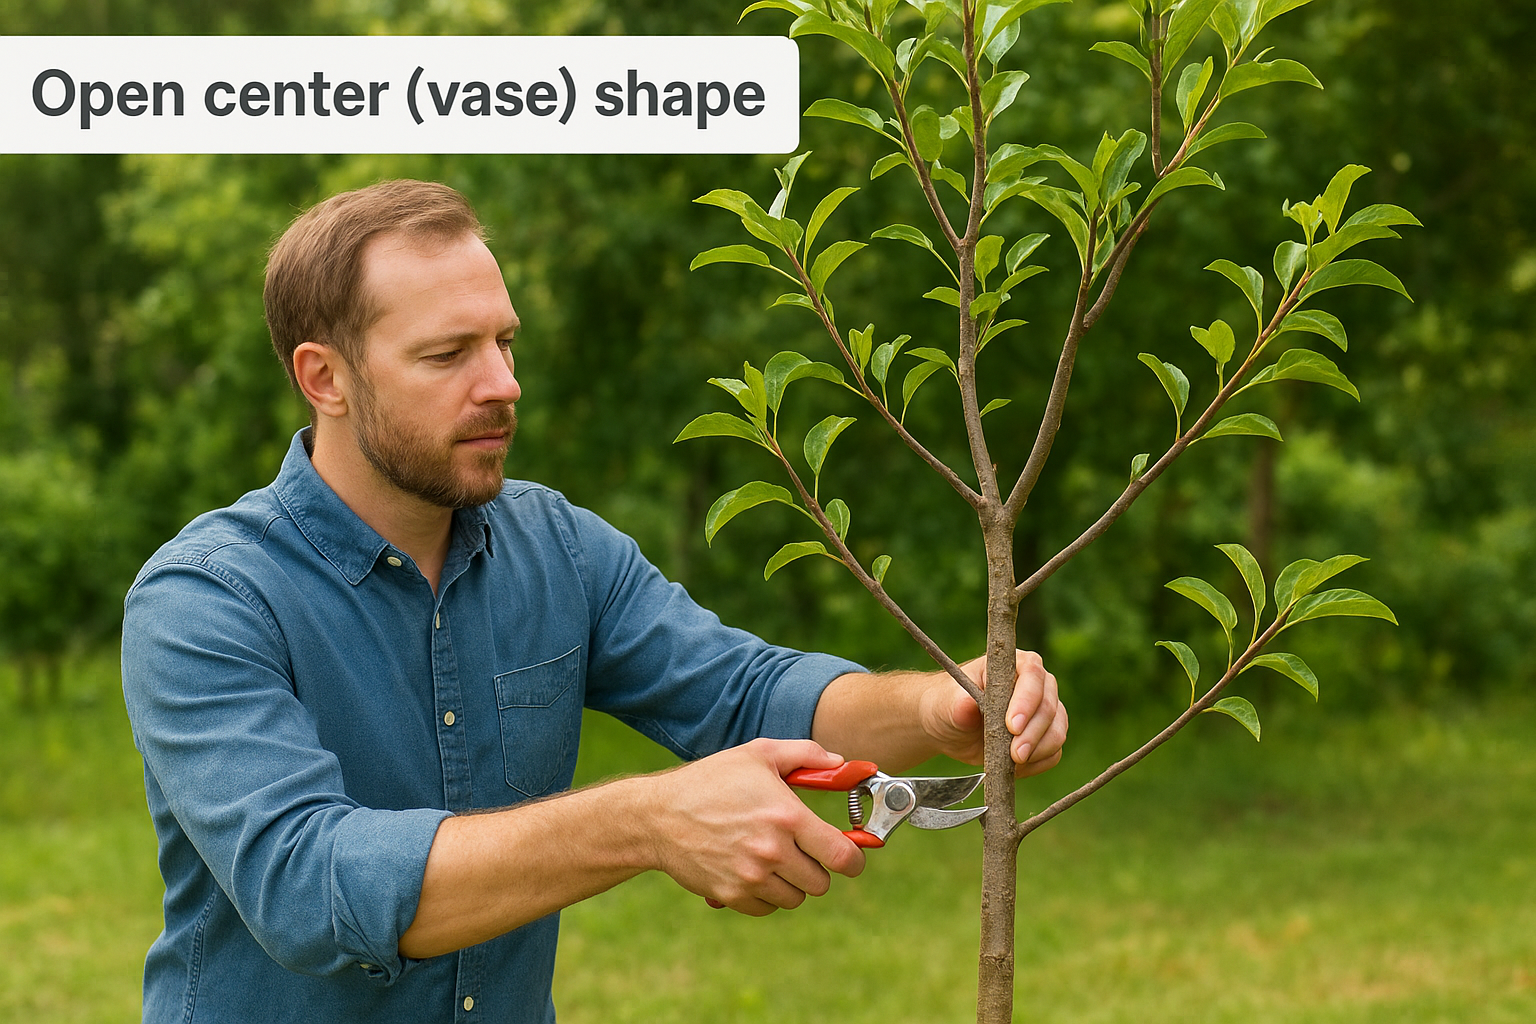
An open center tree is also easier to harvest since the canopy stays low and wide rather than pushing height beyond your reach.
To establish this shape on a young tree, identify your strongest outward-facing branches at roughly the same height around the trunk, then remove competing upright growth from the center. On a mature tree, bring it toward this form gradually over two to three pruning cycles rather than all at once.
Central leader shape
A central leader design keeps one dominant vertical trunk running through the center of the tree, with horizontal lateral branches tiered evenly outward from that trunk. This approach produces a strong, stable structure that handles the weight of heavy fruit crops well, making it a practical choice for starfruit and certain apple cultivars grown in Malaysia's cooler highland regions.
Your selection comes down to the species you're growing and the space you have available. Use this quick reference to match your tree to its ideal form:
| Training Style | Best For | Key Benefit |
|---|---|---|
| Open center (vase) | Mango, guava, citrus | Maximum light and airflow |
| Central leader | Starfruit, highland apples | Strong structure, heavy crop support |
| Modified central leader | Multi-purpose home gardens | Balances height control with yield |
Committing to one of these structures before your first cut gives every future pruning session a clear target, and that clarity is what separates a well-managed tree from one that keeps getting worse each year.
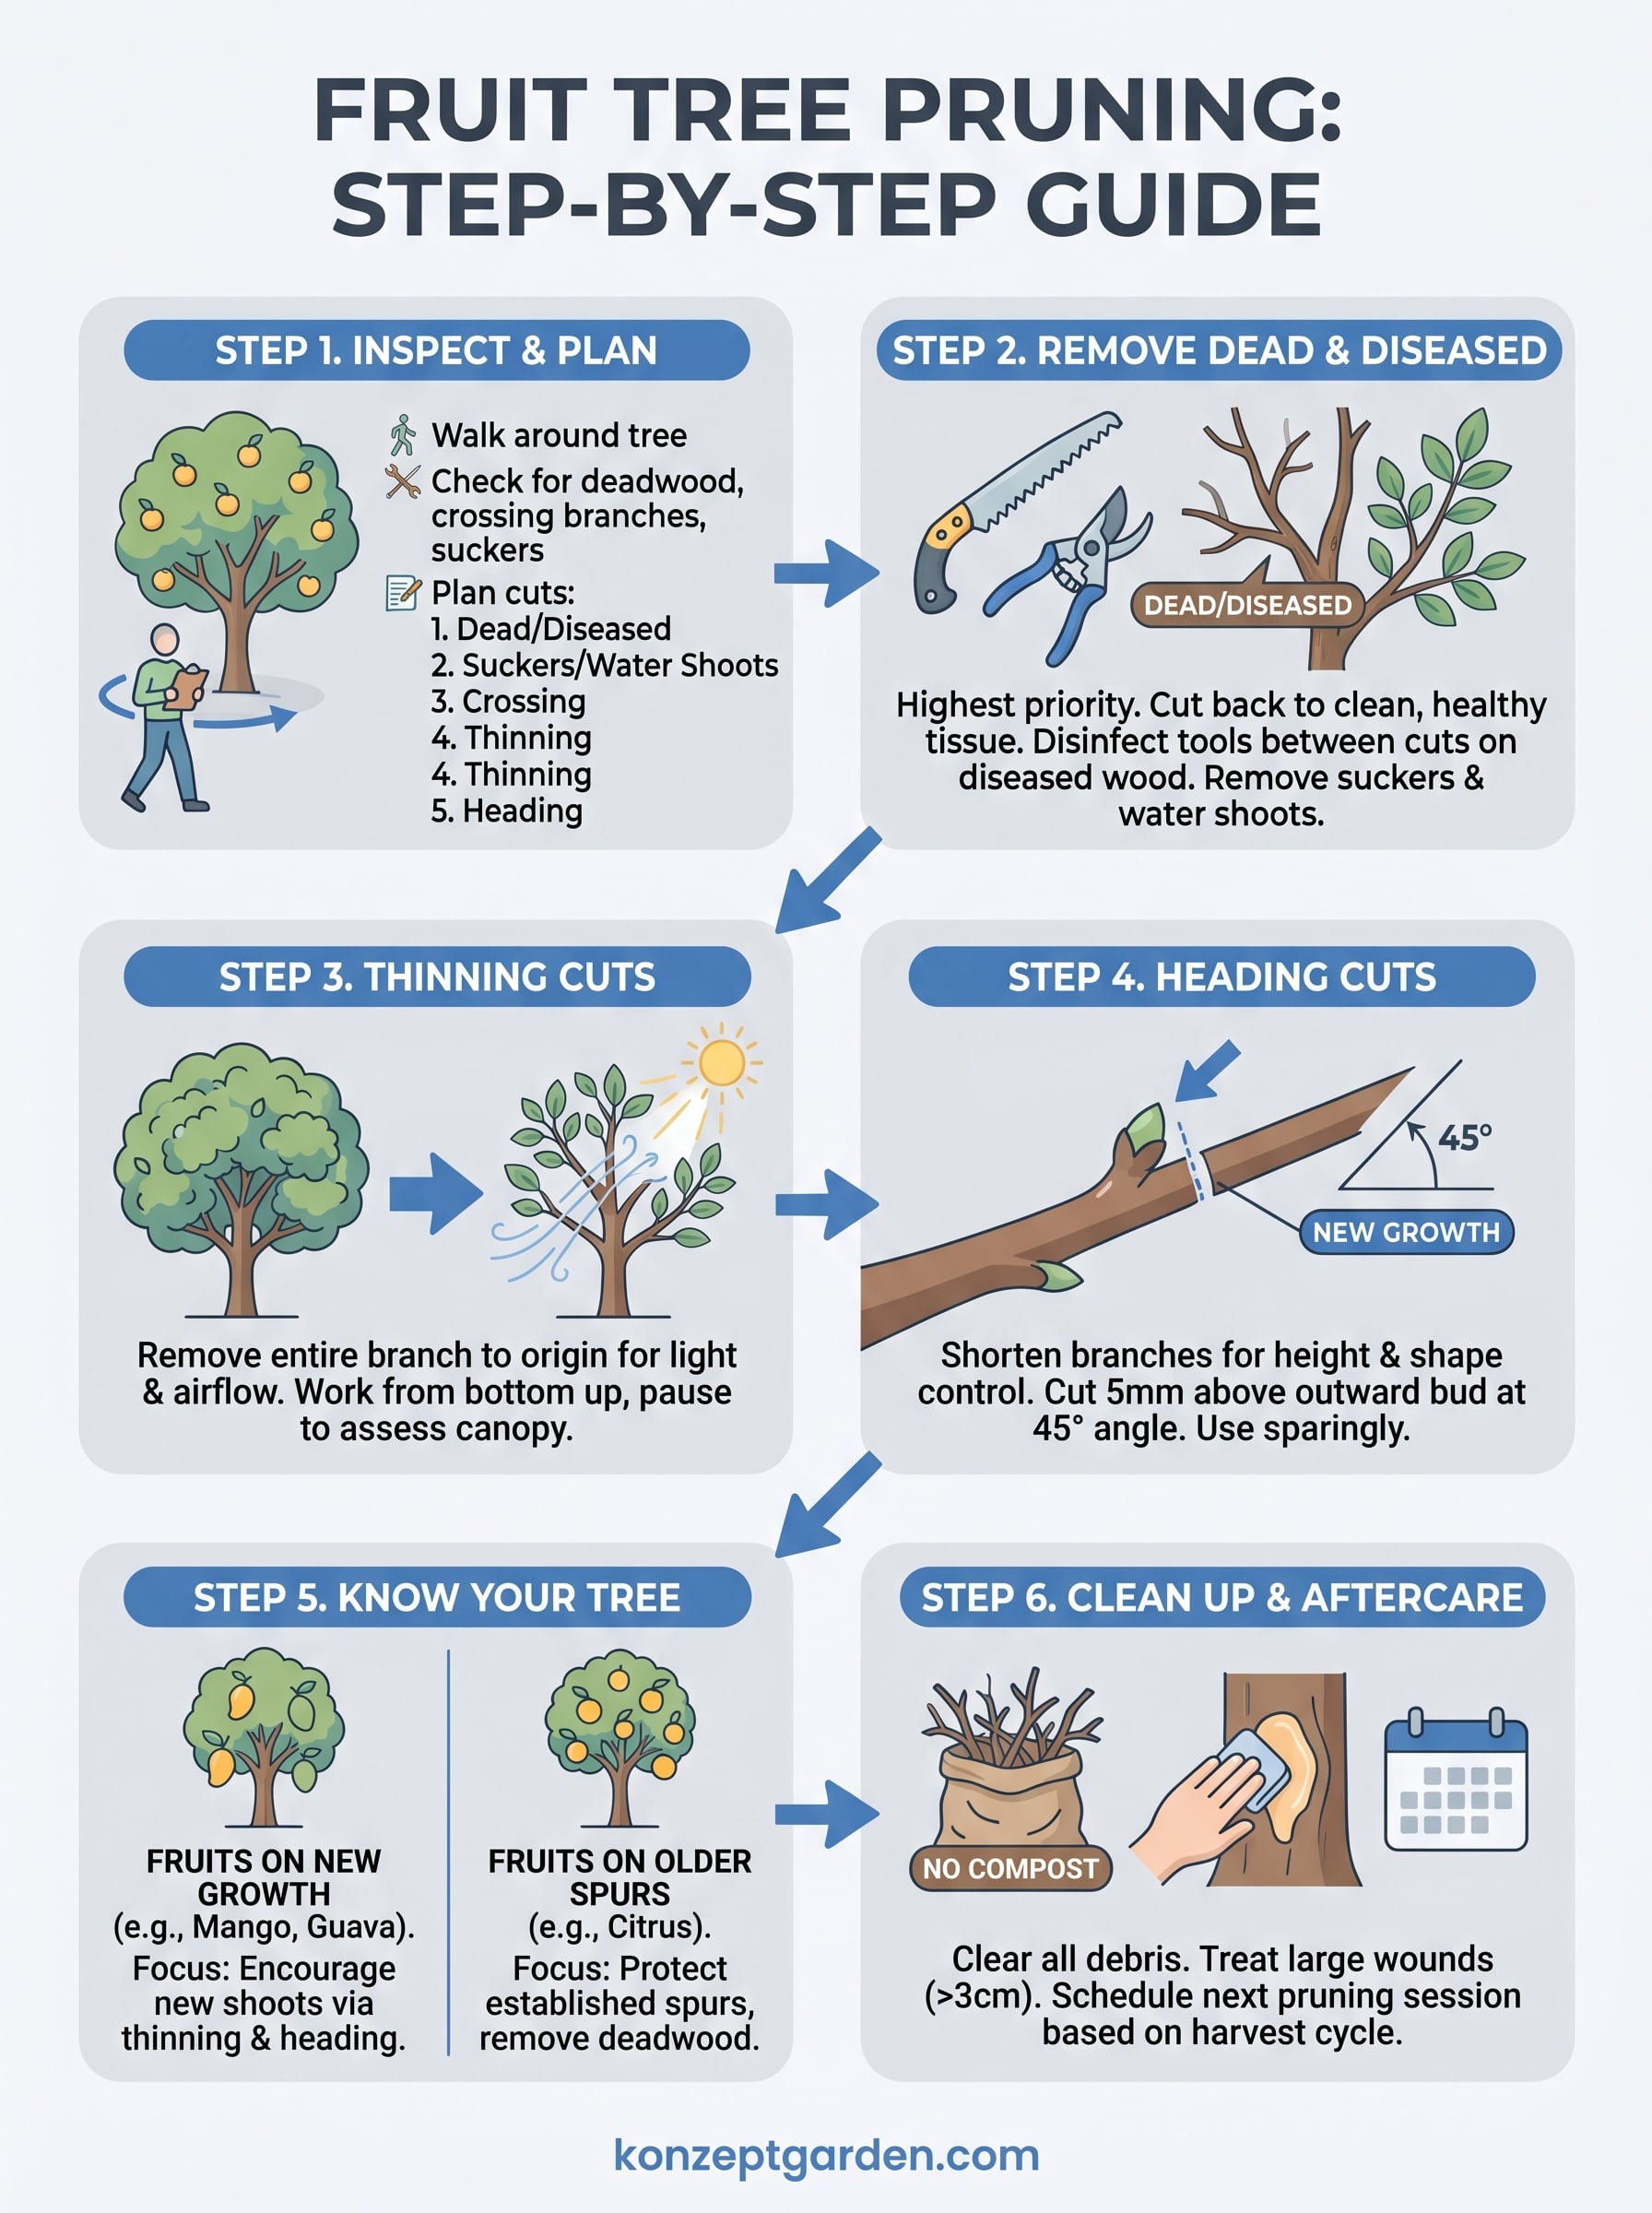
Step 1. Inspect the tree and plan the cuts
Before picking up your pruning saw or secateurs, spend five to ten minutes walking around the tree and reading its current structure. This inspection step is where experienced gardeners separate themselves from beginners. Rushing straight to cutting without a plan leads to removing branches you should have kept and keeping branches that are quietly damaging the tree's productivity. Think of this step as making a map before you start the journey.
Walk around the tree before you cut
Start your inspection from ground level and work your way up visually. Look for the overall silhouette of the tree: is it leaning heavily to one side, is the canopy so dense you cannot see through it, or are certain branches crossing and rubbing against each other? Crossing branches create wounds that never fully heal and become entry points for fungal pathogens in Malaysia's humid conditions. Once you've assessed the shape from the outside, step back to identify the main scaffold branches that form the tree's permanent structure and that you want to protect throughout the pruning process.

Use this checklist during your inspection:
- Deadwood: Look for branches with no leaves, brittle bark, or a dry, hollow sound when tapped
- Crossing branches: Identify any two branches rubbing or growing into each other's path
- Suckers and water shoots: Spot the fast, vertical shoots growing straight up from major branches or from the root zone
- Canopy density: Check whether light reaches the center of the tree or is blocked by a thick outer layer
- Previous cut sites: Note any old pruning wounds that show discoloration, oozing sap, or fungal growth
Map out your cuts with a clear priority order
Once you've completed your inspection, write down or mentally commit to a cutting sequence before you touch the tree. Learning how to prune fruit trees effectively means making removal decisions in a logical order rather than cutting whatever catches your eye first. Prioritize structural problems over cosmetic ones every time.
Removing the worst problem branches first lets you reassess the tree's shape after each cut, which prevents you from over-pruning.
Follow this sequence for every session:
| Priority | Cut Type | Reason |
|---|---|---|
| 1 | Dead, diseased, or damaged wood | Stops disease spread immediately |
| 2 | Suckers and water shoots | Reclaims wasted energy fast |
| 3 | Crossing or rubbing branches | Removes ongoing wound creation |
| 4 | Thinning cuts for light | Opens the canopy systematically |
| 5 | Heading cuts for height | Controls size last, not first |
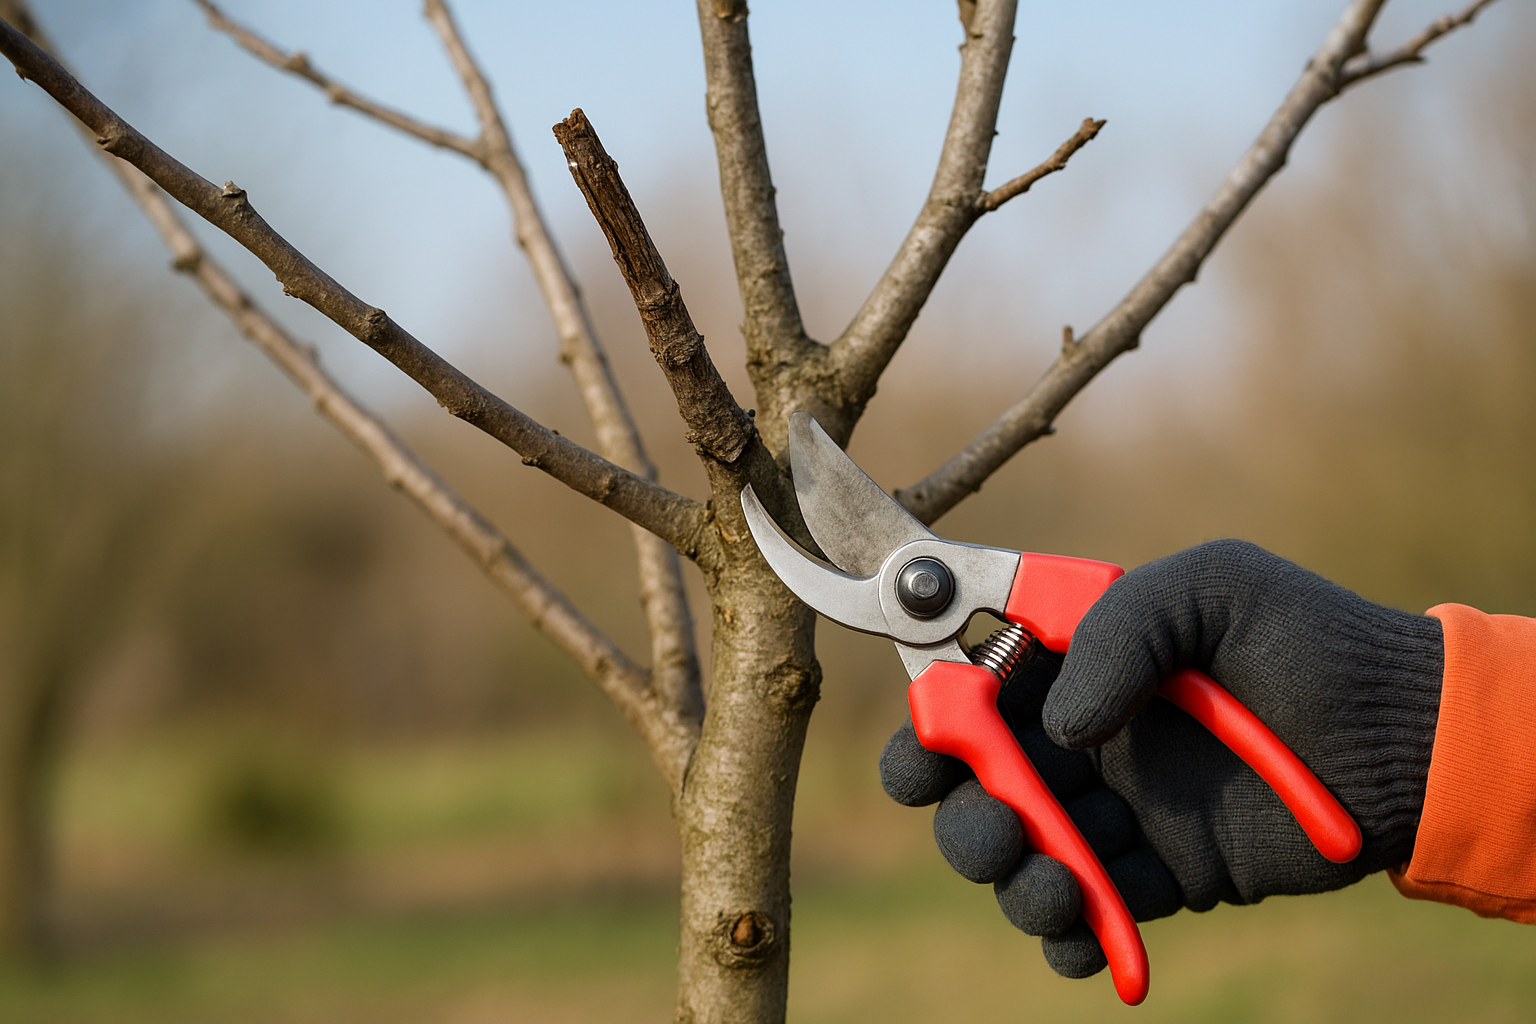
Step 2. Remove dead, diseased, damaged wood and suckers
This is the highest-priority work in any pruning session. Starting with dead, diseased, and damaged wood clears the most immediate threats to your tree before you touch any living structure. Skipping this phase and jumping straight to shaping cuts is one of the fastest ways to spread fungal spores or bacterial pathogens from infected tissue into fresh wounds you've just made. The entire logic of how to prune fruit trees correctly is built on removing problems first and shaping second.
Identifying and cutting out dead and diseased wood
Dead wood snaps cleanly when bent and shows no green tissue when you scratch the bark lightly with your thumbnail. Diseased wood often reveals discolored, brown, or streaked cambium beneath the bark, and you may notice a foul smell or visible fungal growth at the surface. Cut back until the exposed wood shows clean, white or cream-colored tissue with no discoloration or streaking, regardless of how far back that takes you.
Disinfect your pruning tools between every cut on diseased wood using a 70% isopropyl alcohol solution to prevent cross-contamination from one branch to the next.
Make each cut at a slight angle just outside the branch collar, which is the slightly raised ring of tissue where the branch meets the trunk or parent branch. Cutting through the collar removes the tissue your tree relies on to seal wounds, which slows recovery significantly in Malaysia's humid conditions.
| Cut Type | Correct Placement | Why It Matters |
|---|---|---|
| Dead branch removal | Just outside branch collar | Preserves the tree's natural wound-sealing response |
| Diseased wood removal | Cut back to clean, healthy tissue | Stops pathogen spread through the vascular system |
| Damaged branch cut | Angled cut, 5mm above a healthy outward-facing bud | Directs regrowth away from the canopy center |
Removing suckers and water shoots
Suckers grow from the root zone or from below the graft union and pull stored energy away from your productive canopy without contributing a single piece of fruit. Water shoots are the fast, upright stems that push straight up from major scaffold branches, usually appearing after heavy pruning in the previous season. Both divert significant carbohydrate reserves that your tree could send to fruiting wood instead.
Remove suckers at the exact point of origin, pulling them away from the root or cutting flush to the trunk. Leaving a stub behind encourages multiple new shoots to regrow from the same site, which creates more work at every future session.
Step 3. Open the canopy with thinning cuts
With dead wood and suckers gone, you can now see your tree's actual structure clearly. Thinning cuts are the tool you use to let light and air move through the interior, and they form the core of how to prune fruit trees for improved productivity. Unlike other cuts, a thinning cut removes an entire branch back to its point of origin, which means the tree does not produce a flush of new shoots at the cut site. This makes thinning cuts the least disruptive way to open a dense canopy without triggering a burst of unproductive regrowth.
What a thinning cut is and how it differs from other cuts
A thinning cut removes a branch completely, either back to the parent branch or back to the trunk. You are not shortening a branch; you are eliminating it entirely so no stub remains to send out multiple new shoots. Compare that to a heading cut, which shortens a branch and encourages vigorous regrowth at the tip. Thinning cuts are specifically for branches that crowd the canopy, compete with a stronger scaffold branch, or grow inward toward the center of the tree.
A branch growing inward never receives enough direct sunlight to develop productive fruiting wood, so keeping it costs the tree energy without returning any yield.
Use this table to decide which branches qualify for thinning:
| Branch Type | Action | Reason |
|---|---|---|
| Inward-growing branch | Remove entirely | Blocks light from reaching fruiting wood |
| Parallel branch too close to a scaffold | Remove the weaker one | Eliminates competition for light and space |
| Downward-hanging branch | Remove at origin | Rarely fruits and creates a humid microclimate |
| Branch crossing over the canopy center | Remove at origin | Prevents ongoing bark damage from rubbing |
How to work through the canopy systematically
Start at the bottom of the tree and work upward and inward in a consistent pattern so you don't lose track of what you've already removed. Take out one branch, step back, and assess the change in light penetration before you cut the next one. This pause-and-assess rhythm stops you from removing too much in a single pass, which is the most common mistake made at this stage.
Your goal is a canopy where you can see patches of sky through the interior branches when you look up from below the tree. Once that light penetration is visible, stop thinning and move on to controlling height.
Step 4. Control height and shape with heading cuts
Once thinning cuts have opened your canopy, heading cuts let you manage the tree's overall height and direct new growth into the shape you have chosen. A heading cut shortens a branch rather than removing it entirely, which triggers the buds just below the cut to push out new shoots. This response is what makes heading cuts powerful for shaping, but it also means every heading cut you make commits the tree to producing multiple new stems at that point, so placement matters more than most beginners realize when learning how to prune fruit trees.
What a heading cut does to your tree
When you shorten a branch with a heading cut, the terminal bud that was suppressing lateral growth below it is removed. Your tree responds by activating several of the buds closest to the cut, and those buds push out new shoots within a few weeks. In Malaysia's climate, that response arrives quickly due to year-round warmth, which means a poorly placed heading cut can generate a cluster of unwanted upright shoots in a part of the canopy where you wanted open space.
Use heading cuts deliberately and sparingly, since each one commits you to managing the new growth it triggers at the next pruning session.
Heading cuts serve two purposes: keeping the tree at a height you can harvest without equipment and redirecting branches that have grown beyond the space you have allocated in your garden. Both goals are legitimate, but heading cuts should always follow your thinning work, never precede it.
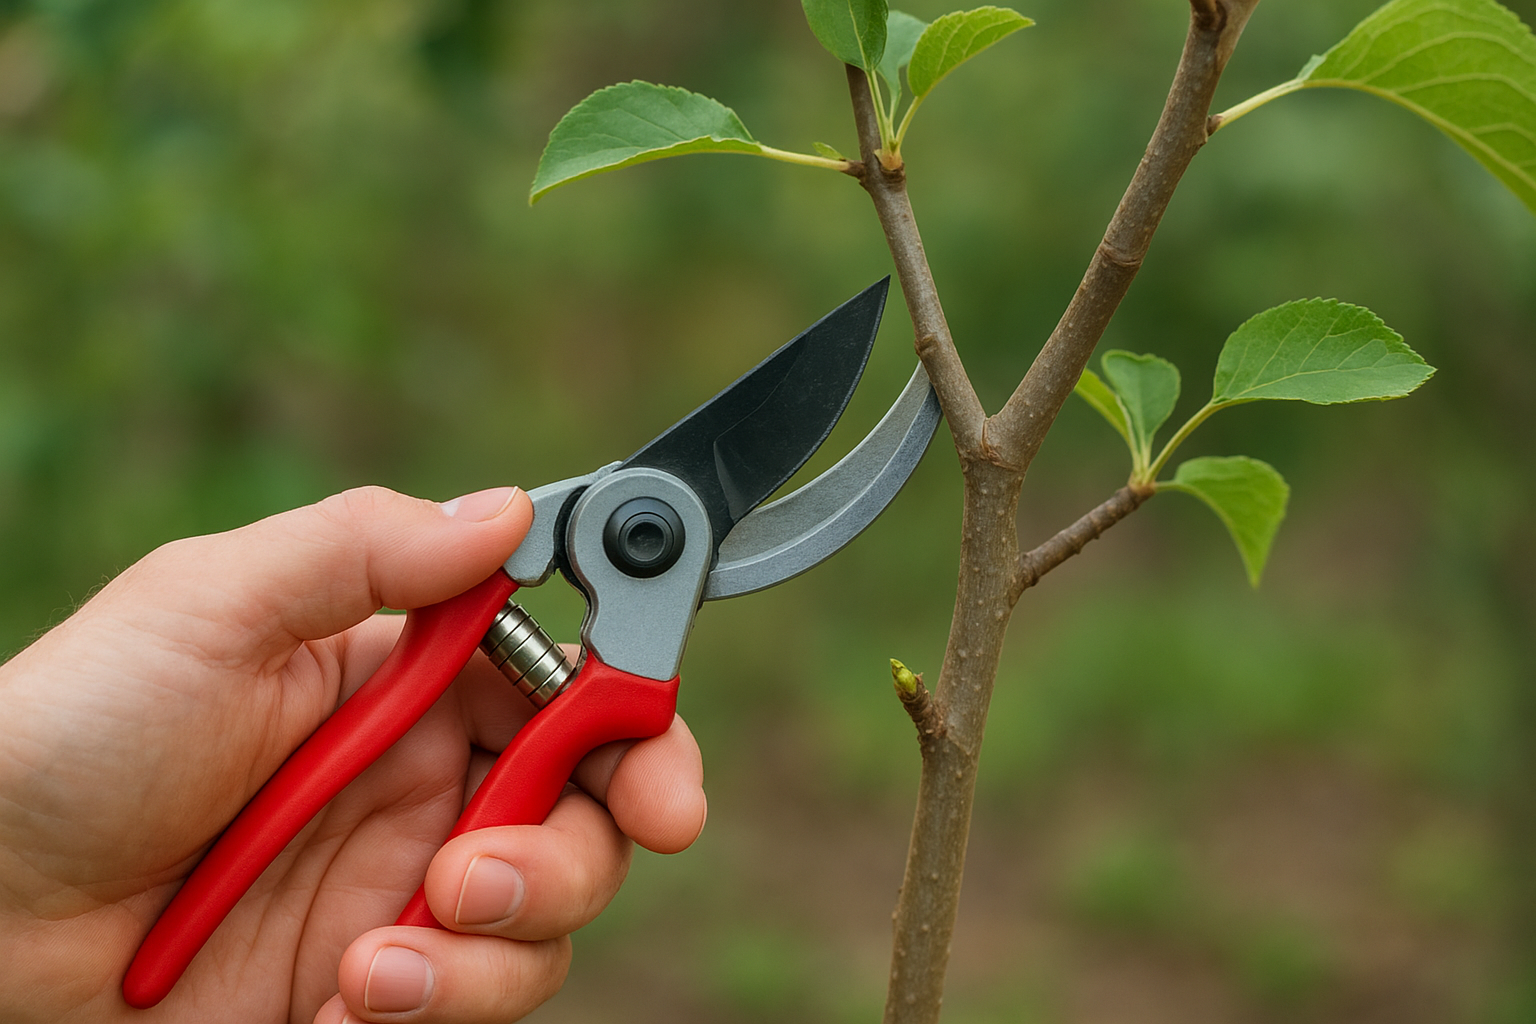
Where and how to make a heading cut correctly
Every heading cut belongs just above an outward-facing bud, roughly 5 millimeters above the bud at a slight angle that slopes away from it. Cutting too close damages the bud. Cutting too far above it leaves a stub that dies back and opens a wound entry point for fungal disease in Malaysia's humid conditions.
Use this reference before each cut:
| Situation | Where to cut | Expected result |
|---|---|---|
| Branch too tall | Just above a strong outward-facing lateral | Redirects growth sideways, reduces height |
| Branch extending into a walkway | Above the last bud you want to keep | Shortens reach without removing the whole branch |
| Branch with weak, thin tip growth | Above a strong bud lower down the branch | Concentrates energy into a stronger new shoot |
Angle your cut at roughly 45 degrees and ensure the low point of the angle sits on the same side as the bud so water runs away from it rather than pooling and encouraging rot at the cut site.
Step 5. Prune based on how each fruit tree bears fruit
The single most consequential fact in learning how to prune fruit trees is that different species produce fruit on different types of wood. Some trees fruit on the current season's new growth, others on older spurs that took two or three years to develop, and others on the same branch tips every cycle. Cutting without knowing where your specific tree sets its fruit can eliminate an entire season's production in one afternoon, regardless of how cleanly you made each cut.
Trees that fruit on new growth
Guava and mango both produce flowers and fruit on new vegetative growth that emerged in the current or most recent growth flush. For these trees, your goal is to encourage strong, healthy new shoots by removing old, weak, and overcrowded wood. When you thin the canopy and make controlled heading cuts on these species, you are directly stimulating the type of growth that will carry next season's fruit.
Cutting old exhausted wood off a guava or mango creates space and energy for the vigorous new shoots that will flower and set fruit in the next cycle.
Trees that fruit on older spurs and wood
Citrus trees, including calamansi and lime varieties common across Malaysian gardens, produce fruit on short, stubby spurs that develop on two-year-old and older branches. Removing too much of that older wood strips away the productive sites your tree spent years building. Your approach here is conservative: focus your cuts on dead wood, water shoots, and overcrowded branches while leaving the established spur systems intact.
Use this quick reference to match your pruning approach to your tree species:
| Fruit Tree | Fruits On | Pruning Priority |
|---|---|---|
| Mango | New terminal growth | Encourage new flushes; thin crowded canopy |
| Guava | New growth from current season | Head back after harvest to stimulate regrowth |
| Calamansi / Lime | Older spurs on 2-year-plus wood | Protect established spurs; remove deadwood only |
| Starfruit | Older wood along main branches | Minimal pruning; remove crossing and dead wood |
| Papaya | Main trunk (not pruned conventionally) | Remove lower leaves; manage side shoots only |
Applying this knowledge to your pruning session
Once you know which wood type your tree fruits on, every cut you make has a clear purpose rather than a guess. For spur-bearing citrus, your session focuses almost entirely on clearing dead material and opening airflow. For new-growth bearers like guava, you can be more aggressive with heading cuts because those cuts directly stimulate the productive growth your next harvest depends on.
Step 6. Clean up, aftercare, and an annual pruning plan
The cuts are finished, but the session is not. What you do in the hour after pruning directly affects how quickly your tree recovers and whether the wounds you've opened become entry points for fungal disease. In Malaysia's humid climate, a freshly pruned tree with unmanaged cut sites can develop fungal infections within days, so the cleanup phase is a non-negotiable part of knowing how to prune fruit trees properly from start to finish.
Clear the site and treat fresh wounds
Remove every piece of cut wood from the ground around the tree immediately. Diseased material should never be composted since it carries pathogens that survive and re-infect healthy plants later. Bag it separately and dispose of it away from your garden entirely. Healthy wood and leaves can go into a compost pile or green bin depending on your local waste management setup.
Large cut wounds above 3 centimeters in diameter benefit from a thin application of wound sealant or diluted Bordeaux mixture to reduce fungal entry in high-humidity environments.
Apply your wound treatment only to larger cuts on the main scaffold branches or trunk. Smaller cuts on thin laterals seal naturally without intervention in most cases. Rinse and disinfect all your tools before storing them, since residual sap and plant tissue on blades corrodes the metal and carries pathogens into your next session.
Build your annual pruning plan
A single well-executed pruning session loses most of its value if you don't follow up with consistent timing each year. Write your pruning dates into a calendar tied to each tree's harvest schedule rather than picking a fixed month that may not match your tree's actual cycle.
Use this template as a starting point and adjust based on how your trees perform:
| Month | Action |
|---|---|
| Post-harvest (varies by species) | Main structural prune: thinning, heading, dead wood removal |
| 8 weeks after main prune | Check for water shoots and suckers; remove only |
| Mid-cycle inspection | Assess wound sites, check for disease signs, no cutting needed |
| Before next flowering flush | Light tidy-up only; remove crossing or damaged growth |
Scheduling your sessions this way removes the guesswork from ongoing tree management and keeps your trees productive, healthy, and sized for the space your garden gives them season after season.
Quick wrap-up
Pruning a fruit tree is a skill you build across several seasons, not something you perfect in a single afternoon. This guide on how to prune fruit trees covered the full sequence: inspecting before cutting, removing dead and diseased wood first, thinning for light penetration, heading for height control, and adjusting your technique based on where each species actually sets its fruit. Each step builds directly on the one before it, so following the order gives you a repeatable process rather than a guessing game every time you pick up your secateurs.
Your trees will respond quickly when you prune at the right time and with a clear target shape in mind. Protect your scaffold branches, start with the highest-priority cuts, and schedule your next session before this one is finished. If you want professional guidance designing and managing a productive garden space in Malaysia, talk to our landscape team for a free consultation.

