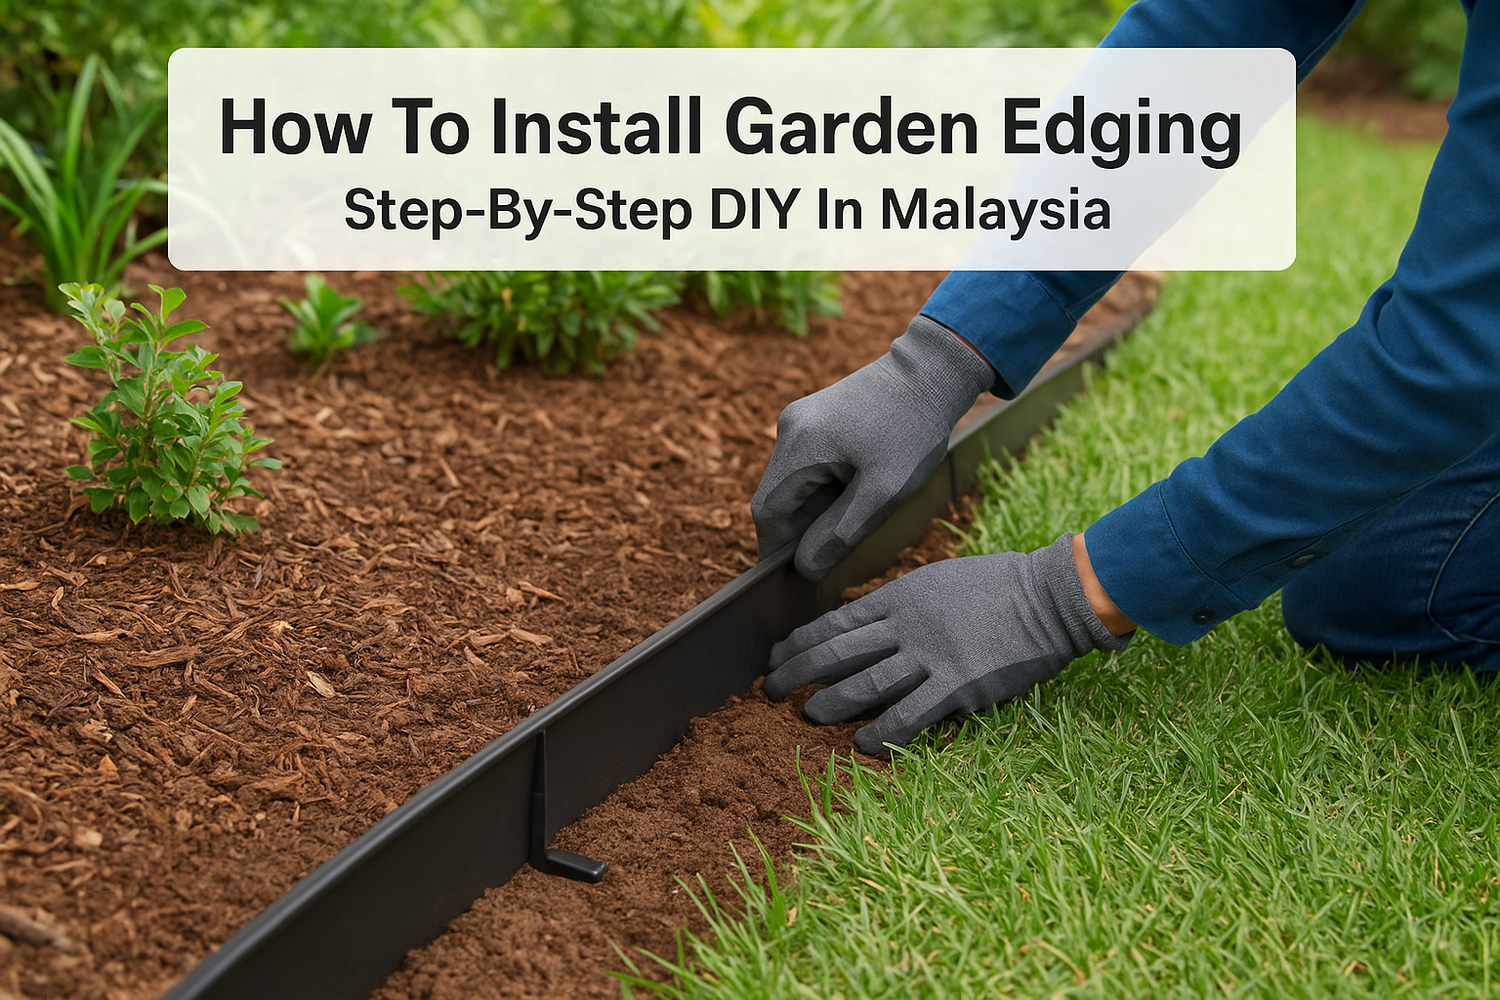
Your garden beds blur into the lawn. Mulch spills onto pathways after every heavy rain. Weeds creep across borders you thought were clear. Without proper edging, Malaysian gardens lose their shape fast. Tropical downpours wash away boundaries, and aggressive grass varieties invade flower beds within weeks. You need how to install garden edging that actually holds up in our climate.
Installing garden edging yourself takes one weekend and costs far less than hiring a contractor. You can create clean lines that survive monsoon season and handle our humid conditions. The right edging keeps your mulch where it belongs, stops grass from spreading, and gives your outdoor space that finished look. Most homeowners complete the job with basic tools they already own.
This guide walks you through every step of the installation process. You will learn how to pick materials that work in Malaysia, prepare your soil and trenches properly, and secure edging that stays put through heavy weather. We cover plastic, metal, brick and timber options so you can choose what fits your garden best. By the end, you will have professional looking borders without the professional price tag.
What to know before you install garden edging
You need to prepare properly before you dig your first trench. Malaysian weather patterns demand specific timing and planning that differs from temperate climates. Your success depends on understanding soil conditions, measuring accurately, and checking what lies beneath your planned border lines.
Check utility lines and irrigation systems
Call your local utility companies to mark underground cables, water pipes, and gas lines before you start digging. Most Malaysian homes have irrigation systems running through garden beds, and cutting a water line turns a simple project into an expensive repair. Use a garden hose or rope to outline your intended edge and walk the area looking for sprinkler heads, valve boxes, or visible pipe access points.

Plan around monsoon season timing
Install your edging during dry months between March and September when the ground stays firm and workable. Wet soil shifts and settles unevenly, making it impossible to set edging at consistent depths. You also want several dry days after installation so materials can settle and stakes can anchor properly into packed earth.
The difference between edging that lasts five years versus five months often comes down to installation timing and soil preparation.
Measure your garden border length with a tape measure and add ten percent extra to your material order. Curves require more material than straight lines, and having spare pieces on site saves you from stopping mid project for another store run. Write down your measurements and sketch your layout before you shop for supplies.
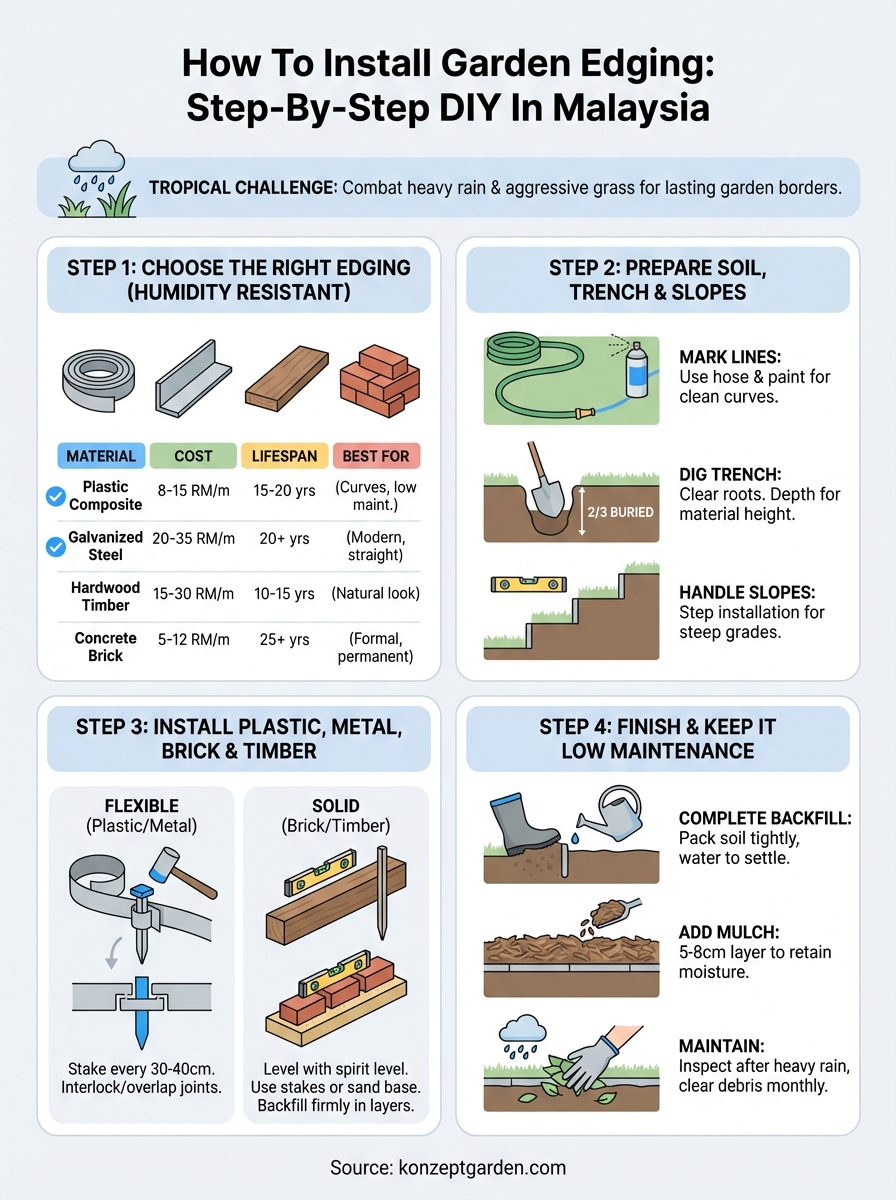
Step 1. Choose the right edging for Malaysia
Your material choice determines how long your borders last in tropical conditions. Malaysian humidity rots untreated wood within two years, while metal edging rusts quickly without proper coating. You need materials that resist moisture, handle temperature swings, and stand up to heavy rainfall without warping or deteriorating.
Materials that handle humidity and heat
Composite plastic edging works best for most Malaysian gardens because it never rots, resists UV damage, and bends easily around curves. Recycled plastic products maintain their color for years and need zero maintenance beyond occasional hosing. Galvanized steel edging creates clean modern lines and lasts decades if you choose thick gauge material with proper coating.
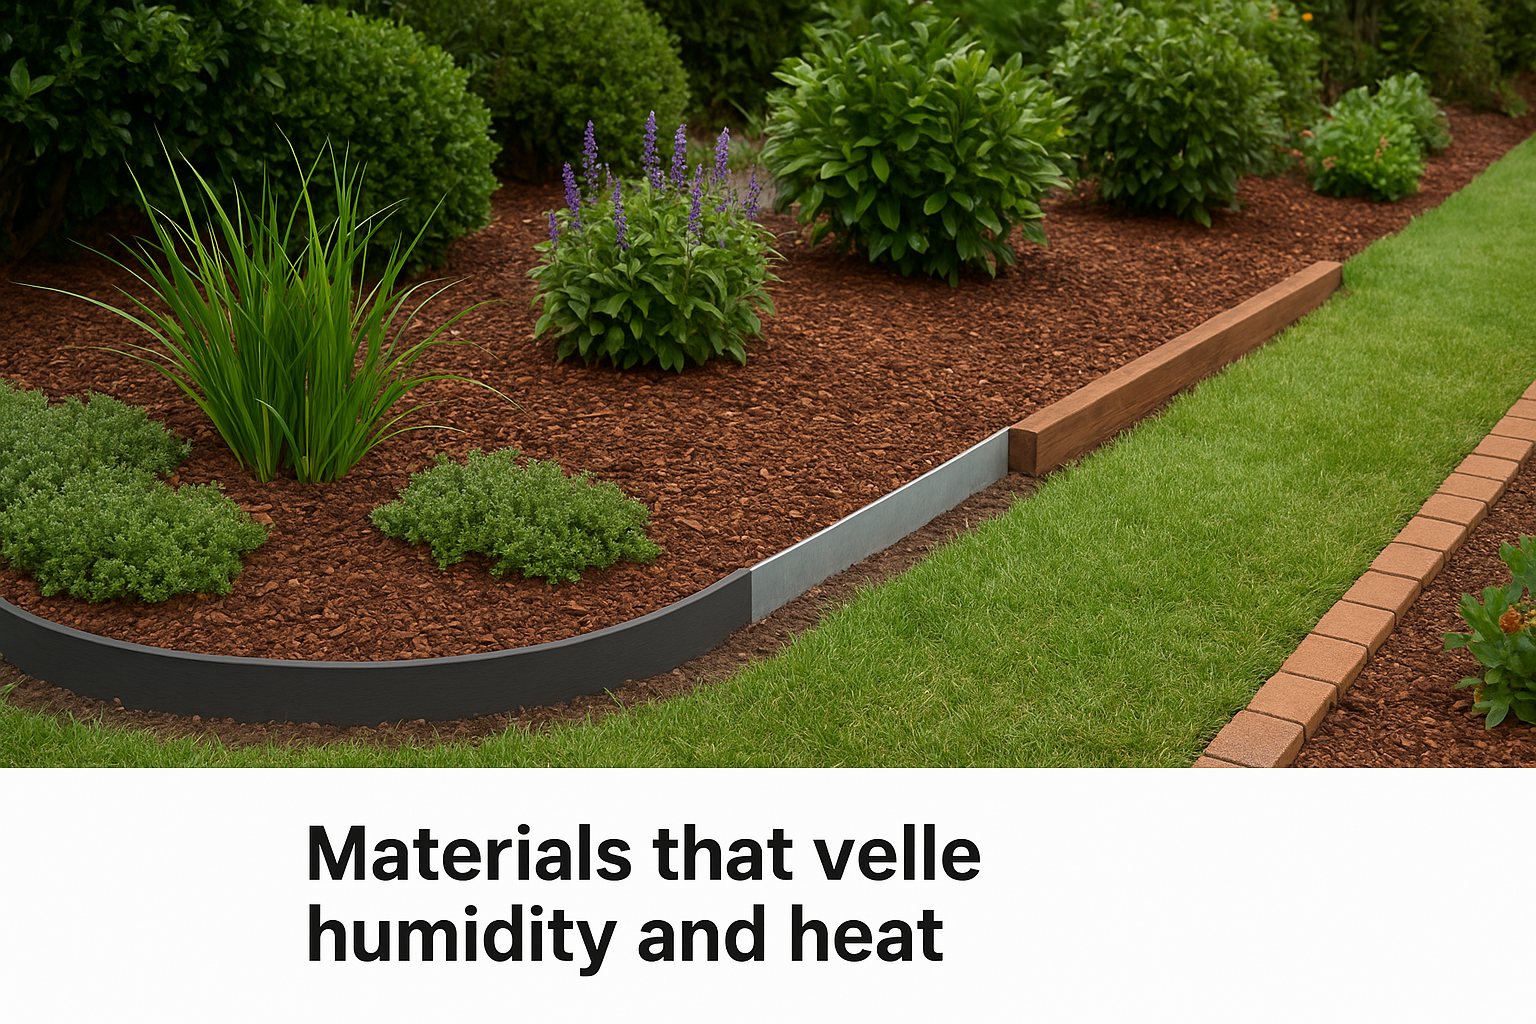
Treated timber sleepers give you a natural look but require hardwood varieties like Chengal or Belian that naturally resist termites and decay. Avoid pine or other softwoods even when treated. Brick and concrete edging handle our climate perfectly but take more effort to install and limit design flexibility once set.
Match edging to your garden style
Curved garden beds need flexible materials like rolled plastic edging or thin metal strips that you can shape by hand. Straight formal borders work well with timber planks, concrete blocks, or stacked bricks that create strong geometric lines. Your existing landscape style should guide your choice.
Materials that perform well in temperate climates often fail within months in Malaysian weather conditions.
Budget and longevity breakdown
Understanding cost versus durability helps you make smart decisions when you learn how to install garden edging. Plastic composite offers the best balance of affordability and performance for most homeowners, while steel edging justifies higher costs through decades of service.
| Material | Cost per meter (RM) | Expected lifespan | Best for |
|---|---|---|---|
| Plastic composite | 8-15 | 15-20 years | Curves, low maintenance |
| Galvanized steel | 20-35 | 20+ years | Modern, straight lines |
| Hardwood timber | 15-30 | 10-15 years | Natural, rustic look |
| Concrete brick | 5-12 | 25+ years | Formal, permanent borders |
Step 2. Prepare the soil, trench and slopes
Proper ground preparation determines whether your edging stays straight or shifts within months. Malaysian clay soils compact differently than sandy loam, and you need to account for drainage patterns that change dramatically during monsoon season. Your trench depth and width must match your chosen material while accommodating root zones and settling that happens in tropical conditions.
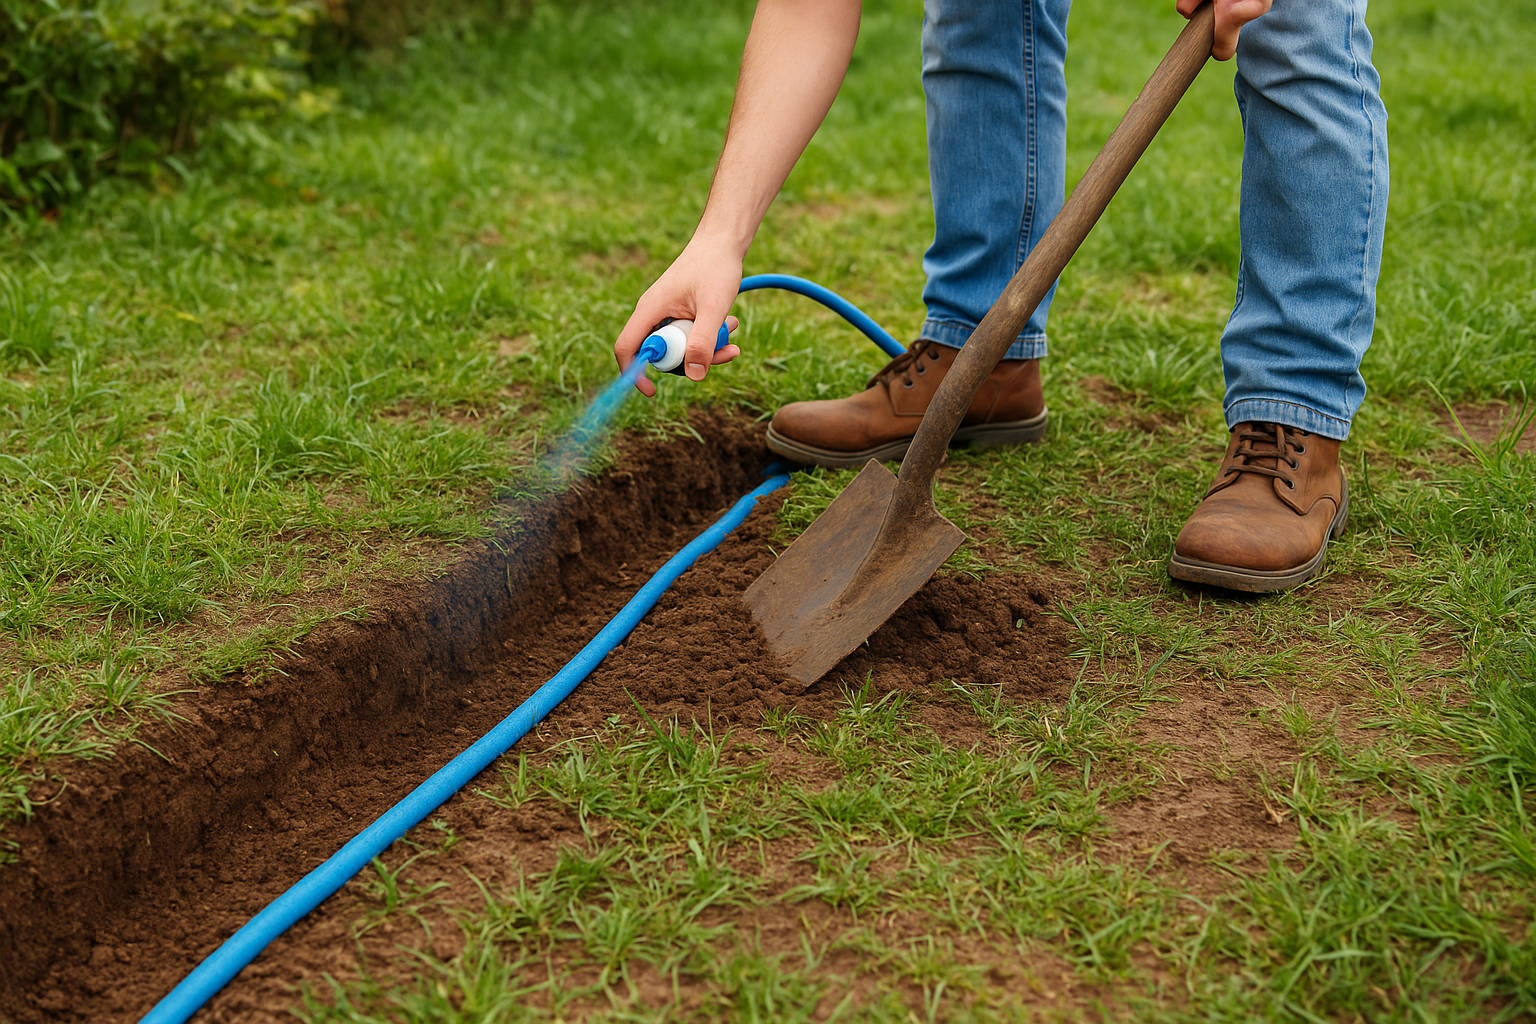
Mark your border lines and dig the trench
Lay out a garden hose or rope along your intended edge and adjust the curves until they look right from multiple angles. Spray marking paint along the inside edge of the hose to create a visible line that stays put while you work. Remove the hose and use a flat spade or half-moon edger to cut a clean vertical line into the soil along your marked path.
Dig your trench to a depth that buries two-thirds of your edging height for plastic and metal materials, or the full depth for timber sleepers and brick. Most plastic edging needs a trench between 10 to 15 centimeters deep. Keep the trench width just slightly wider than your edging material so you can backfill firmly without gaps. Remove all grass, roots, and debris from the trench bottom and create a level surface using a hand tamper or the back of your spade.
Skipping proper trench depth causes edging to pop up during heavy rain when water saturates the soil and reduces friction.
Handle slopes and uneven ground
Sloped areas require stepped installation rather than following the ground angle directly. Dig flat sections at consistent depths and create small steps every meter or two along steep grades. This prevents edging from appearing to tilt forward or backward when you view it from the side. For gentle slopes under 15 degrees, you can follow the natural grade but check frequently with a level to maintain consistent height above ground.
Install edging slightly deeper on the downhill side of slopes to prevent soil erosion from washing underneath during storms. Pack extra soil firmly behind the higher edge to create a stable barrier that redirects water flow rather than channeling it under your border.
Step 3. Install plastic, metal, brick and timber
Different edging materials require specific installation techniques that affect how well they perform in Malaysian conditions. Flexible plastic and metal strips anchor with stakes every 30 to 40 centimeters, while solid materials like brick and timber rely on trench depth and backfill pressure to stay in position. You need to adjust your approach based on material properties and the forces that tropical weather puts on your borders.
Install plastic and metal edging
Place your plastic or metal edging into the prepared trench starting at one end of your border. The top edge should sit 2 to 3 centimeters above ground level to create a visible barrier that stops mulch and soil from spilling over. Press the edging firmly against the back wall of your trench and check alignment every meter using a string line or straight board.
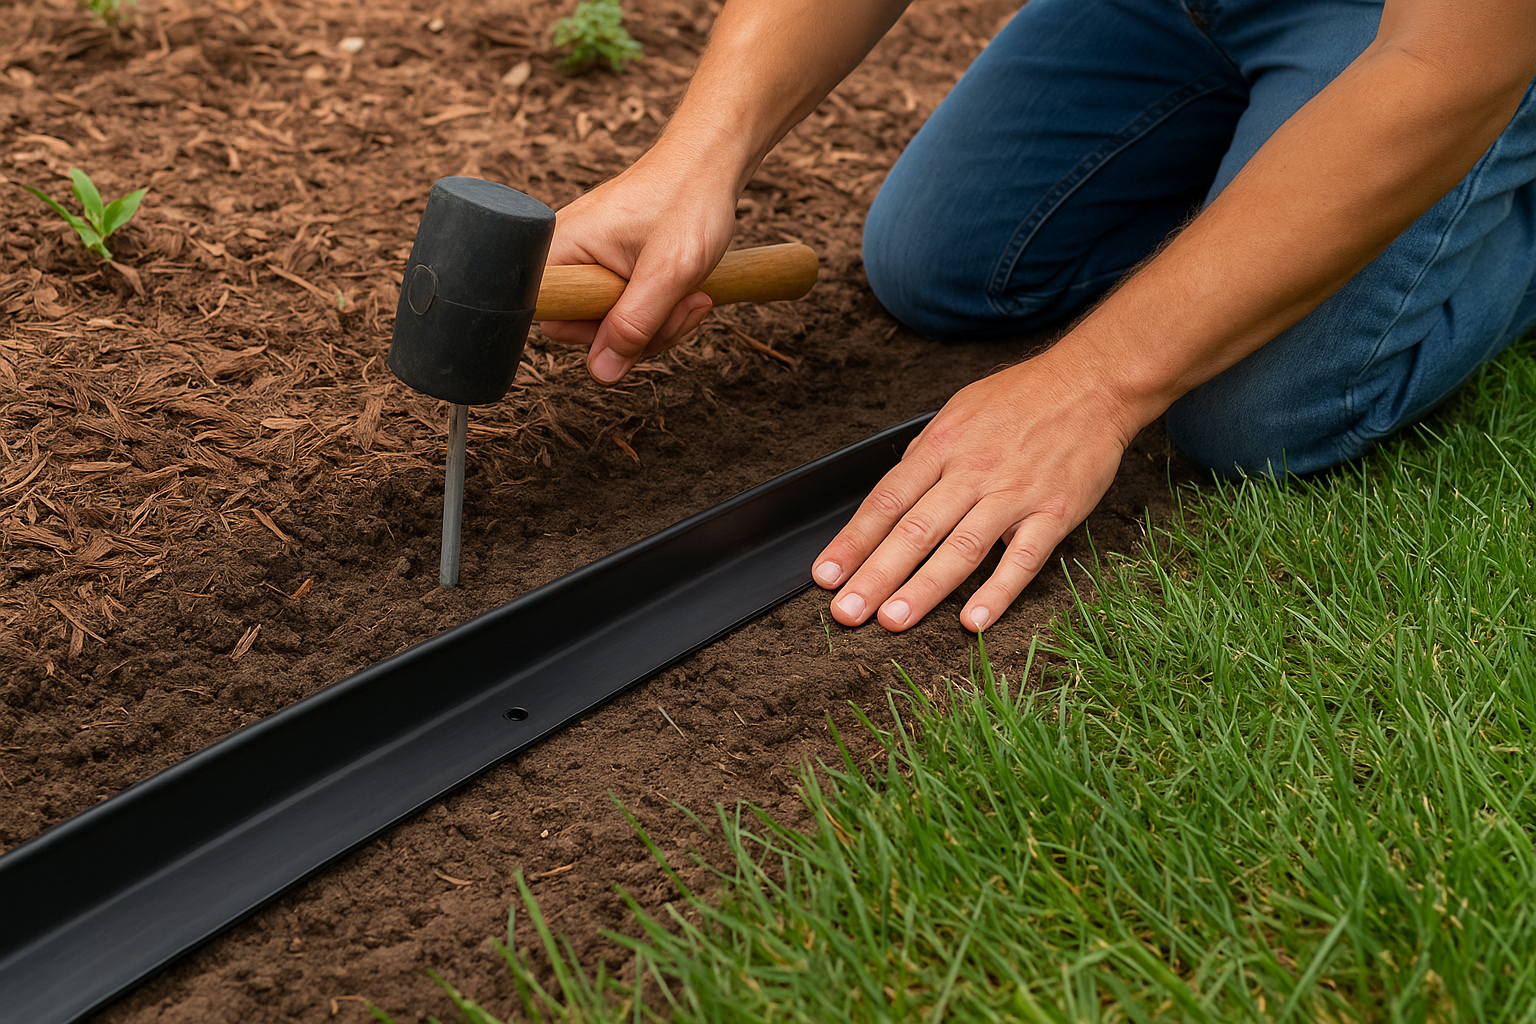
Drive galvanized steel stakes or plastic pegs through the pre-drilled holes in your edging at regular intervals. Hit stakes straight down with a rubber mallet until the top sits flush with or slightly below the edging surface. Backfill soil against both sides of the edging and pack it down firmly with your boot or a hand tamper to eliminate air pockets.
Connect multiple sections of plastic edging using the interlocking connectors provided with most products. Overlap metal edging pieces by 10 centimeters and secure the joint with an extra stake driven through both layers. For curves, bend flexible materials gradually over a 2 to 3 meter span rather than creating sharp angles that stress the material and create weak points.
Proper staking every 30 to 40 centimeters prevents heaving during heavy storms when saturated soil expands and contracts around your borders.
Install brick and timber edging
Set timber sleepers or hardwood planks vertically in trenches dug to half the timber height for upright installation, or lay them horizontally in shallow trenches for a low profile border. Position each piece level using a spirit level and drive treated hardwood stakes behind the timber at 60 centimeter intervals. The stakes should penetrate at least 20 centimeters into undisturbed soil below the trench bottom to prevent movement.
Lay bricks or concrete blocks end-to-end in your prepared trench on a 3 centimeter base of compacted sand for stability. Each brick should touch the next without gaps, creating a continuous barrier. Tap bricks level with a rubber mallet and backfill firmly on both sides to lock them in position.
For both materials, when you learn how to install garden edging that lasts, you need to pack soil incrementally in 5 centimeter layers rather than filling the entire trench at once. This prevents settling gaps that allow water to channel underneath your edging.
Step 4. Finish the edge and keep it low maintenance
Your edging installation finishes with proper backfilling and surface preparation that locks everything in place. Malaysian tropical conditions demand specific finishing techniques that prevent shifting during heavy storms and reduce long-term maintenance needs. You want to create a clean edge that requires minimal attention through monsoon cycles and hot dry periods.
Complete the backfill and add mulch
Pack soil firmly against both sides of your installed edging using a hand tamper or your boot heel to eliminate air pockets that cause settling. Water the backfilled area thoroughly and let it drain for 30 minutes, then add more soil to fill any depressions that appear. The final soil level should sit flush with the bottom edge of your border on the lawn side.
Add a 5 to 8 centimeter layer of mulch inside your garden beds right up to the edging face to complete the professional appearance. Mulch prevents weed growth, retains moisture during dry spells, and creates a clean visual separation between lawn and garden areas.
Proper backfill compaction prevents the gradual tilting and sinking that ruins the appearance of garden borders within two years.
Maintain edging through Malaysian seasons
Inspect your borders after each heavy rain event and push back any mulch or soil that washes over the top edge. Clear debris and fallen leaves monthly to prevent material buildup that hides your border lines. When you understand how to install garden edging properly from the start, your maintenance drops to less than 30 minutes per quarter for most residential gardens.
Bring your new edging to life
Your newly installed borders transform how your garden looks and functions. The clean lines you created stop grass invasion, keep mulch contained, and give your outdoor space that finished appearance Malaysian homes deserve. You now know how to install garden edging that survives tropical weather and requires minimal upkeep through every season.
Walk your completed borders and adjust any sections that settled during initial watering. Plant flowers or shrubs right up to your new edge to showcase the definition you created. Your garden beds now have the structure they need to look great year round.
Ready to take your outdoor space beyond borders? Contact our landscape design team for expert guidance on complete garden transformations that complement your new edging with custom plantings, water features, and professional hardscaping.
