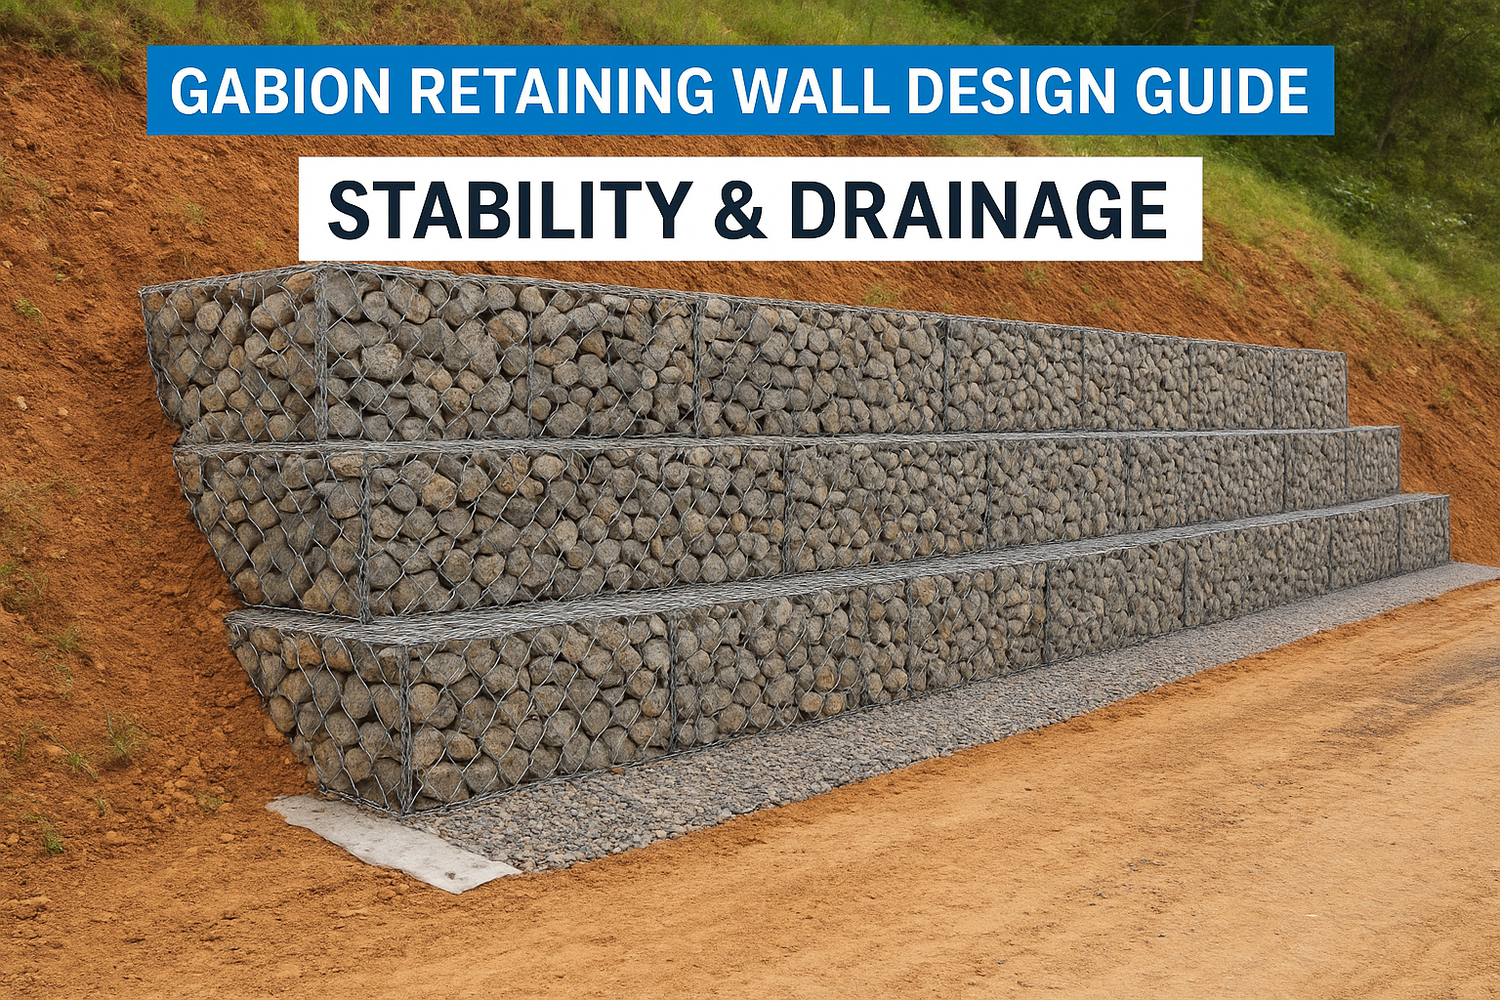
Gabion walls do two things well: they hold back soil, and they look good doing it. Whether you're managing a slope on a residential property or stabilizing terrain for a commercial development, a solid gabion retaining wall design guide is the difference between a structure that lasts decades and one that shifts after the first heavy monsoon season. These wire-and-stone structures are popular across Malaysia for good reason, they're durable, naturally draining, and surprisingly adaptable to different site conditions.
At Konzept Garden, we work with gabion retaining walls regularly as part of our landscape design and implementation projects. From hillside gardens in the Klang Valley to commercial hardscape installations, we've seen firsthand how proper engineering and material selection determine whether a gabion wall performs as intended. It's not just about stacking rocks in a cage, there's real structural logic behind every course, every foundation layer, and every drainage detail.
This guide breaks down the core principles of gabion retaining wall design, covering stability calculations, foundation requirements, backfill drainage, and material specifications. Whether you're a homeowner planning a DIY terrace wall or a developer working with a landscape contractor, you'll walk away with practical knowledge you can actually apply to your project.
What a gabion retaining wall must do
A gabion retaining wall works by using mass to resist force. Unlike concrete walls that rely on rigidity, gabion walls are flexible gravity structures that resist the horizontal pressure of retained soil by being heavy enough that the soil can't push them over or slide them forward along the ground. Understanding this principle upfront shapes every design decision you'll make, from how wide to build the base to which stone fill you specify.
Resist the three classic failure modes
Every retaining wall, regardless of material, can fail in three ways: overturning (the wall tips forward), sliding (the wall moves forward along its base), and bearing capacity failure (the foundation soil compresses unevenly and the wall sinks or tilts). Your gabion wall design must address all three simultaneously, because correcting one without the others only shifts where the problem occurs.
| Failure mode | What causes it | How gabion design counters it |
|---|---|---|
| Overturning | Excessive soil pressure on the back face | Wider base, backward batter (lean) |
| Sliding | Horizontal force exceeds base friction | Wider base, buried foundation course |
| Bearing failure | Soft or uneven foundation soil | Adequate footing depth, compacted sub-base |
For sites in Malaysia, sliding and bearing capacity failure are the most common issues, particularly in clay-heavy soils that soften and lose shear strength during prolonged rain. A proper gabion retaining wall design guide always sizes the base width and foundation depth relative to the actual soil bearing capacity at the site, not a generic rule of thumb.
Handle hydrostatic pressure without letting it build up
Water is often the direct reason gabion walls fail, not the weight of soil alone. When rainwater saturates the backfill, it adds significant hydrostatic pressure against the back face of the wall. A clay backfill with no drainage path can increase total lateral force by two to three times compared to a dry, well-graded granular backfill at the same height.
In Malaysia's climate, where annual rainfall exceeds 2,000 mm across most regions, ignoring hydrostatic pressure in your design is the single fastest way to lose a retaining wall after the first monsoon season.
Gabion walls have a built-in advantage here because the wire mesh baskets and stone fill are permeable. Water moves through the wall face rather than collecting behind it. But this only works if your backfill drainage layer is also designed correctly. A missing geotextile filter or a poorly graded backfill will clog the drainage path within a few rainy seasons, converting a permeable wall into one that traps water pressure just as effectively as solid concrete.
Remain stable as the ground settles over time
A well-designed gabion wall also tolerates minor movement. Concrete walls crack when the foundation shifts. Gabion walls, being built from individual wire baskets filled with loose stone, can absorb small settlements without losing structural integrity. This flexibility makes them well suited to tropical soils that shift after heavy rain. You still need proper foundation preparation to minimize settlement, but the material itself gives you a working margin that rigid wall systems simply don't offer.
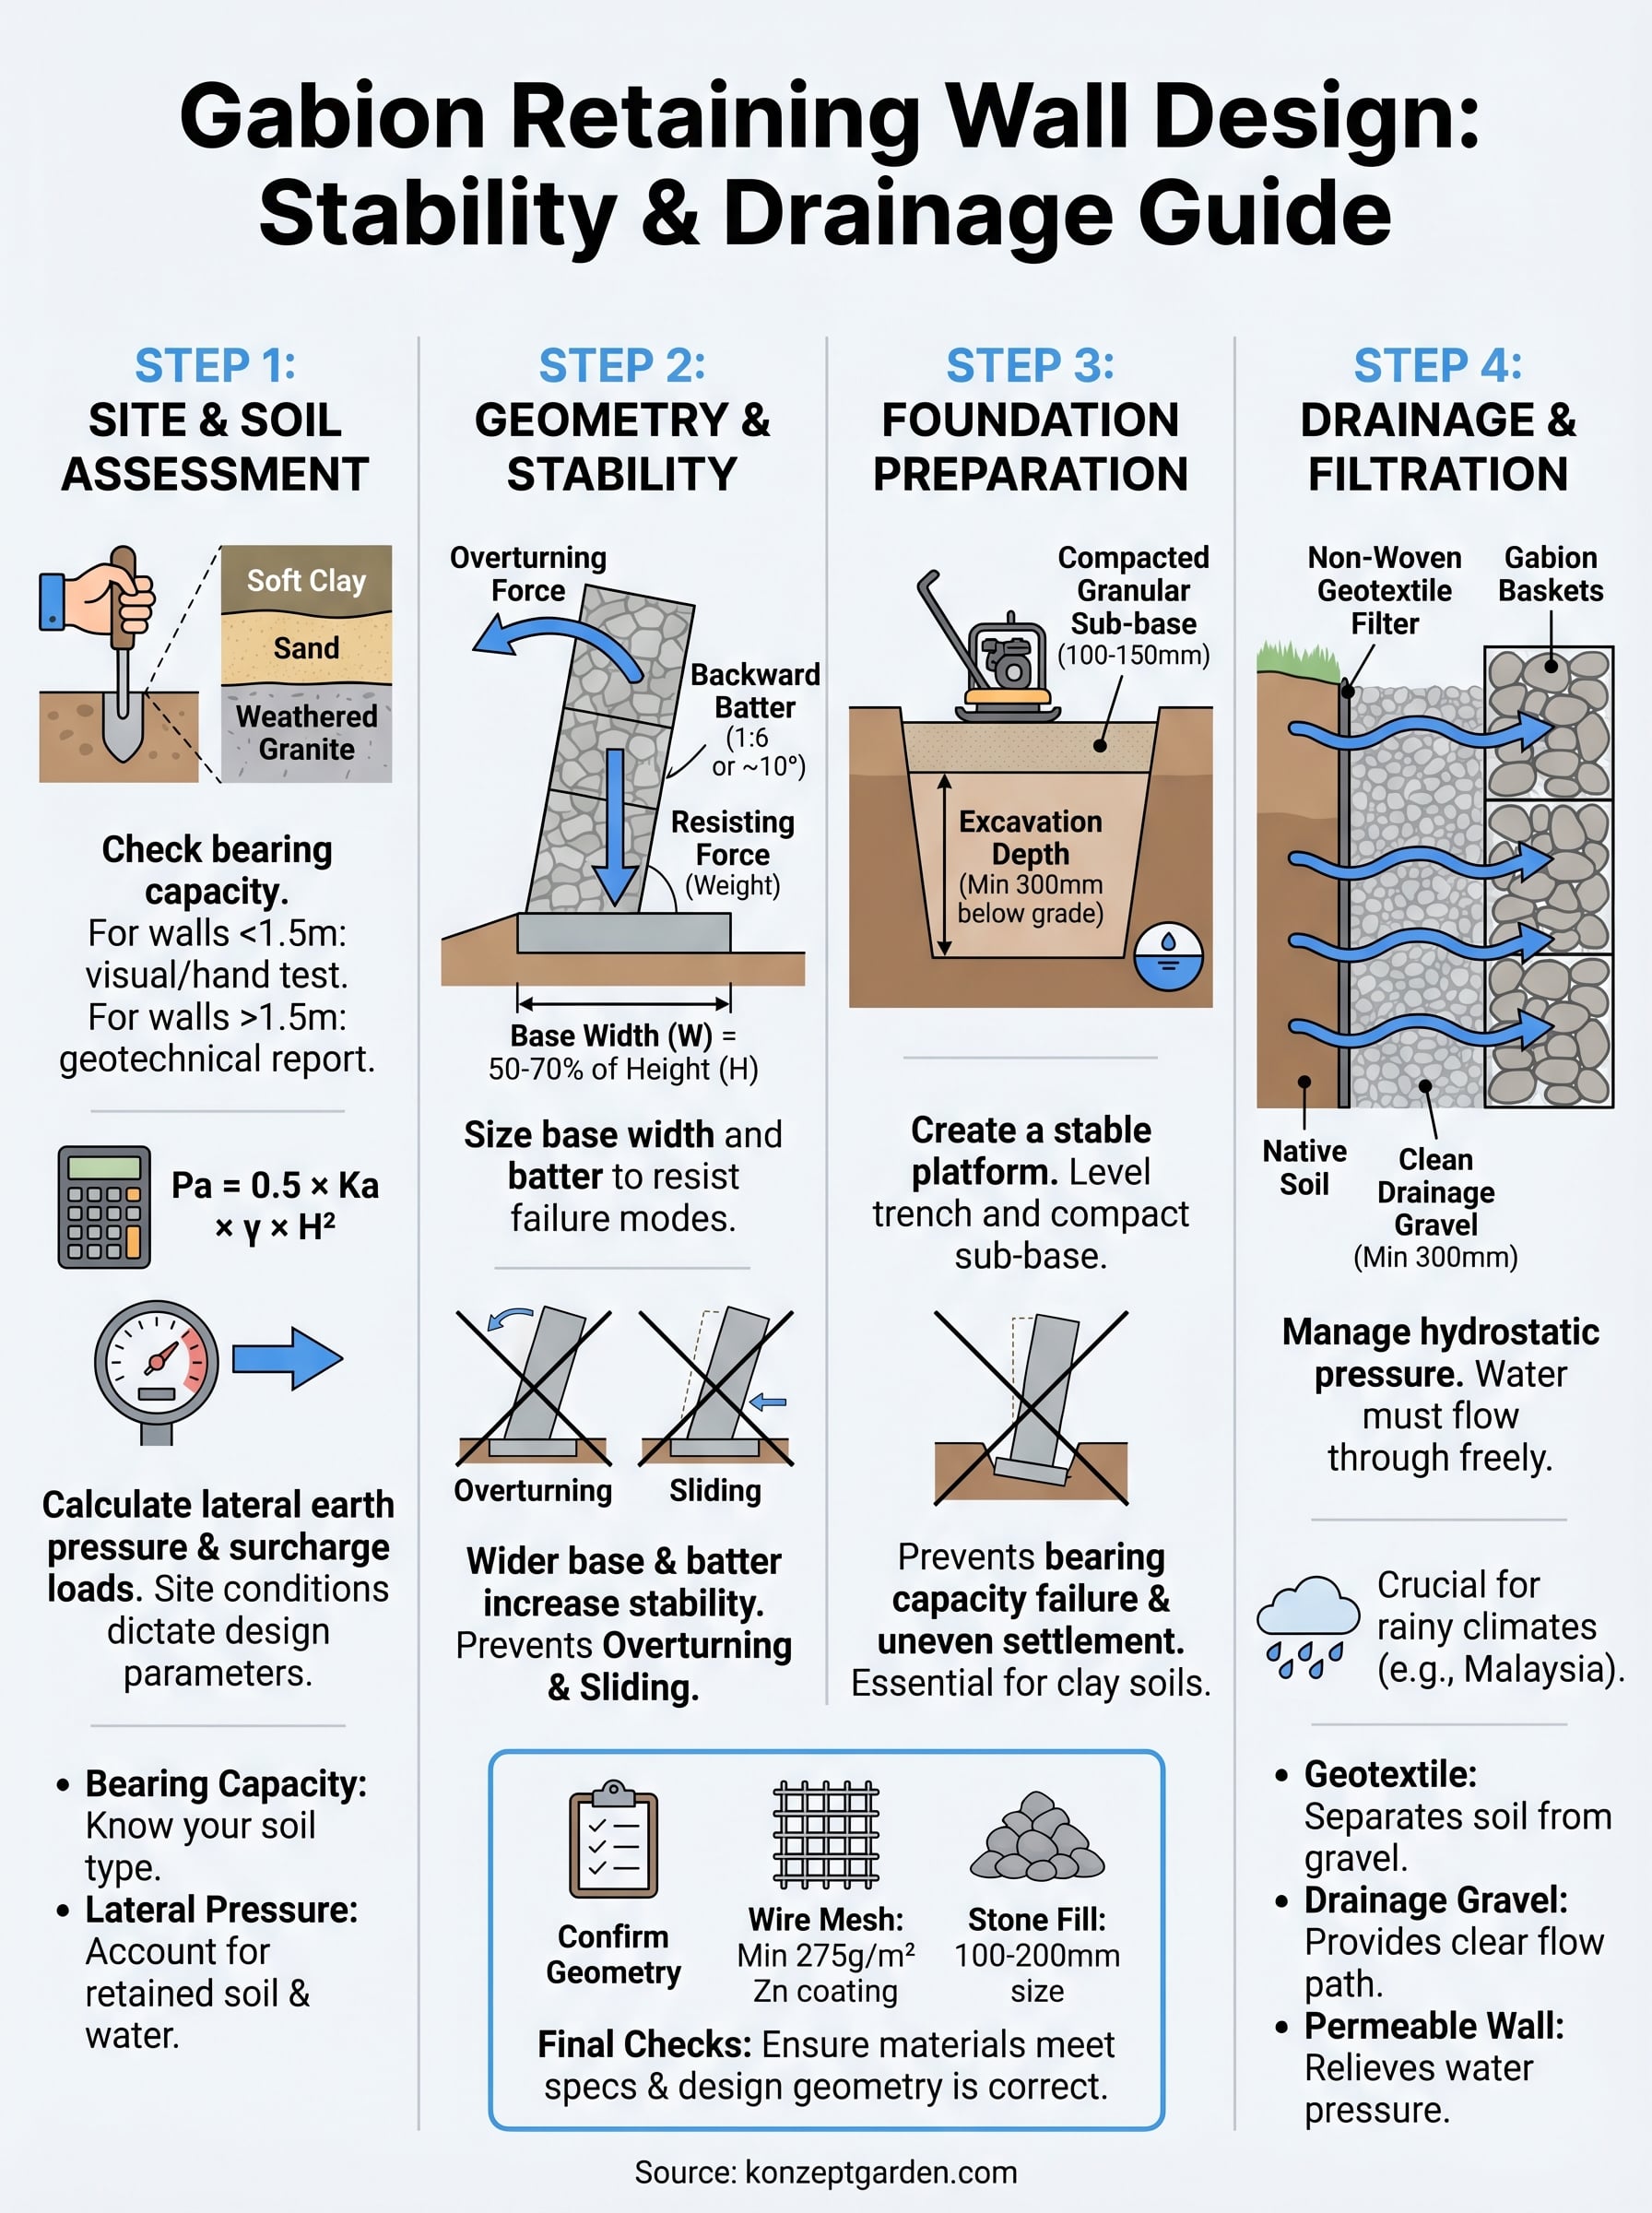
Step 1. Assess the site, soil, and loads
Before you draw a single basket dimension, you need to understand what your wall is actually up against. Every gabion retaining wall design guide starts here because site conditions dictate everything: wall height, base width, foundation depth, and drainage requirements. Skipping this step and going straight to geometry is the most common reason retaining walls fail within the first few years of service.
Determine your soil bearing capacity
The foundation soil must support the full weight of your gabion wall without compressing or shearing unevenly. Typical bearing capacity values vary significantly across Malaysian soil types, so you need to know what you're building on before committing to any wall dimensions.
| Soil type | Approximate bearing capacity |
|---|---|
| Loose sand | 50-100 kN/m² |
| Compact sand or gravel | 200-300 kN/m² |
| Stiff clay | 100-150 kN/m² |
| Soft clay | 25-50 kN/m² |
| Weathered granite (common in Klang Valley) | 300-600 kN/m² |
For walls shorter than 1.5 meters, a visual inspection combined with a hand penetrometer test often gives you enough information to proceed with confidence. For walls above that height, commission a basic soil investigation report from a licensed geotechnical engineer. The cost is small compared to rebuilding a failed wall after the first wet season.
Calculate the lateral earth pressure
The horizontal force pushing on your wall comes from the retained soil, any surcharge loads above the slope, and water if your drainage system underperforms. You calculate this using Rankine's active pressure formula:
Pa = 0.5 × Ka × γ × H², where Ka = (1 - sin φ) / (1 + sin φ), γ is the soil unit weight (typically 18-20 kN/m³), and H is the wall height.
For compacted granular backfill with an internal friction angle of 30°, Ka equals 0.33. A 2-meter wall retaining that soil generates roughly 6.5 kN per meter of wall length. Add a surcharge allowance of at least 10 kN/m² if a driveway, parked vehicle, or structure sits within a horizontal distance equal to the wall height above the retained slope.
Step 2. Set wall geometry for stability
Once you know your soil type and lateral earth pressure, you can size the wall itself. The two geometry variables that matter most in any gabion retaining wall design guide are base width and wall batter (the backward lean of the front face). Get these right and you address both overturning and sliding in a single set of decisions.
Size the base width correctly
The base width is your primary tool for resisting overturning and sliding. As a working rule, the base width of a gabion wall should be 50 to 70 percent of the total wall height for retained heights up to 3 meters. A wall standing 2 meters tall needs a base between 1.0 and 1.4 meters wide.
| Wall height (H) | Minimum base width | Recommended base width |
|---|---|---|
| 0.5 m | 0.30 m | 0.50 m |
| 1.0 m | 0.50 m | 0.70 m |
| 1.5 m | 0.75 m | 1.05 m |
| 2.0 m | 1.00 m | 1.40 m |
| 3.0 m | 1.50 m | 2.10 m |
For soft clay soils or sites with surcharge loads, move toward the upper end of that range. Narrower bases are only appropriate when your soil investigation confirms high bearing capacity and you're confident the drainage layer will keep hydrostatic pressure minimal.
Apply a backward batter to the wall face
A vertical gabion wall is structurally possible for low walls, but tilting the front face backward by a ratio of 1:6 (roughly 10 degrees) significantly improves your factors of safety for both overturning and sliding. Each course of baskets steps back slightly toward the retained slope, shifting the wall's center of gravity closer to the middle of the base.
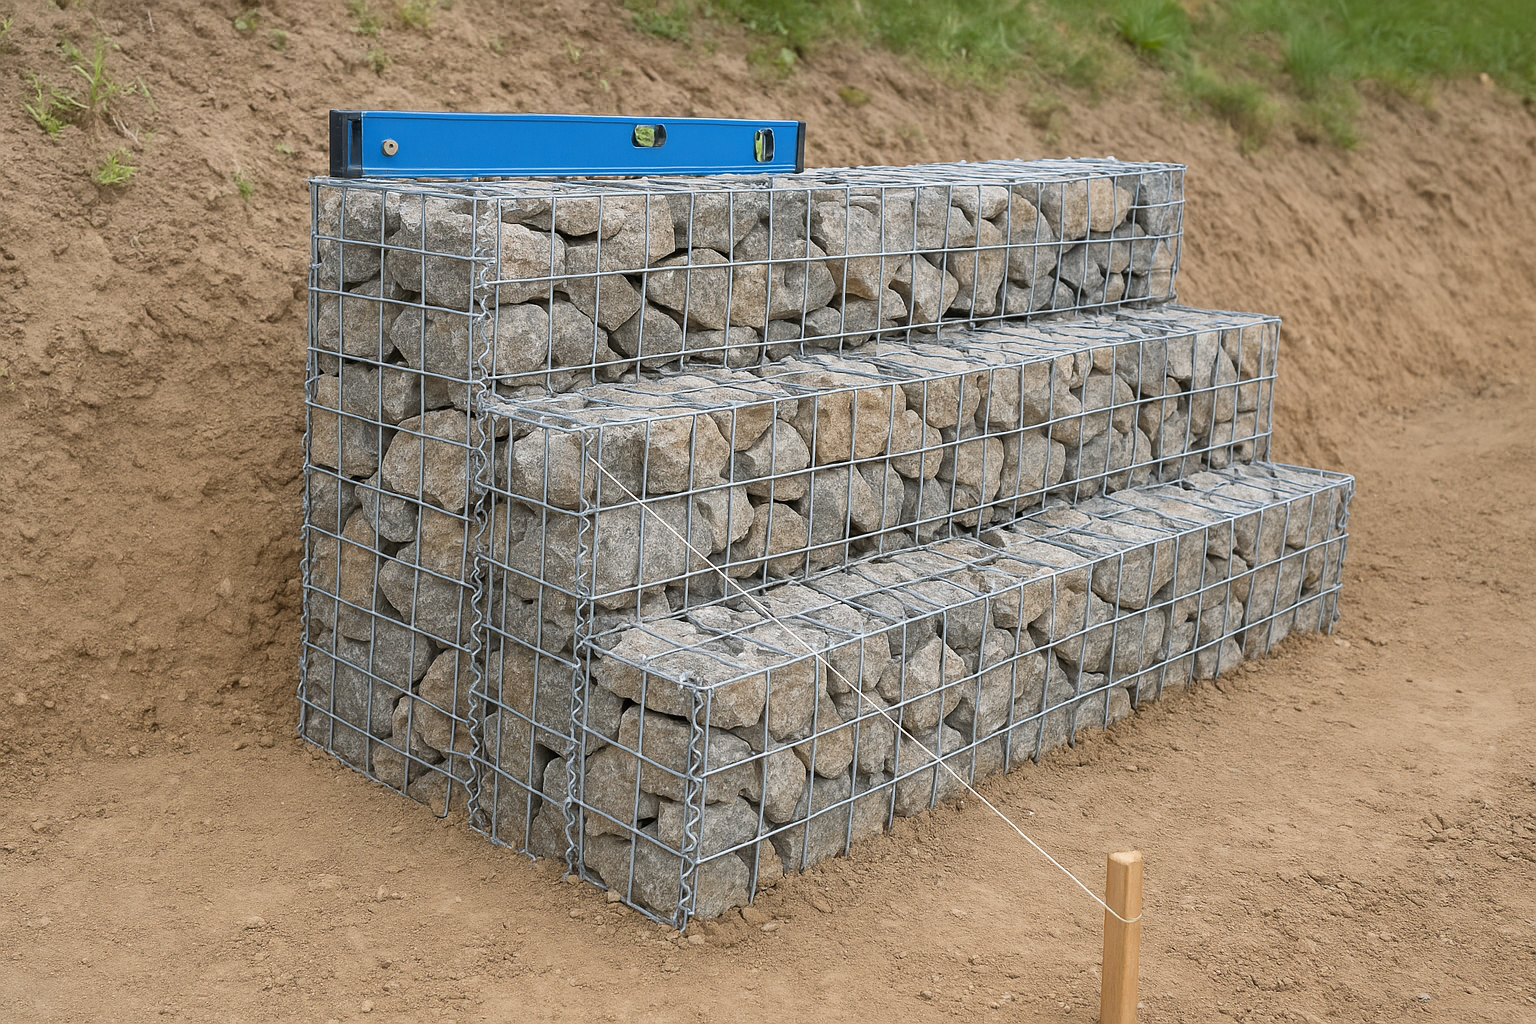
A 1:6 batter on a 2-meter wall moves the center of gravity approximately 160 mm back from a vertical wall face, increasing overturning resistance by around 20 percent without adding any extra material.
You achieve this practically by offsetting each basket layer 50 to 100 mm toward the fill side as you build up. Mark a reference line on the ground before you start laying baskets, and check the batter ratio after each course using a spirit level and a tape measure.
Step 3. Prepare the base and foundation
The foundation is the most critical build phase in any gabion retaining wall design guide, and it's also where most DIY projects cut corners. You're not just digging a trench and dropping the first basket layer in. You're creating a stable, compacted platform that distributes the full weight of the wall uniformly across the sub-base soil beneath it. Any weakness here travels upward through every course above it.
Excavate and level the trench
Start by marking the full footprint of the wall base on the ground, including the width you calculated in Step 2. Excavate to a minimum depth of 300 mm below finished ground level for walls up to 2 meters tall. For every additional meter of wall height beyond 2 meters, add 150 mm of extra excavation depth to keep the foundation course buried below the frost or erosion line.
| Wall height | Minimum excavation depth |
|---|---|
| Up to 1.0 m | 200 mm |
| 1.0 to 2.0 m | 300 mm |
| 2.0 to 3.0 m | 450 mm |
Once you've reached the correct depth, use a laser level or water level to confirm the trench floor is flat across its full width and length. Even a 20 mm slope across the trench floor can cause the first basket course to sit unevenly, which amplifies through every layer above it.
Compact the sub-base material
After leveling the trench floor, lay 100 to 150 mm of compacted granular sub-base, typically a well-graded crushed stone or road base aggregate. You want material that compacts firmly and doesn't shift when wet, which rules out soft clay or loose sandy soil used on its own.
Skipping sub-base compaction is the leading cause of foundation settlement in gabion walls built on the clay soils common across Malaysian lowland sites.
Compact the sub-base in two equal layers using a plate compactor, not by tamping by hand. Check for firmness by walking across the surface: no visible deflection underfoot means you're ready to place the first basket course.
Step 4. Design drainage and filtration that won't clog
Drainage is where many otherwise well-built gabion walls quietly fail over time. The wall itself may be perfectly sized and properly battered, but without a functioning drainage and filtration system behind it, water accumulates in the backfill, hydrostatic pressure builds, and the wall starts to move. This is especially relevant in a Malaysian climate where heavy rainfall events can saturate backfill within hours. A good gabion retaining wall design guide always treats drainage as a structural component, not an afterthought.
Select and layer your drainage materials
The drainage layer sits directly behind the back face of the gabion baskets and runs the full height of the retained soil. You need at least 300 mm of clean, well-graded gravel with a particle size between 20 mm and 40 mm. Avoid using fine sand or soil as any part of this layer, these materials migrate into the stone fill and block the flow path over time.
A drainage layer that's too thin or filled with poorly graded material is functionally identical to no drainage at all once the fine particles migrate and compact after two or three wet seasons.
Below is the recommended drainage stack from the retained soil face outward toward the gabion baskets:
| Layer | Material | Thickness |
|---|---|---|
| Retained soil side | Geotextile filter fabric | Single layer |
| Core drainage layer | Clean 20-40 mm crushed gravel | 300 mm minimum |
| Gabion basket side | No additional filter needed | The stone fill is permeable |
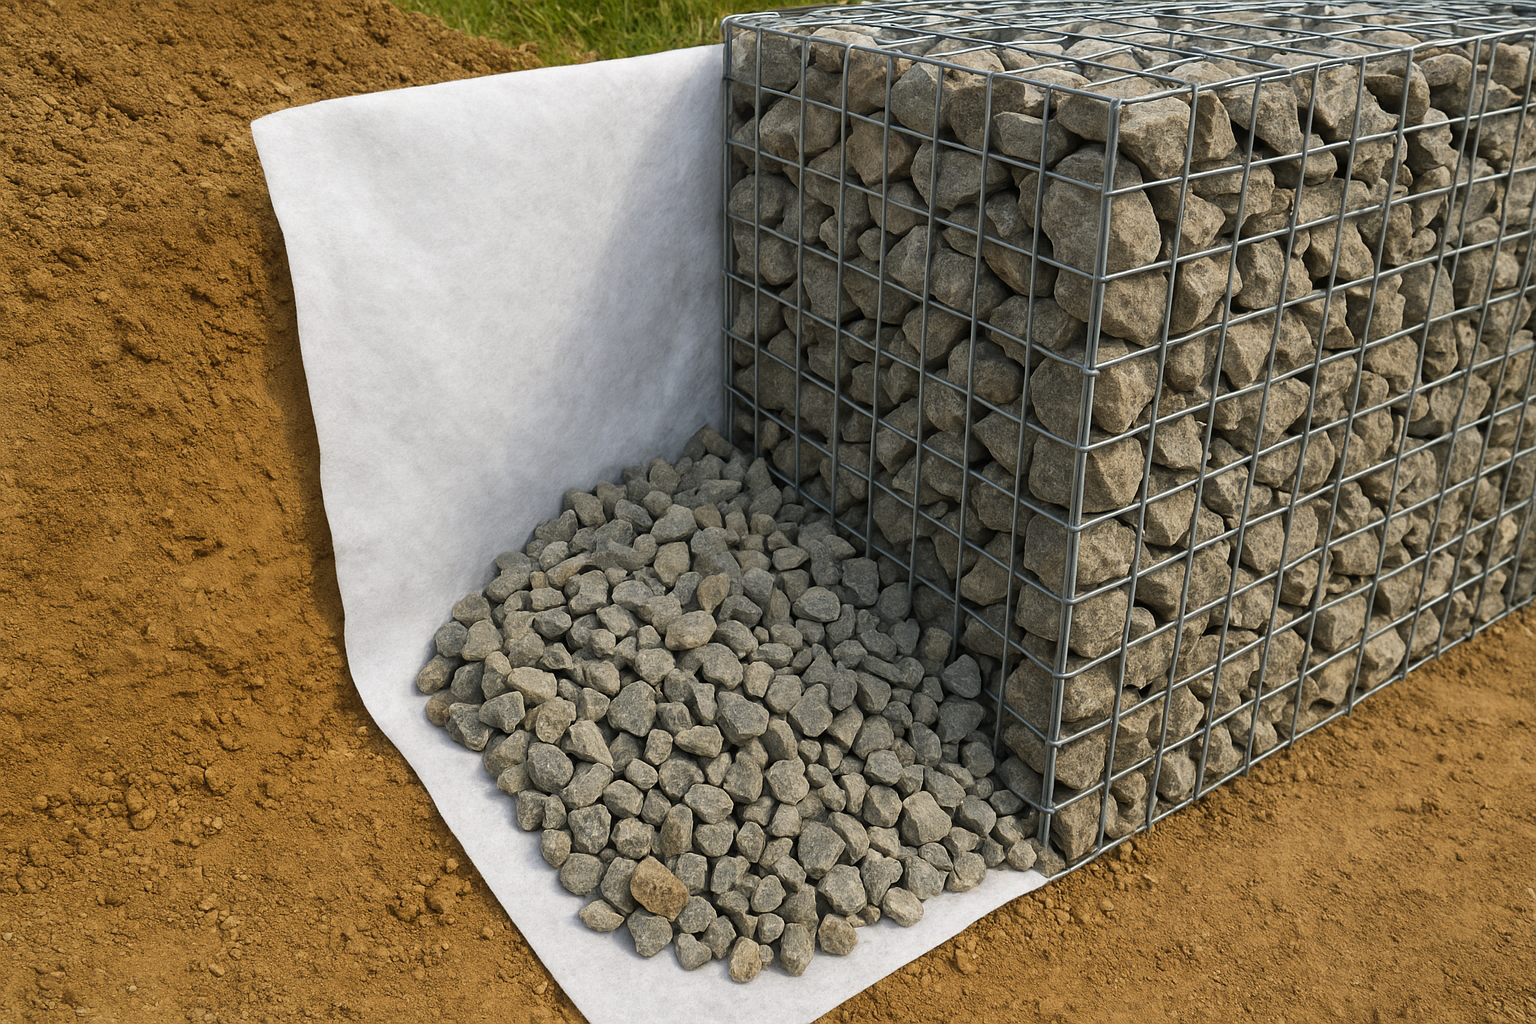
Install the geotextile filter correctly
The geotextile separates your native backfill soil from the drainage gravel, preventing fine particles from migrating into the gravel layer and clogging it. Use a non-woven geotextile with an apparent opening size (AOS) between 0.075 mm and 0.15 mm for most Malaysian clay and silty soil conditions.
Lay the fabric against the compacted native soil face before you place the drainage gravel, then fold the top edge of the fabric over the gravel surface at the top of the drainage layer. This folded top cap prevents surface runoff from flushing soil directly into the drainage zone from above, which is a common failure point when the fabric is cut flush instead of wrapped.
Final checks before you build
Before you place the first basket, run through this gabion retaining wall design guide checklist one more time. Confirm your base width is 50 to 70 percent of wall height, your foundation trench is excavated to the correct depth, and your drainage gravel layer is at least 300 mm thick with a geotextile filter separating it from native soil. Verify your batter ratio is marked clearly on the ground so each course steps back consistently as you build up.
Check that your stone fill specification meets the required size range (typically 100 to 200 mm) and that your wire mesh baskets carry a minimum zinc coating of 275 g/m² for corrosion resistance in Malaysia's humid climate. If your wall exceeds 2 meters or sits on soft clay, get a licensed engineer to review your design before construction starts. For a professional eye on your full outdoor project, contact the Konzept Garden team and request a consultation.

