
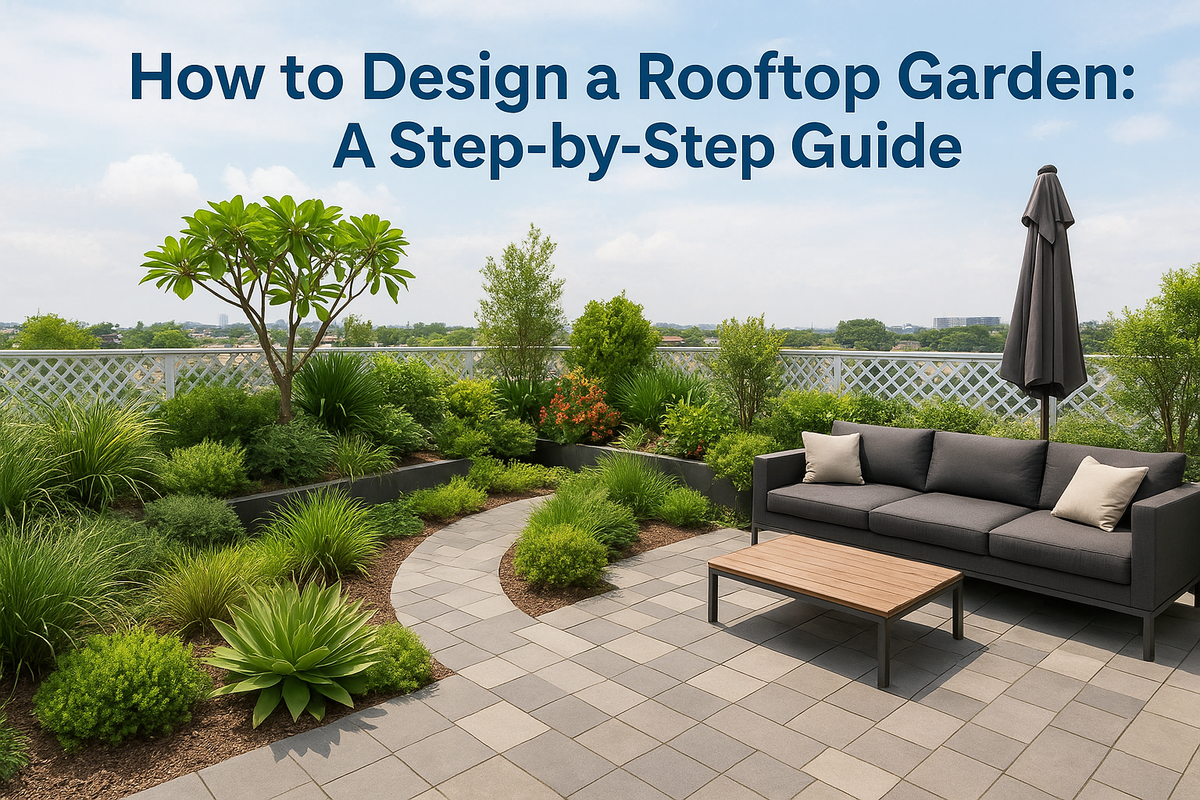
A bare rooftop feels like wasted space, especially in Malaysia's cities where ground-level gardens are a luxury few properties have. If you're staring at a concrete slab wondering how to turn it into somewhere you'd actually want to sit, you're not alone. Learning how to design rooftop garden spaces properly means solving problems that ground gardens never face: wind exposure, weight limits, drainage, and relentless tropical heat all need answers before you plant a single leaf.
This guide walks you through exactly that, starting with the structural checks most homeowners skip and ending with a planting plan that survives Malaysia's climate. You'll get a practical rooftop garden design process rather than vague inspiration, covering layout planning, material choices, and irrigation setups that hold up under sun and monsoon rain alike.
We've built these steps from real project experience, including the 3D visualizations and botanist consultations we run for clients across Malaysia. Whether you're planning a small balcony retreat or a full commercial rooftop transformation, each stage here reflects what actually works on-site, not just what looks good on paper.
What to check before designing a rooftop garden
Before you sketch a single planter box, find out whether your rooftop structure is even zoned for a garden. Malaysian condominiums, landed properties, and commercial buildings all fall under different local council rules, and some strata developments require written approval from the management committee before you add anything permanent to a shared roof. Skipping this step is the fastest way to end up tearing out a finished garden because nobody checked the paperwork first. Call your local council office or building management early, and ask specifically about rooftop load restrictions, fire escape clearances, and any restrictions on fixed structures like pergolas or raised beds.
Confirm access, safety, and drainage points
Getting materials up to a rooftop is rarely as simple as carrying a bag of soil up the stairs. Check what access route you actually have, because a narrow stairwell or a lift with a low weight limit changes what materials and equipment you can realistically use. Walk the roof itself and note where the existing drains sit, since a rooftop garden design that blocks or overloads drainage points causes water damage long before any plant dies from neglect.
- Confirm the width and height of doorways, stairwells, and lifts serving the roof
- Locate every existing floor drain and outlet before planning planter positions
- Check for exposed electrical conduits or water tanks that limit where you can dig or build
- Note the direction of prevailing wind and afternoon sun exposure
- Ask building management about weight limits for foot traffic during construction
Match your design to Malaysia's climate
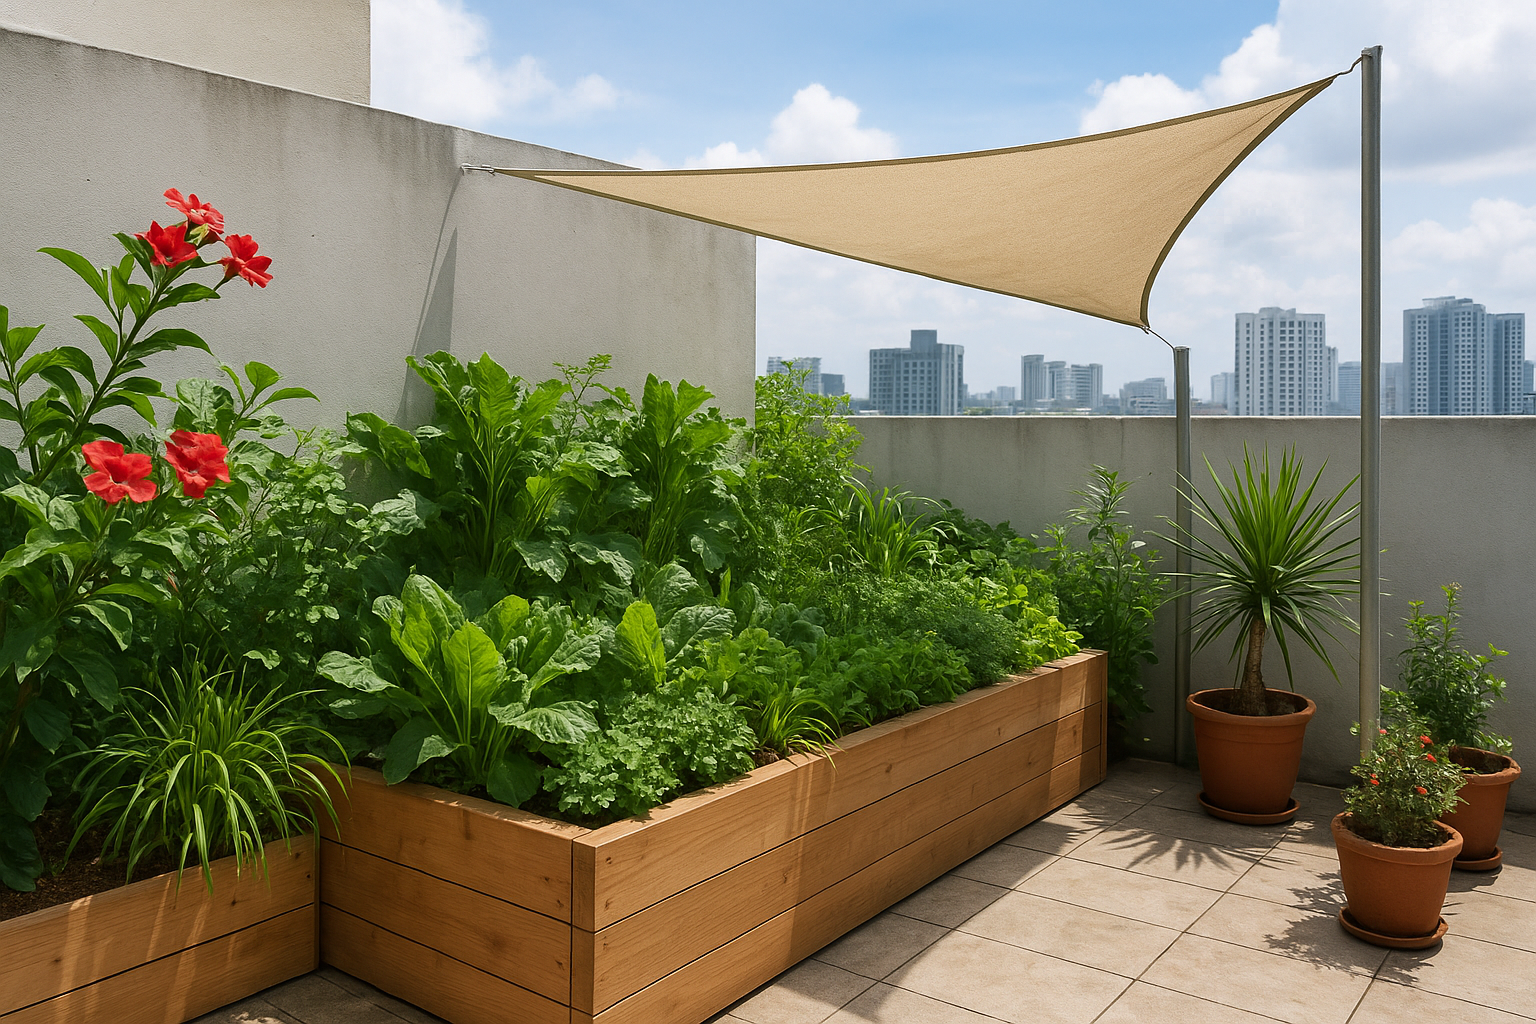
Heat, humidity, and sudden monsoon downpours punish rooftop gardens harder than any ground-level plot. Surfaces that sit exposed to direct sun all day can hit temperatures that stress root systems, while heavy rain without proper runoff turns a rooftop into a shallow pool within minutes. Plan for both extremes from day one rather than treating them as afterthoughts once the garden is planted.
| Climate factor | Typical problem | Design response |
|---|---|---|
| Intense midday sun | Root and soil overheating | Raised beds with insulation layer, shade sails |
| Monsoon downpours | Standing water, drain blockage | Sloped surfaces, extra drainage channels |
| Strong rooftop wind | Toppled pots, wind-scorched leaves | Wind-tolerant species, low-profile planting |
| High humidity | Fungal disease, root rot | Well-draining soil mix, spaced planting |
Never guess your roof's load capacity or drainage layout; confirm both with a qualified professional before you buy a single bag of soil.
Budget for materials and long-term upkeep
Rooftop gardens cost more upfront than ground-level ones because everything, from waterproofing membranes to lightweight soil mixes, carries a premium. Setting a realistic budget now saves you from redesigning halfway through once you discover standard garden soil is too heavy or standard pavers need reinforcement underneath. Factor in ongoing costs too, since rooftop plants often need more frequent watering and replacement than sheltered ground gardens.
- Waterproofing membrane and root barrier installation
- Lightweight soil mix and raised bed materials
- Irrigation system parts and periodic maintenance
- Structural reinforcement if your engineer flags weak points
- Seasonal plant replacement budget for wind or heat losses
Once you've confirmed regulations, access, climate exposure, and budget, you're ready to move into the technical work that makes or breaks a rooftop garden: checking exactly how much weight your roof can hold.
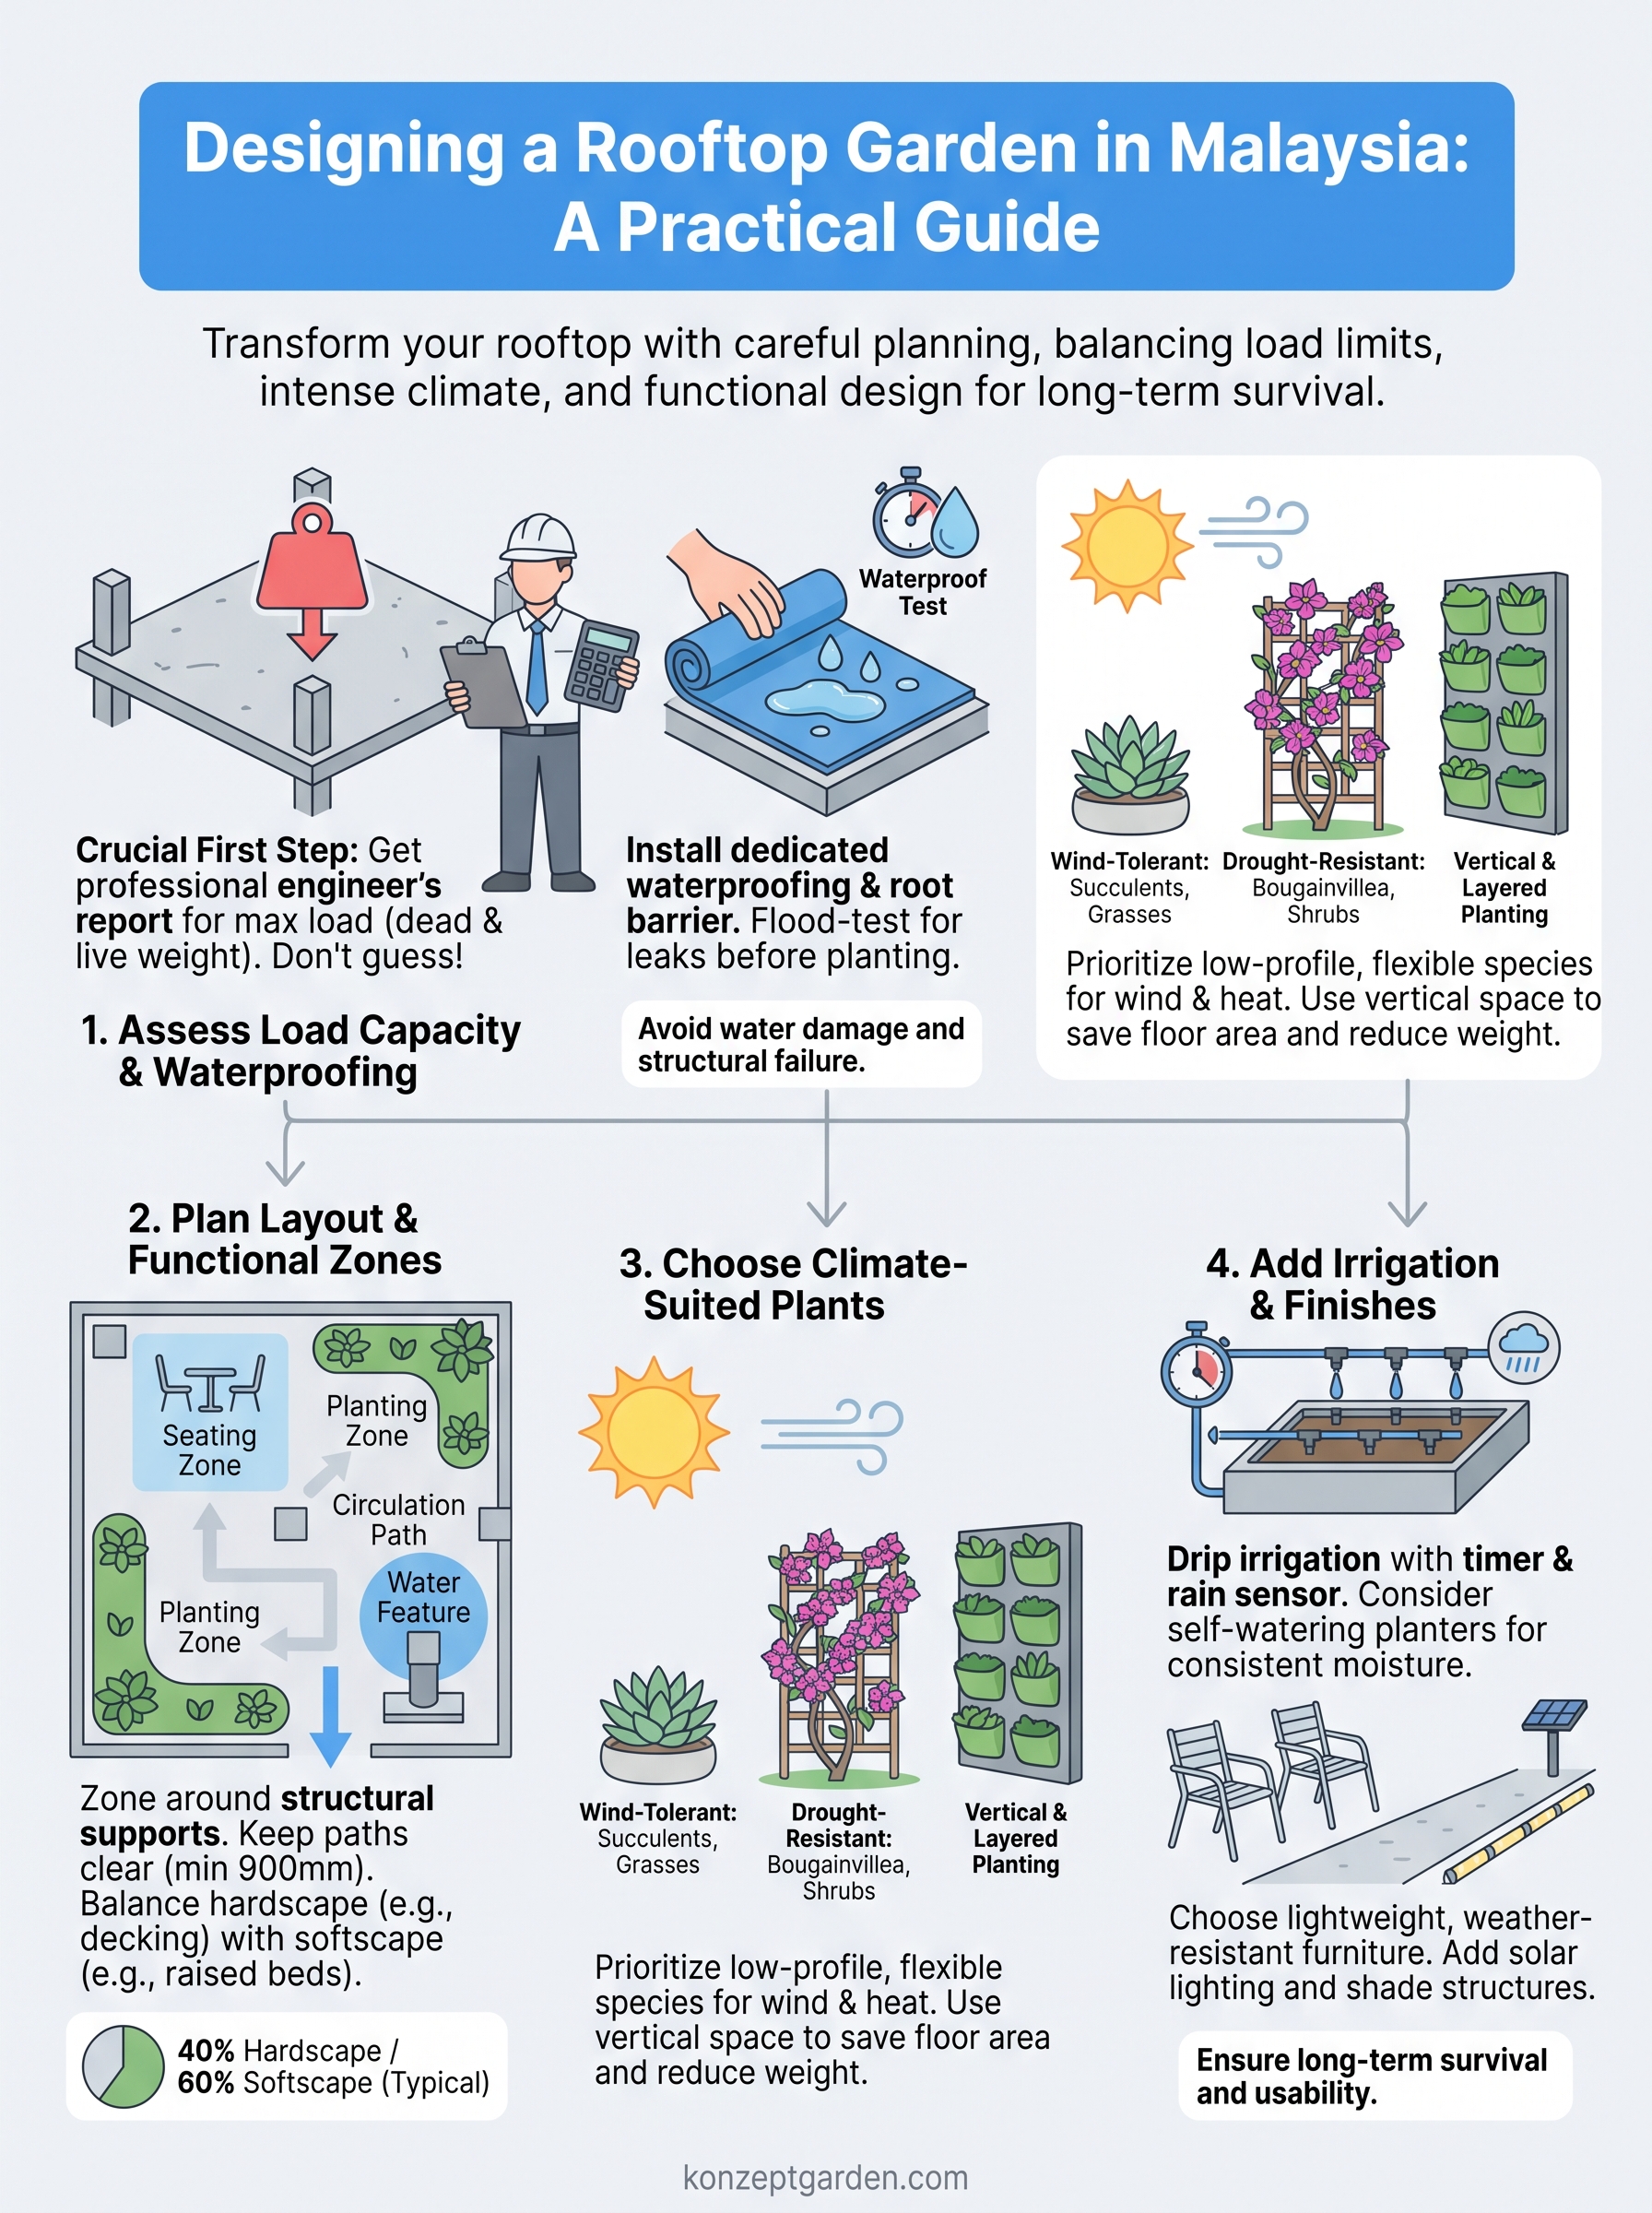
Step 1. Assess your roof's load capacity and waterproofing
Every successful rooftop garden design starts with a structural engineer's report, not a trip to the nursery. Concrete slabs have a maximum load rating, usually expressed in kilograms per square meter, and that figure includes the weight of wet soil, water-saturated planters, furniture, and people walking around during a gathering. Get this number from your building's original architectural drawings or hire a structural engineer to test it directly, because guessing here risks cracking the slab or, worse, a partial collapse.
Calculate your actual load
Weight adds up faster than most homeowners expect. A cubic meter of standard garden soil weighs around 1,200 to 1,700 kilograms once saturated, while lightweight rooftop soil mixes drop that to roughly 600 to 800 kilograms. Large ceramic planters, water features like the Zen Bio koi pond system, and even a group of guests during a party all stack onto that same load limit.
- Request your building's dead load and live load ratings in writing
- Weigh planned planters and soil volumes before ordering them
- Position heavier elements like ponds or raised beds directly over structural columns or load-bearing walls
- Leave a safety margin below the maximum rating rather than designing right up to the limit
Skipping a load capacity check doesn't save money, it just delays the cost until something fails.
Waterproof before you plant anything
Soil, standing water, and plant roots will find any weakness in your roof's membrane within a season or two. Install a dedicated waterproofing layer rated for continuous water exposure, not a quick sealant meant for occasional rain, and follow it with a root barrier to stop invasive roots from puncturing the membrane over time. Malaysia's monsoon rainfall makes this step non-negotiable rather than optional, since water pooling under soil for even a few days can rot the concrete beneath it.
Testing matters as much as installation. Flood-test the waterproofed surface with a shallow layer of water for 24 to 48 hours before adding any soil, checking the ceiling below for leaks or damp patches. Only proceed to planting once that test passes cleanly, because retrofitting waterproofing under an established garden means removing everything you've built.
Step 2. Plan your layout and functional zones
Once your engineer confirms the load capacity and the waterproofing passes its flood test, turn your attention to how people will actually use the space. A rooftop garden design that ignores traffic flow ends up with plants trampled underfoot and furniture blocking the one shaded corner everyone wants. Sketch the roof outline to scale first, marking fixed obstacles like water tanks, vents, and access doors, then start dividing the remaining area into zones based on how you and your family or staff will move through it.
Map zones around fixed structural points
Heavier elements need to sit directly above columns or load-bearing walls, so let structural reality guide your zoning before aesthetics do. Group a seating or dining zone near the entry point to avoid dragging furniture across planted beds, and push denser planting or a pond feature toward the perimeter where structural support is usually strongest. Keep a clear path at least 900mm wide between zones so wheelchairs, trolleys, or simply two people carrying trays can pass without brushing against foliage.
- Entry and circulation zone: clear paths, no fixed planters blocking movement
- Seating or dining zone: positioned over reinforced structural points
- Planting zone: denser beds and taller species along the perimeter
- Water feature zone: ponds or fountains directly over columns
- Utility zone: irrigation controls, storage, and access to drains kept visible and reachable
A rooftop garden succeeds or fails on its layout long before anyone judges the plants.
Balance hardscape and softscape ratios
Rooftops carry weight penalties for both paving and soil, so decide early how much of the surface stays hard versus planted. A common working ratio for residential rooftops is roughly 40 percent hardscape to 60 percent softscape, though commercial rooftops hosting events often flip that toward more paved area for foot traffic. Lightweight decking, such as composite timber tiles, reduces load compared to stone pavers while still giving a finished look underfoot.
| Zone type | Typical share of area | Material priority |
|---|---|---|
| Seating/dining | 20-30% | Lightweight decking, shaded cover |
| Planting beds | 40-50% | Raised beds, lightweight soil mix |
| Circulation paths | 15-20% | Non-slip, permeable surfacing |
| Water feature | 5-10% | Reinforced base, drainage overflow |
Once your zones and material ratios are settled, the next decision, which plants actually survive up here, becomes far easier to answer.
Step 3. Choose plants suited to rooftop conditions
Selecting plants for a rooftop comes down to matching each species to conditions no ground-level garden ever faces. Wind speeds run higher at height, soil depth stays shallow no matter how deep your raised beds go, and sun exposure rarely lets up through Malaysia's afternoon. Get a botanist consultation before you commit to a planting list, because a species that thrives in a shaded courtyard often scorches or snaps within weeks on an exposed roof, and this is exactly where rooftop garden design decisions get made or unmade.
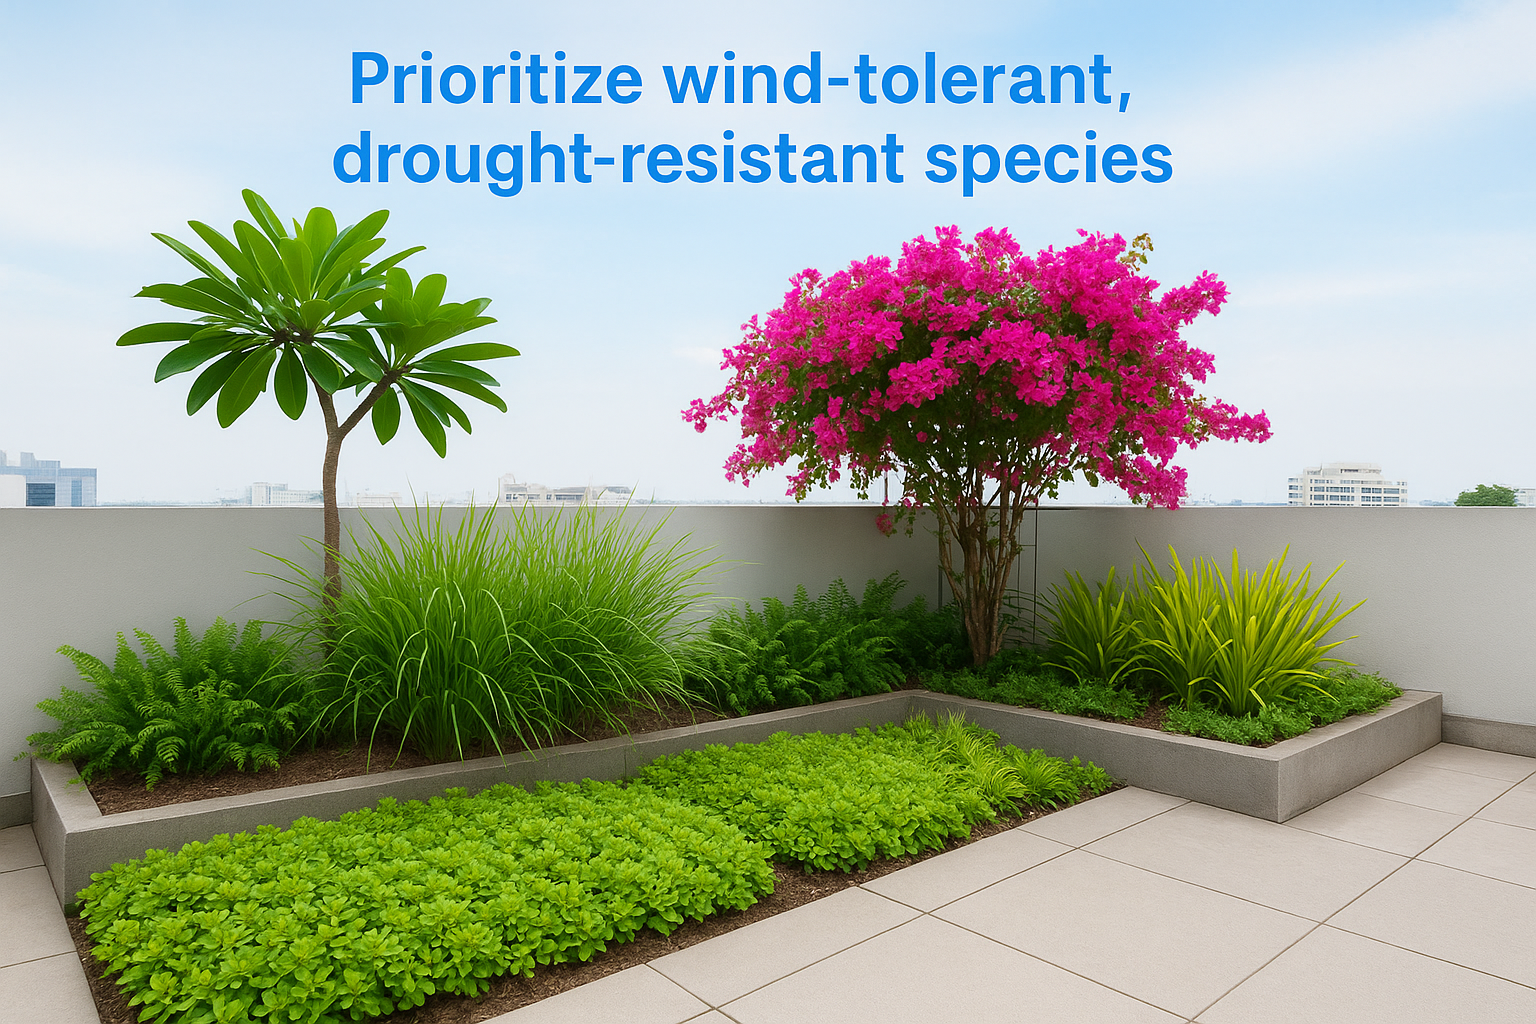
Prioritize wind-tolerant, drought-resistant species
Choose plants with flexible stems, small leaves, or a naturally low profile, since anything tall and rigid catches wind like a sail. Succulents, ornamental grasses, and native tropical shrubs handle rooftop exposure far better than delicate flowering annuals that need sheltered, consistent moisture.
| Plant type | Wind tolerance | Water needs | Best rooftop use |
|---|---|---|---|
| Succulents (Sedum, Echeveria) | High | Low | Ground cover, edging |
| Ornamental grasses | High | Moderate | Perimeter screening |
| Bougainvillea | High | Low | Wall trellis, color accent |
| Ferns | Low | High | Shaded, sheltered corners only |
| Frangipani | Moderate | Low | Focal point, raised bed |
Choose plants for the wind and heat they'll actually face on your roof, not for how they look in a nursery display.
Build in vertical and layered planting
Rooftop space is limited horizontally, so use height strategically instead of spreading everything flat. A living wall system like the EcoWall vertical garden package lets you add greenery without eating into your floor area, while layered planting, ground cover below, mid-height shrubs in the middle, and taller feature plants along the perimeter, gives the garden depth without adding excessive load.
Consider synthetic alternatives too where live turf struggles. Noble Grass artificial turf gives you a lawn-like green surface without the weight, watering, or maintenance a real lawn demands on an exposed rooftop, which matters when every kilogram counts against your load rating.
Getting the plant list right narrows down your options for the next step, since irrigation, furniture, and finishing details all depend on what you've chosen to grow.
Step 4. Add irrigation, furniture, and finishing touches
With plants chosen, the last stage of any rooftop garden design is making sure water reaches every bed without you dragging a hose across the roof twice a day. Irrigation, seating, and lighting decisions all come back to the same constraint you've been working with from the start: weight. Every fixture you add needs a place on the roof, a reason for being there, and a load calculation that keeps you within the limit your engineer set in Step 1.
Set up irrigation that matches your soil depth
Drip irrigation beats overhead sprinklers on almost every rooftop, since it delivers water directly to root zones without wasting it to wind and evaporation. Self-watering systems solve the shallow-soil problem particularly well, which is why we often recommend a Ziant Hydro Planter for clients who don't want to check moisture levels every morning; the reservoir underneath keeps roots hydrated for days between refills. Group plants with similar water needs on the same irrigation line so you're not overwatering drought-tolerant species to keep thirsty ones alive.
- Run drip lines along raised bed edges, not across open walkways
- Install a timer so watering happens early morning before heat sets in
- Fit a rain sensor to skip cycles during monsoon downpours
- Check emitter placement monthly, since wind shifts soil and exposes lines
Get irrigation right and your rooftop garden survives your holidays; get it wrong and it dies the first hot week you're too busy to notice.
Choose lightweight, weather-resistant furniture
Aluminum, rattan-style resin, and treated teak all handle Malaysia's sun and rain far better than untreated wood or heavy stone benches that strain your load rating. Anchor lightweight pieces where wind is strongest, since a plastic chair blowing across a rooftop terrace is a genuine hazard rather than a minor inconvenience. Pick furniture with drainage gaps built into the seat and base so pooled rainwater doesn't sit and warp the material over time.
Finish with lighting and shade
Solar-powered LED strip lighting along walkways and planter edges adds safety at night without running new electrical circuits across the roof. Shade sails or a pergola over the seating zone cut direct sun during peak afternoon hours, protecting both furniture and the people using it. Test every finishing element, from lighting cables to shade anchors, against wind exposure before calling the project complete, because a loose fixture at rooftop height causes more damage than the same item would at ground level.
Turning your rooftop into a lasting garden
A rooftop garden that lasts comes down to sequence, not luck. Check your load capacity and waterproofing first, plan zones around fixed structural points, choose plants that shrug off wind and heat, then finish with irrigation and furniture that won't strain the limits you've already confirmed. Skip any of these steps and you're rebuilding within a year instead of enjoying a space that holds up through monsoon season after monsoon season.
Getting a rooftop garden design right on paper is one thing; getting it built safely on a live structure is another. If you want a water feature that adds real character without guesswork on weight and drainage, see the Himalaya rock koi pond built for rooftop installs. Ready to move from planning to building? Talk to our team and we'll walk your project through from concept to a finished garden that actually survives up there.