
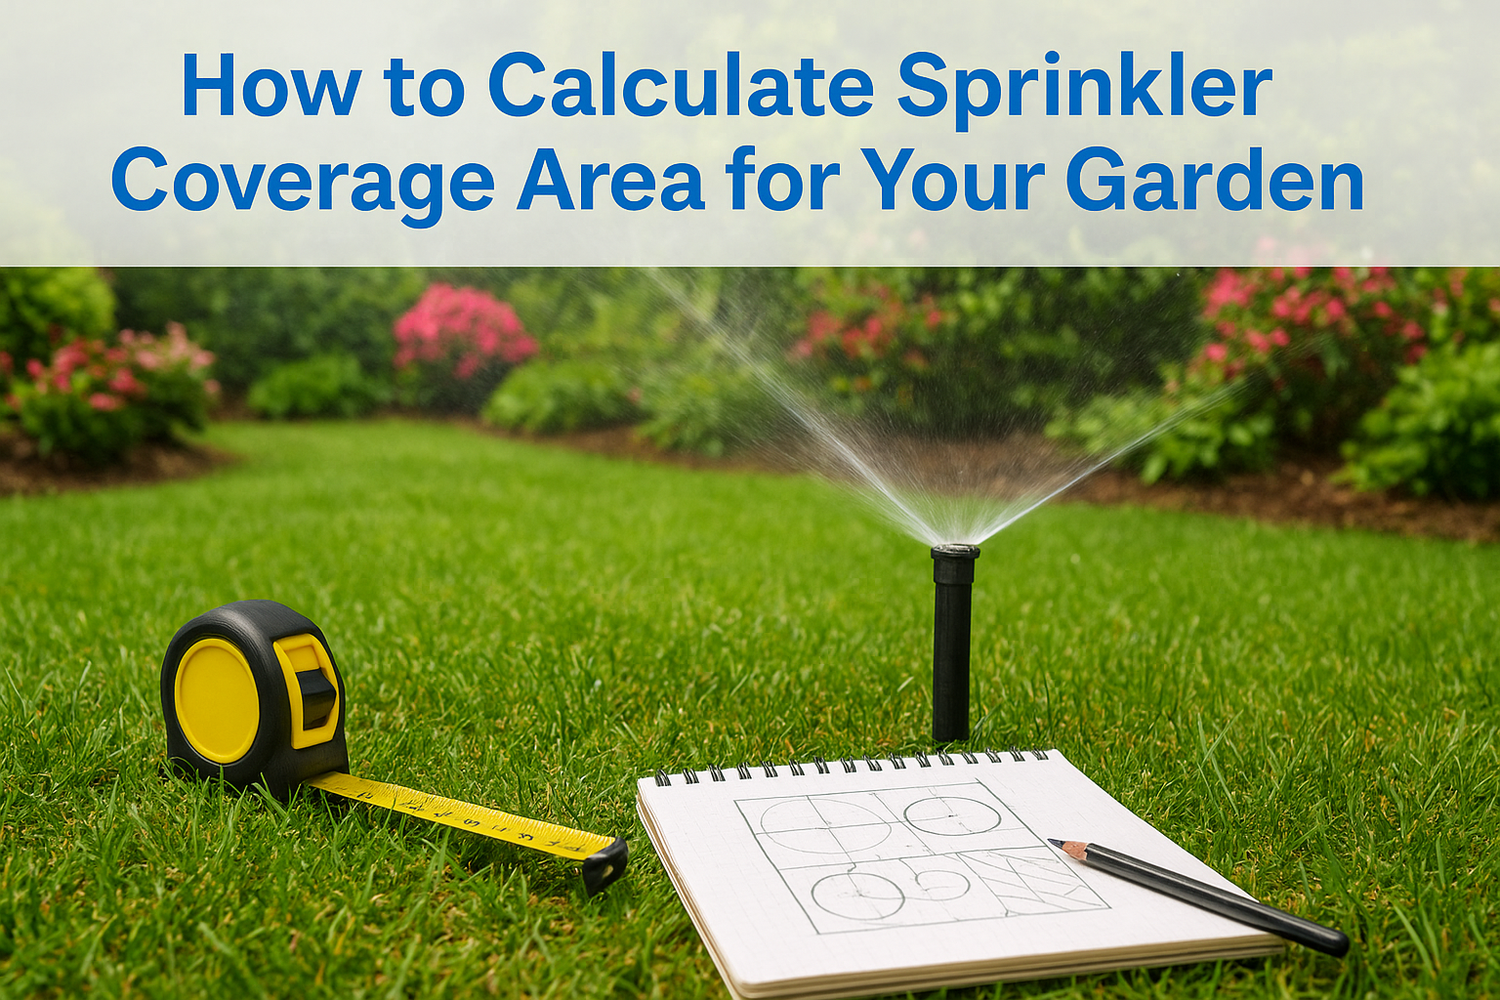
If you have ever bought a sprinkler, set it up, and ended up with a soggy patch near the tap and a dry, crispy strip of lawn near the fence, you already know why how to calculate sprinkler coverage area matters. Guessing at spacing wastes water, stresses your grass, and pushes up your utility bill month after month.
Calculating coverage area comes down to a simple formula based on your sprinkler's throw radius, plus a few adjustments for head overlap and the actual shape of your garden bed. Get this right and you know exactly how many heads you need, where to place them, and how much of your lawn each one actually protects, no more brown patches or overwatered corners.
In this guide, we walk through the math step by step, starting with measuring throw distance correctly, then moving into calculating area for circular, square, and irregular zones. We also cover how spacing patterns affect real-world coverage, since two sprinklers with the same radius can perform very differently depending on layout. By the end, you will be able to plan your own system with confidence, or know exactly what to ask when you bring in a professional for a full landscape design.
What you need before calculating sprinkler coverage
Before you touch a single formula, gather the right information. Skipping this groundwork is the main reason DIY sprinkler layouts end up with dry patches or flooded corners even after someone has done the math correctly. You need accurate measurements, a clear idea of what type of sprinkler heads you are working with, and a sense of your home's water pressure and flow rate, because these three factors change every calculation that follows.
Tools and measurements to gather
Start by walking your garden with a tape measure or a measuring wheel, and write down the dimensions of every zone you plan to irrigate separately. A rough sketch on paper works fine, you do not need CAD software for this. What you do need is precision on distances, because a 1-meter error on a 10-meter run throws your head count off by a full sprinkler in some layouts.
Here is what to have on hand before Step 1:
- A 20 to 30 meter tape measure or a garden measuring wheel
- Graph paper or a simple grid app to sketch your garden to scale
- A notebook to record obstacles: trees, pathways, garden beds, slopes
- Your water meter location and an idea of your household's peak indoor water use
- The manufacturer spec sheet for your sprinkler heads, if you already own them
- A pressure gauge that threads onto an outdoor tap (available at most hardware stores)
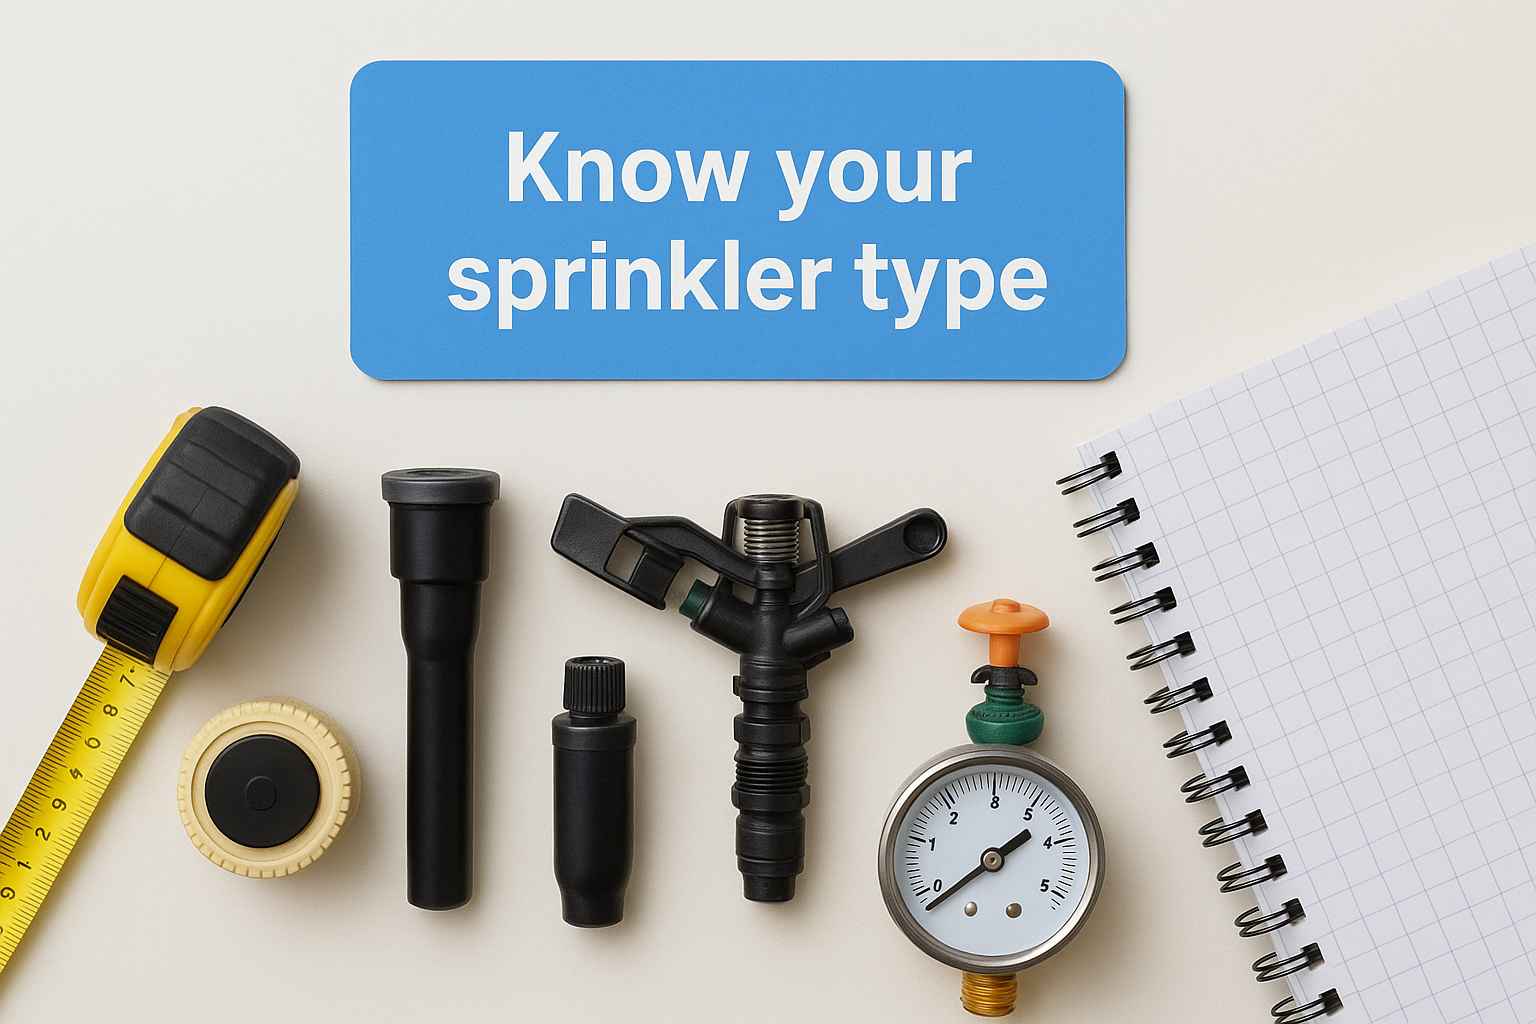
Know your sprinkler type
Different sprinkler heads throw water in different patterns, and this changes how you calculate coverage area entirely. A rotor head shoots a single stream that sweeps back and forth across an arc, reaching further but needing more time per zone. A spray head pushes water out through a fixed nozzle in a fan shape, covering ground faster but over a shorter radius. Mixing the two types in one zone is a common mistake, since they apply water at very different rates and one type will always be over or under-watered.
| Sprinkler type | Typical radius | Best for | Application rate | |---|---|---| | Fixed spray head | 1.5 to 4.5 meters | Small lawns, narrow strips, garden beds | High, fast | | Rotor head | 4.5 to 12 meters | Medium to large lawns | Low, slow | | Impact sprinkler | 6 to 15 meters | Large open areas, farms | Medium | | Micro-spray/drip | 0.3 to 1.5 meters | Flower beds, shrubs | Very low, targeted |
Match your sprinkler type to your garden's actual shape and size before you calculate anything, because the wrong head type makes even perfect math useless.
Check your water pressure and flow rate
Spray radius is not fixed. It depends heavily on water pressure, measured in bars or PSI, and every sprinkler manufacturer publishes a chart showing radius at different pressure levels. Screw a pressure gauge onto an outdoor tap, turn it fully on, and read the number. Most residential systems in Malaysia run somewhere between 1.5 and 3.5 bars, and if yours sits below that range, your actual coverage will be smaller than the spec sheet promises.
You also need to know your flow rate, since running too many heads on one zone drops pressure across the board and shrinks every sprinkler's radius at once. A quick way to estimate flow rate is timing how long it takes to fill a 20-liter bucket from your outdoor tap, then converting that to liters per minute. Keep this number handy, you will use it again in Step 5 when you check whether your planned zones can actually run without starving each other of water.
Step 1. Measure your garden and mark sprinkler zones
Grab the sketch you started in the previous step and turn it into a working map. Walk the perimeter of your garden with your tape measure and note every corner, curve, and straight edge to scale. If your garden is a simple rectangle, this takes five minutes. If it wraps around a pool, driveway, or flower bed, break it into smaller shapes you can measure one at a time, since irregular shapes are much easier to calculate as a collection of rectangles and triangles than as one confusing blob.
Once you have the outline, divide the space into watering zones. A zone is simply a section of garden that shares the same sun exposure, slope, and plant type, and that you plan to run on its own valve or timer setting. Grouping unlike areas into one zone is a classic mistake: a sunny open lawn and a shaded flower bed next to the house have completely different water needs, and forcing them onto the same schedule means one of them always suffers.
Use these questions to decide where one zone ends and another begins:
- Does this section get full sun, partial shade, or full shade for most of the day?
- Is the slope steep enough that water runs off before it soaks in?
- Are the plants here turf grass, shrubs, or a mixed bed with different root depths?
- Is this area small enough to water with spray heads, or large enough to need rotors?
- Does foot traffic or a path cut through the middle, breaking up the space naturally?
Zones based on plant needs and sun exposure, not just convenience, save more water than any spacing formula ever will.
Mark each zone directly on your sketch with a letter or number, and jot down its rough dimensions next to it. For example, Zone A might be a 6 by 10 meter front lawn in full sun, while Zone B is a narrow 1.5 by 8 meter shaded bed along the side fence. Keep these numbers rounded to the nearest half meter, since sprinkler math does not need millimeter precision.
Finally, note any fixed obstacles inside each zone, trees, garden statues, raised beds, or pathways, because these block spray patterns and create dry shadows behind them no matter how well you space your heads. Mark their exact position on your sketch now. You will come back to this map constantly over the next few steps, so a little extra care here saves you from re-measuring later.
Step 2. Find your sprinkler's spray radius
Now that your zones are mapped, you need one number for each sprinkler head: its spray radius. This is the distance water actually travels from the nozzle to where it lands, and it is the foundation of every calculation that follows. Skip this step or guess at it, and every square meter figure you produce later will be wrong.
Read the manufacturer spec sheet first
Check the box, the nozzle body, or the manufacturer's website for a printed radius rating. Most spec sheets list radius at several pressure points, since throw distance shrinks or stretches depending on how hard the water is pushed through the nozzle. Look for a chart that resembles this:
| Pressure (bar) | Radius (spray head) | Radius (rotor head) |
|---|---|---|
| 1.5 | 2.4 m | 6.0 m |
| 2.0 | 3.0 m | 8.0 m |
| 2.5 | 3.7 m | 9.5 m |
| 3.0 | 4.2 m | 11.0 m |
Match this table against the pressure reading you took in the previous step, not the highest number printed on the packaging. Manufacturers often advertise the radius at ideal pressure, which is rarely what comes out of a typical home tap.
Test it yourself in the garden
Spec sheets get you close, but the only way to know your real radius is to run the sprinkler and measure it. Turn on a single head, let it run for two minutes, then walk out with your tape measure and mark where the spray visibly stops reaching the ground. Do this on a still day, since even light wind pushes fine mist further in one direction and shortens it in another.
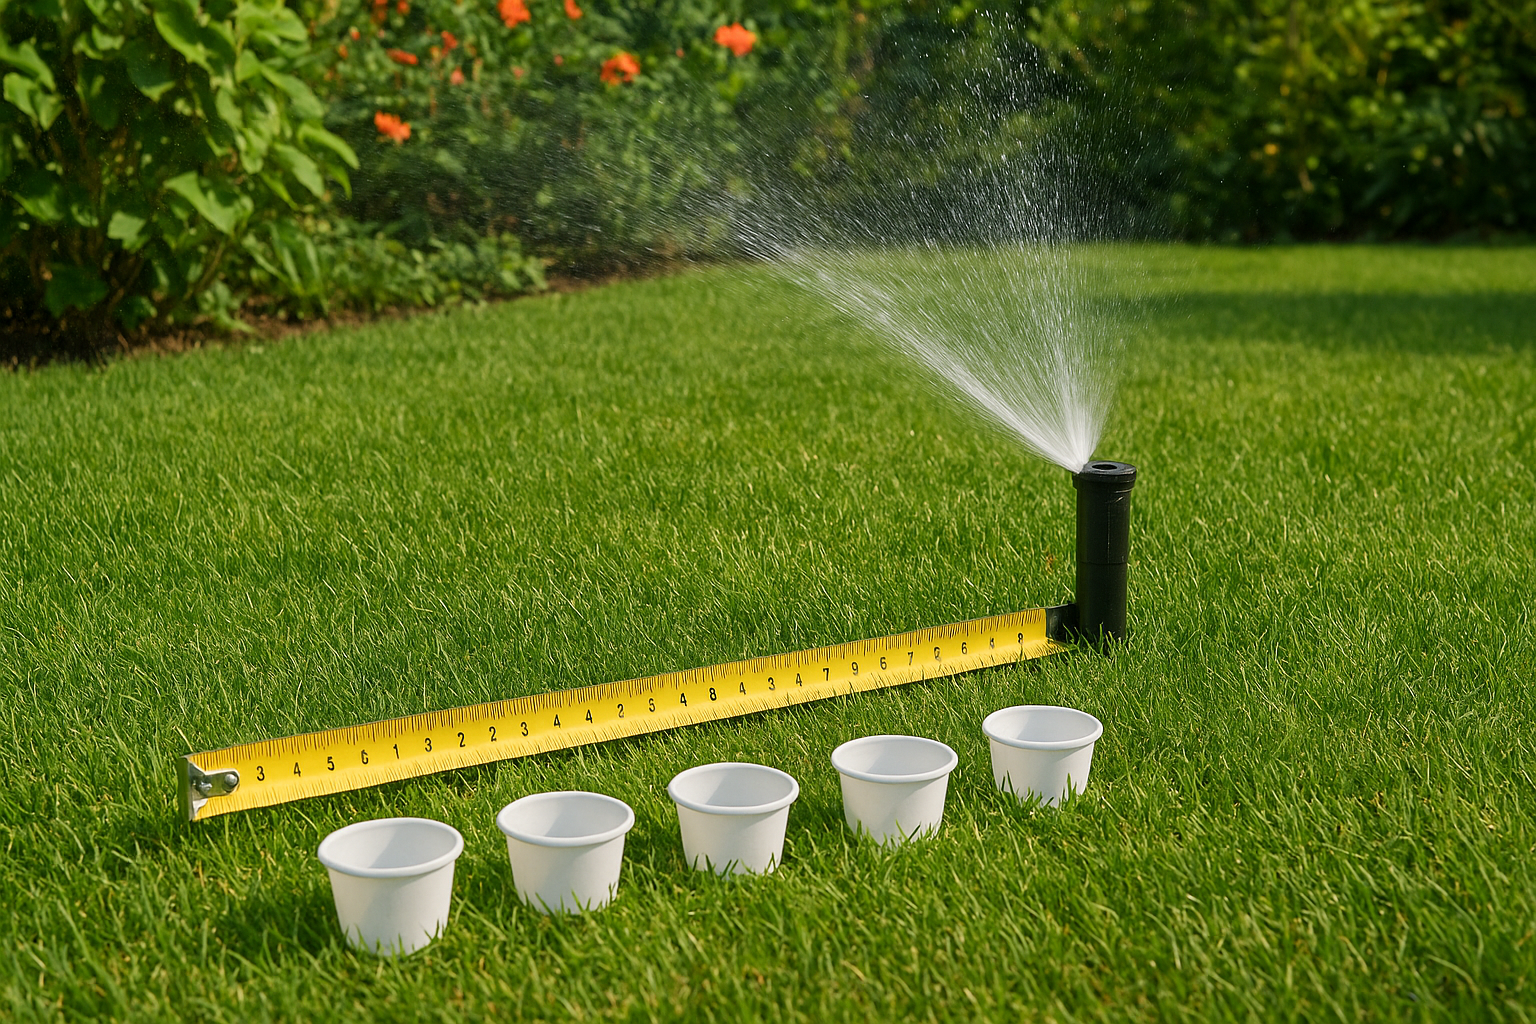
A five-minute test with a running sprinkler and a tape measure beats any spec sheet, because it accounts for your actual pressure, nozzle wear, and wind on the day you water.
For a more precise reading, especially on rotor heads that throw in an arc rather than a full circle, set out a row of small cups or shallow containers in a straight line from the sprinkler at 0.5 meter intervals. Run the system for ten minutes, then check which cups collected water and which stayed dry. The last cup with a visible catch marks your true radius far more reliably than eyeballing a wet patch on grass.
Record this number for every head type in every zone, since older sprinklers with worn nozzles often throw shorter than a brand-new unit of the same model. You will plug this figure directly into the coverage formula next.
Step 3. Calculate the coverage area with the circle formula
With a radius number in hand for each head, you can finally run the math that tells you how much ground one sprinkler actually protects. The core formula is the same one you learned in school for finding the area of a circle, and it works because a spray or rotor head sprays outward from a fixed point. Plugging your measured radius into this formula gives you the theoretical sprinkler coverage area for a single head running at full circle.
The basic circle formula
Use this simple calculation for any head that sprays a full 360 degrees:
Area (m²) = π × radius²
Area (m²) = 3.14159 × r × r
So a spray head with a 3-meter radius covers roughly 28.3 square meters (3.14159 × 3 × 3). A rotor head throwing 9 meters covers about 254.5 square meters, nearly nine times more ground from the same footprint. That difference is exactly why mixing head types in one zone causes such uneven watering.
Adjusting for partial-circle heads
Most heads near a fence, corner, or path do not spray a full circle, they cover a partial arc instead. Multiply the full-circle area by the fraction of the circle the head actually sprays:
Area (m²) = (arc angle ÷ 360) × π × radius²
A corner head set to a 90-degree arc with a 4-meter radius covers only a quarter of the full circle: (90 ÷ 360) × 3.14159 × 4 × 4 = 12.6 square meters. Ignore this adjustment and you will consistently overestimate how much ground your corner and edge heads actually protect.
Corner and edge heads rarely spray a full circle, so calculating them as if they do is one of the most common overestimation errors in DIY sprinkler layouts.
Working out irregular garden shapes
When a zone is not a neat rectangle, break it into smaller shapes you already know how to calculate, rectangles, triangles, and circles, then add the results together. A kidney-shaped lawn bed, for example, might split into two triangles and one rectangle. Calculate each piece separately using its own dimensions, sum the totals, and you get an accurate zone area to compare against your combined sprinkler coverage. This piece-by-piece approach beats guessing at an average width and length, especially on curved beds where a single rough estimate can be off by 20 percent or more.
Step 4. Space your heads and count sprinklers needed
Radius alone does not tell you how many heads to buy. Spacing between heads determines whether water actually reaches every corner or leaves dry gaps in between, and this is where most DIY layouts fall apart. The trick is head-to-head spacing, placing sprinklers so each one's spray reaches the base of its neighbor, not just the midpoint between them. Skip this rule and you get the classic donut pattern: wet circles with dry crosshatched gaps between them, especially visible on lawns during dry season.
Choose a spacing pattern
Most residential layouts use either a square pattern or a triangular pattern, and the choice affects both head count and evenness of coverage. Square spacing places heads at the corners of a grid, which is simpler to plan but leaves small diamond-shaped dry spots between heads if the spacing runs too wide. Triangular spacing offsets each row, giving denser overlap with fewer heads on long, narrow zones.
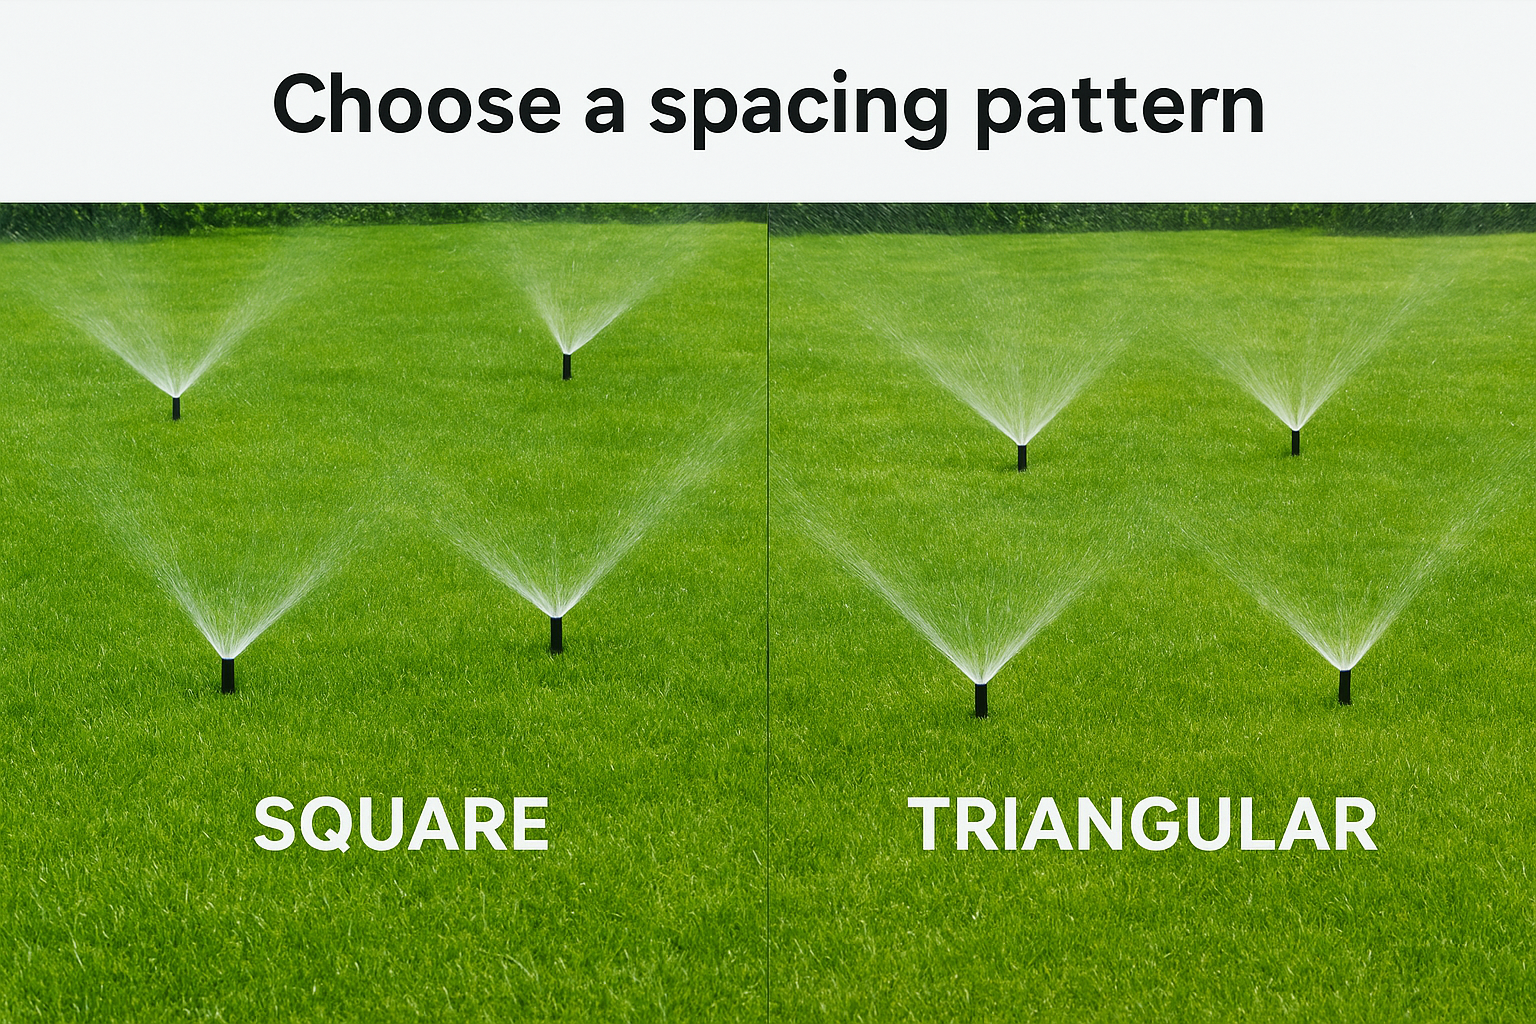
| Pattern | Spacing rule | Best for |
|---|---|---|
| Square | Distance between heads = radius | Rectangular lawns, simple zones |
| Triangular | Distance between heads = radius × 1.15 | Long strips, irregular beds |
| Strip (edge) | Distance = radius, offset from edge by half radius | Narrow borders along fences or paths |
Space every head so its spray reaches the base of the sprinkler next to it, not just halfway there, or you will end up watering the same ground twice and missing the rest.
Work out the number of heads
Once you have picked a pattern, divide your zone's total area by the effective coverage area of one head at your chosen spacing, then round up. For a 60 square meter lawn using spray heads with a 3-meter radius on square spacing, one head effectively covers close to its full circle area of 28.3 square meters before overlap losses, so 60 ÷ 28.3 gives roughly 2.1, meaning you need 3 heads once you account for overlap at the edges.
A faster field method:
- Measure the longest straight run in the zone.
- Divide it by your spacing distance (radius, or radius × 1.15 for triangular).
- Round up to the next whole number, that is your row count.
- Repeat for the perpendicular run to get columns.
- Multiply rows by columns for your total head count, adjusting for irregular edges.
Narrow strips along fences or driveways almost always need dedicated strip-pattern heads rather than a scaled-down version of your main lawn spacing, since a single row of standard heads leaves the far edge dry no matter how tight you pack them.
Step 5. Check water flow, runtime, and cost per zone
Head count means nothing if your water supply cannot support it. Every sprinkler head draws a fixed flow rate in liters per minute, and running too many on one zone drops pressure across the board, shrinking every radius you calculated in Step 3. Before you buy a single pipe fitting, add up demand and check it against what your tap can actually deliver.
Add up your zone's total flow demand
Check the flow rate printed on each sprinkler's spec sheet, usually listed in liters per minute (LPM) at your working pressure, then add every head in a zone together.
| Head type | Typical flow rate | Heads in zone | Zone total |
|---|---|---|---|
| Spray head | 6 to 12 LPM | 4 | 24 to 48 LPM |
| Rotor head | 10 to 20 LPM | 3 | 30 to 60 LPM |
Compare this total against the flow rate you measured with the bucket test back in the first step. If your zone demands more than your tap supplies, either split it into two smaller zones or swap in lower-flow nozzles.
If a zone's total flow demand exceeds what your tap delivers, every head in that zone throws shorter than you calculated, no matter how carefully you spaced them.
Calculate runtime per zone
Runtime depends on how much water your plants need and how fast your heads apply it. Use this simple formula to work out minutes per session:
Runtime (minutes) = Required water depth (mm) ÷ Application rate (mm/hour) × 60
Most turf grass needs roughly 25mm of water per week, split across two or three sessions. A spray head zone applying water at 40mm/hour needs about 37 minutes total per week, spread across your chosen schedule.
Estimate cost per watering cycle
Multiply your zone's total flow rate by the runtime in minutes to get liters used per cycle, then check that figure against your local water tariff. A 30 LPM zone running 20 minutes uses 600 liters per session, and running that three times a week adds up fast across a full garden with multiple zones. Tracking this number early stops surprise bills once every zone is installed and running on autopilot.
Keeping every corner of your garden evenly watered
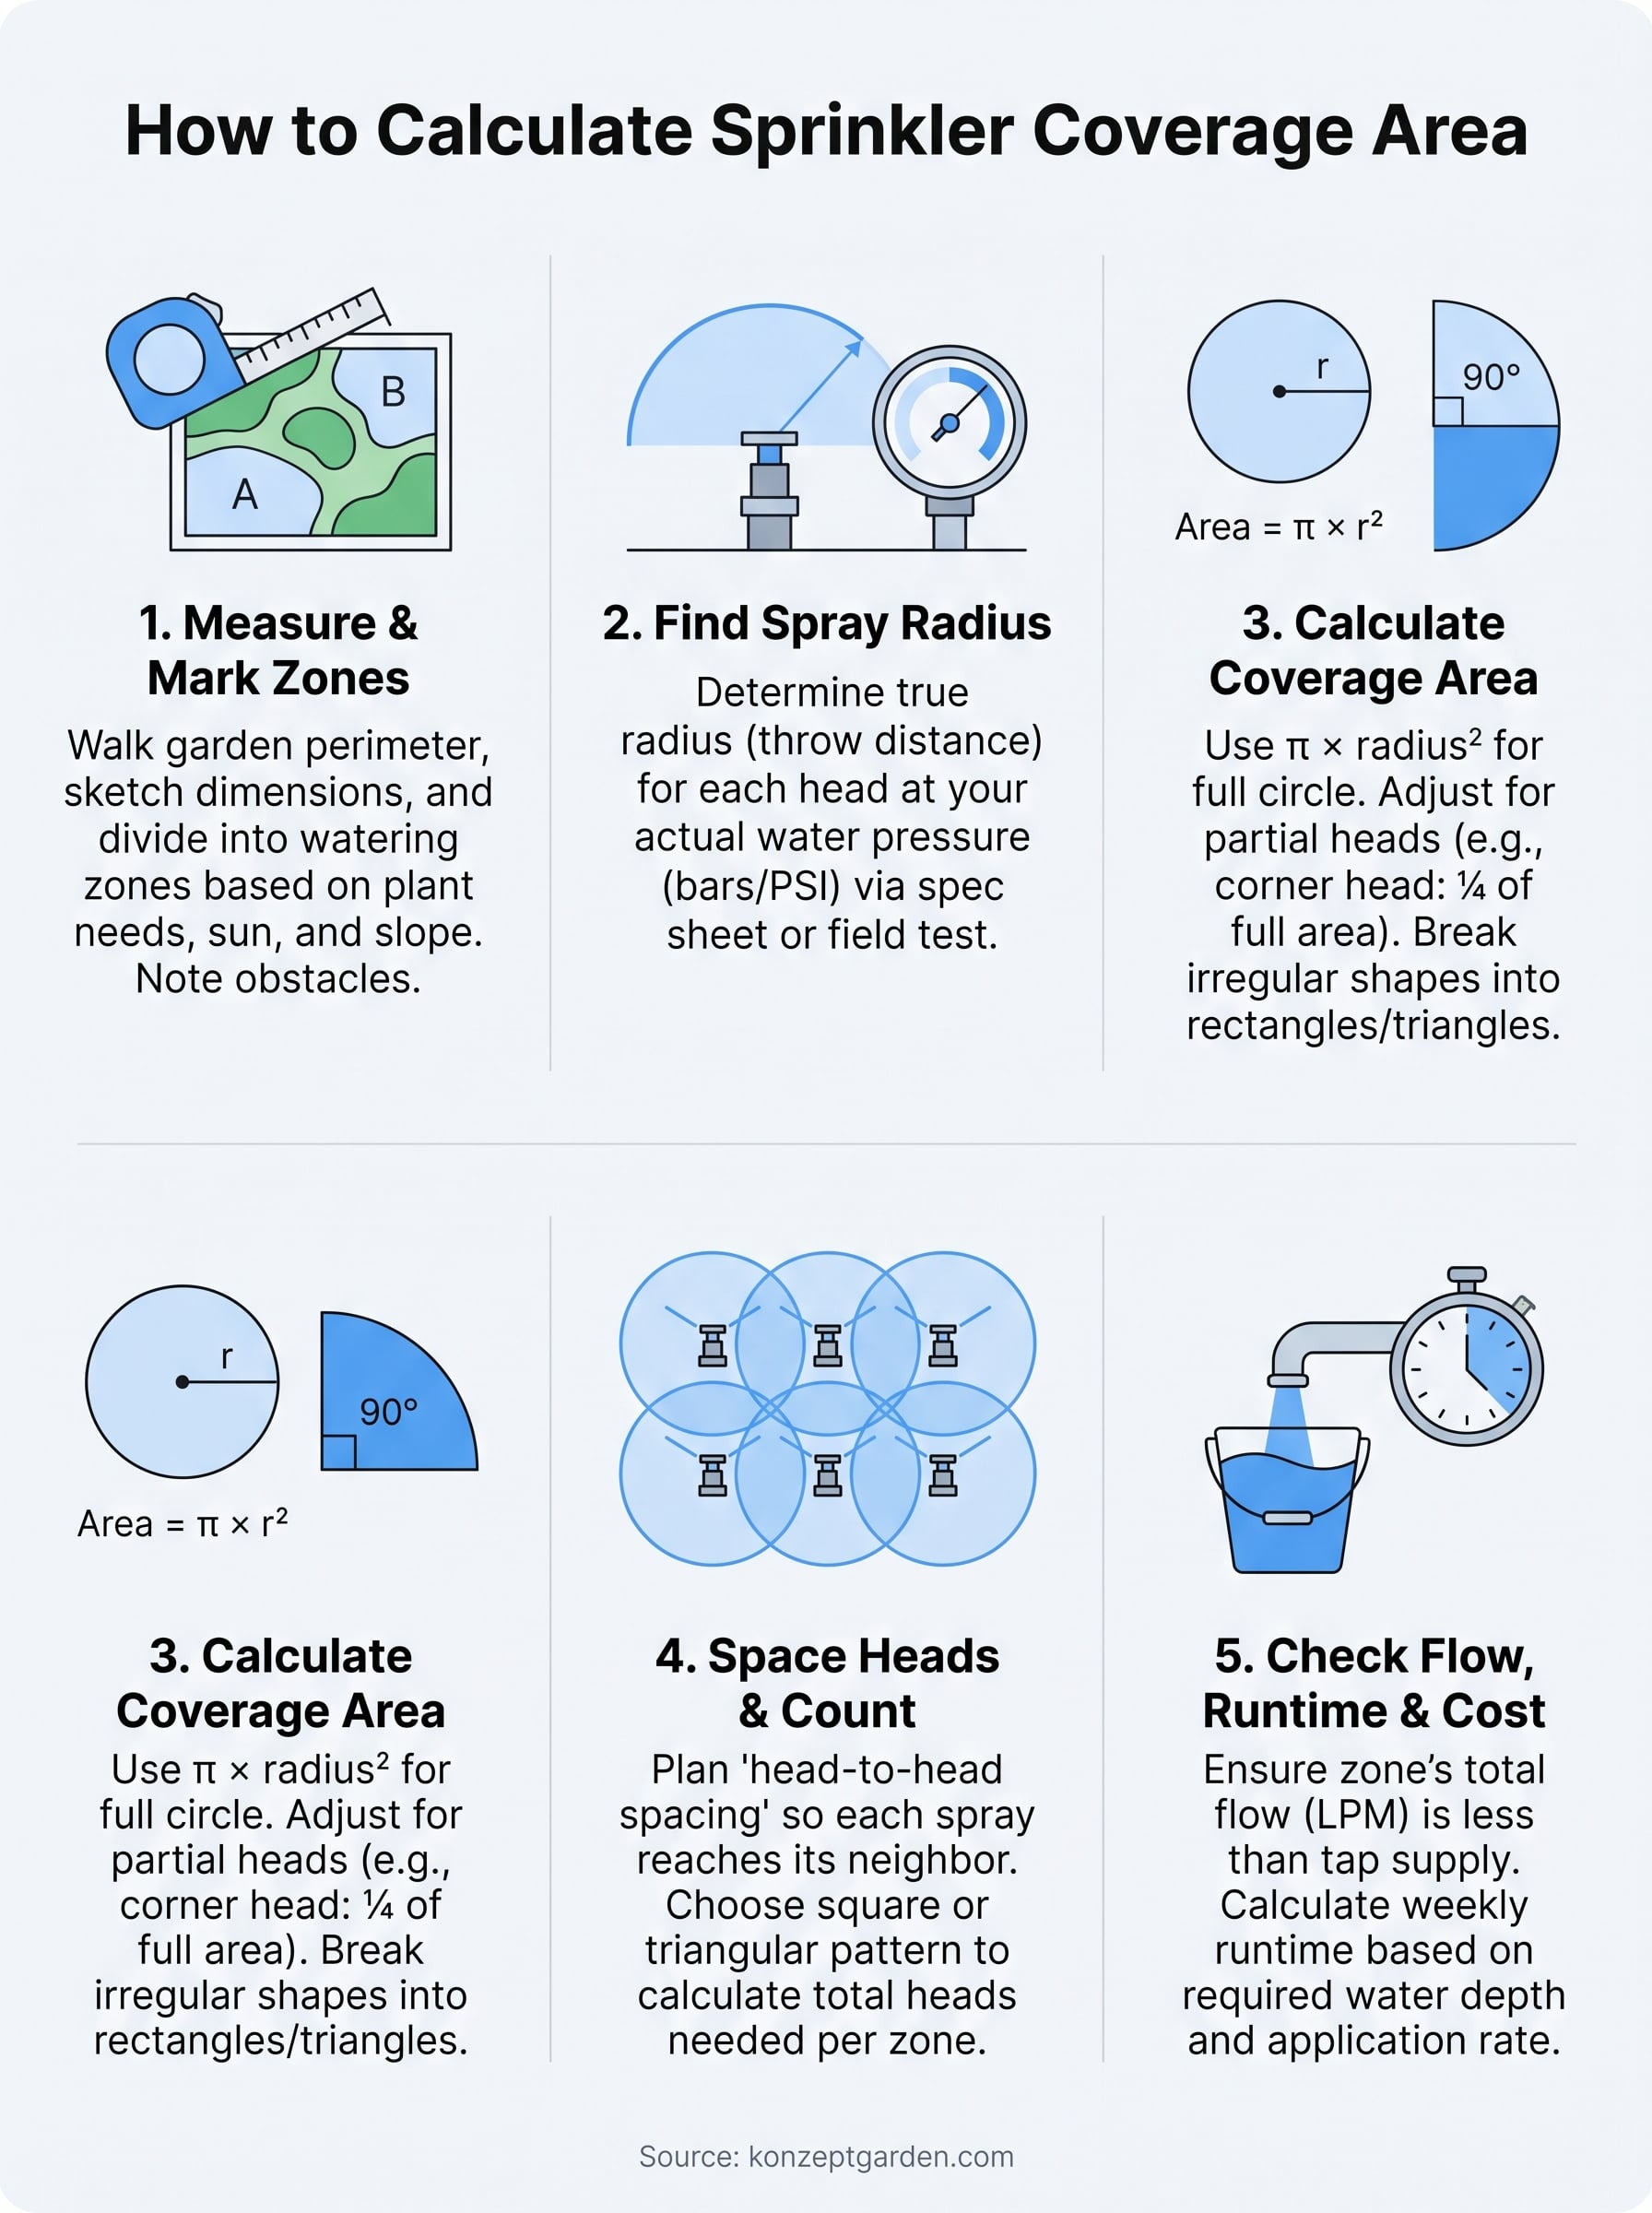
Run through these five steps once and you will never place a sprinkler by guesswork again. Measure your zones, find each head's real radius, apply the circle formula, space heads correctly, then check flow and runtime before you turn on a single valve. That order matters, skip a step and the math from every step after it falls apart.
Getting sprinkler coverage area right saves water, protects your lawn from patchy dry spots, and keeps your utility bill predictable month to month. It also frees you up to focus on the fun part of garden planning, like picking plants or finally adding that koi pond you have been eyeing.
If the calculations feel like more math than you want to handle, or your garden has too many odd angles for a DIY layout, get in touch with our design team and we will handle the irrigation planning for you.