

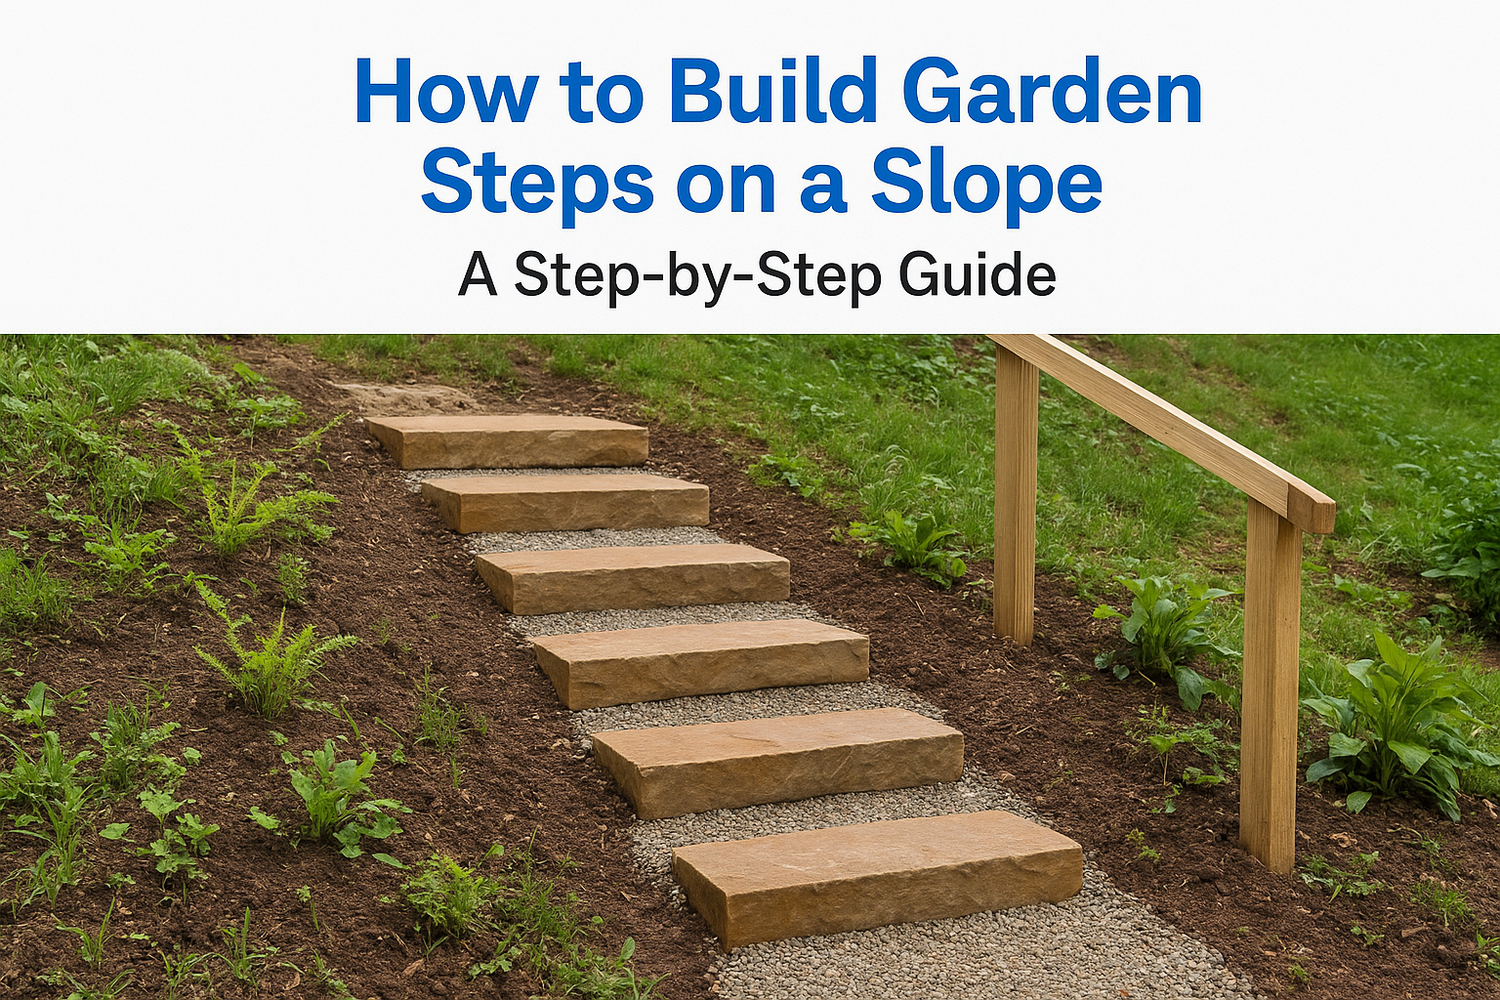
A sloped garden looks great on paper until you actually have to walk up it with a bag of fertilizer in one hand and a hose in the other. If your Malaysian backyard sits on uneven ground, you already know the risk: slippery mud after every downpour and erosion that slowly eats away at your planting beds. Learning how to build garden steps on a slope solves both problems at once, giving you safe footing and a design feature that ties your outdoor space together.
This guide walks you through the whole process, from reading your slope's gradient correctly to choosing materials that hold up against Malaysia's heavy rain and humidity. You'll get practical numbers for rise and run, guidance on soil compaction and drainage, and tips on picking between timber, natural stone, or concrete based on your budget and slope angle.
We put this together from real landscaping projects, not textbook theory, so you can follow along whether you're tackling a gentle backyard incline or a steeper hillside plot. By the end, you'll have a clear, buildable plan and know exactly when a DIY approach makes sense versus when it's worth calling in a professional design team like ours.
Before you dig: planning your sloped garden steps
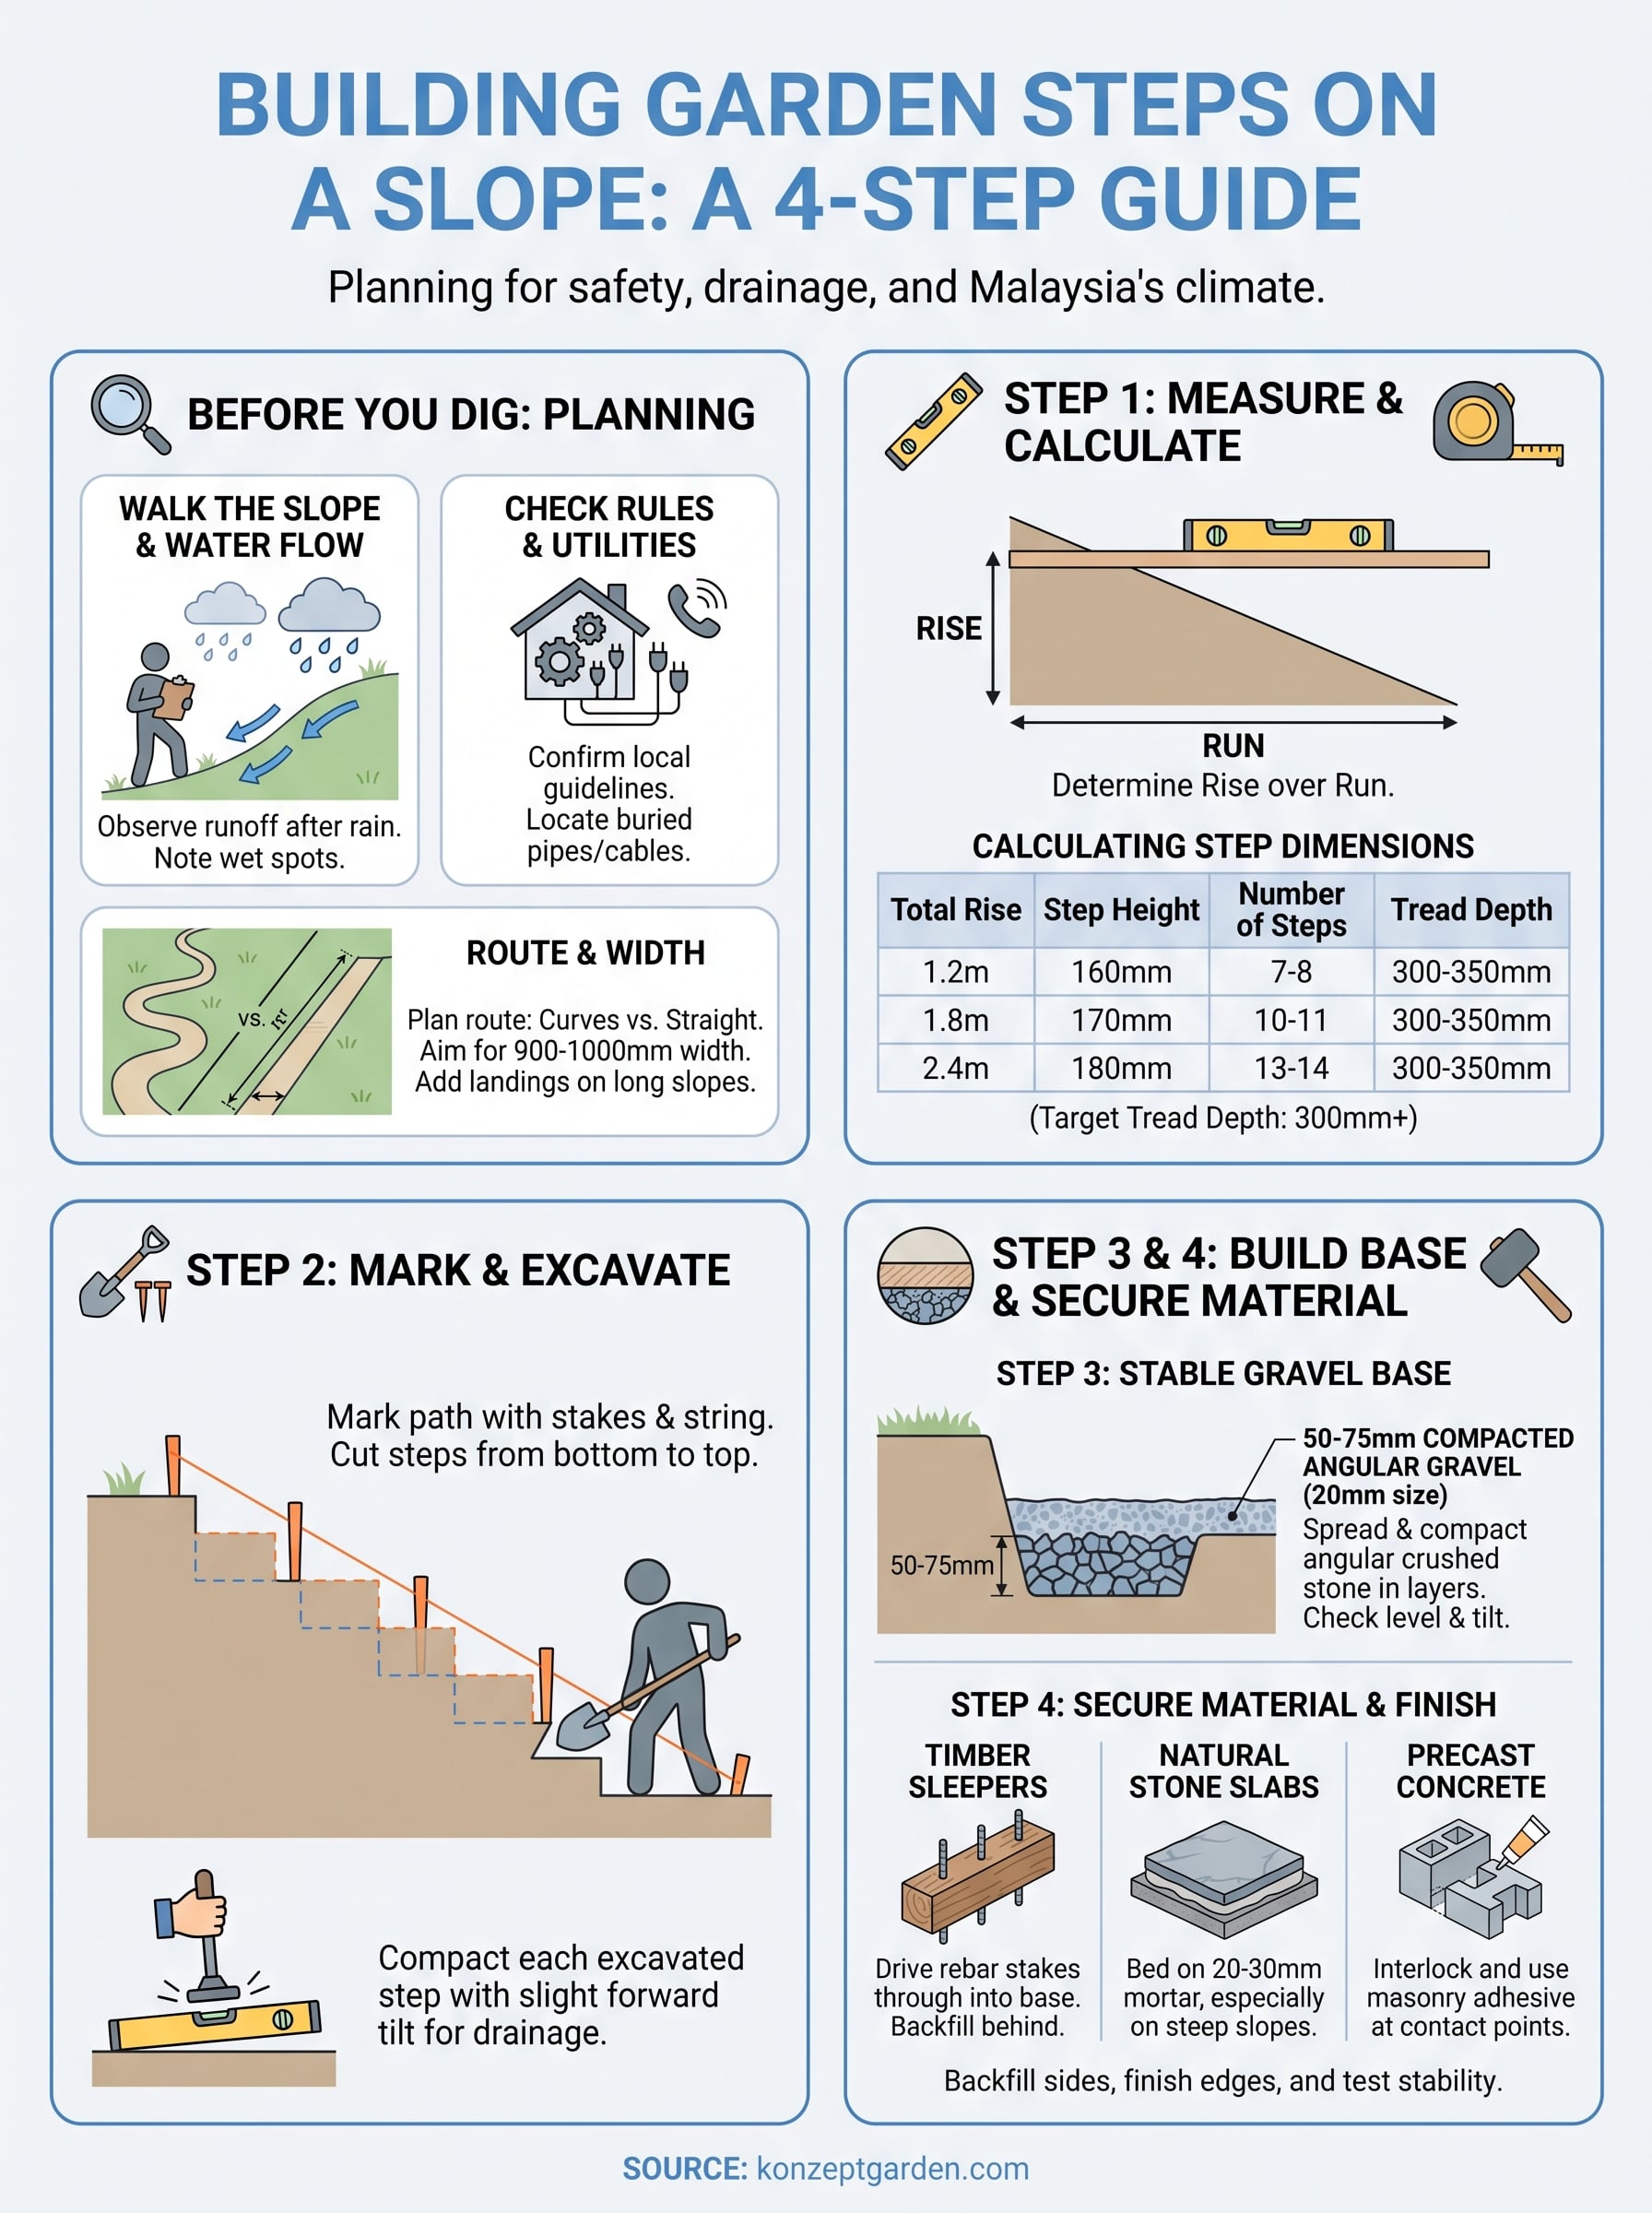
Grab a shovel now and you'll regret it later. Before any digging starts, walk your slope at different times of day and after a rain shower to see where water actually flows. Malaysia's monsoon downpours will expose every weak spot in a rushed plan, so spend an afternoon watching how runoff moves across your yard. Note where puddles form and where soil already looks washed out. These spots need extra attention when you plan your step layout and drainage.
Check local rules and utility lines
Before you commit to a design, confirm you're not about to dig into buried pipes or cables. Most residential landscaping projects in Malaysia don't need council approval for garden steps, but it's worth a quick check with your local municipal council (Majlis Perbandaran) if your slope sits near a boundary wall or drainage reserve. Call your utility providers or check with your property management if you live in a gated development, since some estates have their own guidelines for structural changes to shared slopes.
Skipping the planning stage is the single biggest reason DIY garden steps fail within a year.
Decide on your route and width
Think about how the steps will actually get used before you sketch anything. A straight run looks tidy on paper, but a slight curve often works better on natural slopes and reduces the visual drop from top to bottom. Here's what to consider when planning your path:
- Traffic width: Aim for at least 900mm to 1,000mm wide so two people can pass comfortably.
- Curves vs straight runs: Curved paths distribute the slope's rise over a longer distance, which means shorter, safer steps.
- Landing points: Add a flat landing every 10 to 12 steps on longer slopes to give walkers a rest point and break up the visual mass.
- Handrail needs: If the slope exceeds 30 degrees or the steps rise more than 1.2 meters total, plan for a handrail on at least one side.
Match materials to your slope's exposure
Your choice of step material should respond to how much sun, shade, and rain that section of the garden gets. A shaded, damp slope under mature trees will favor textured natural stone that resists algae buildup, while a sunnier, open slope gives you more flexibility with timber or poured concrete. Walk the route and mark which sections stay wet longest after rain, since those areas need slip-resistant surfaces regardless of the material you eventually choose.
Step 1. Measure the slope and calculate step dimensions
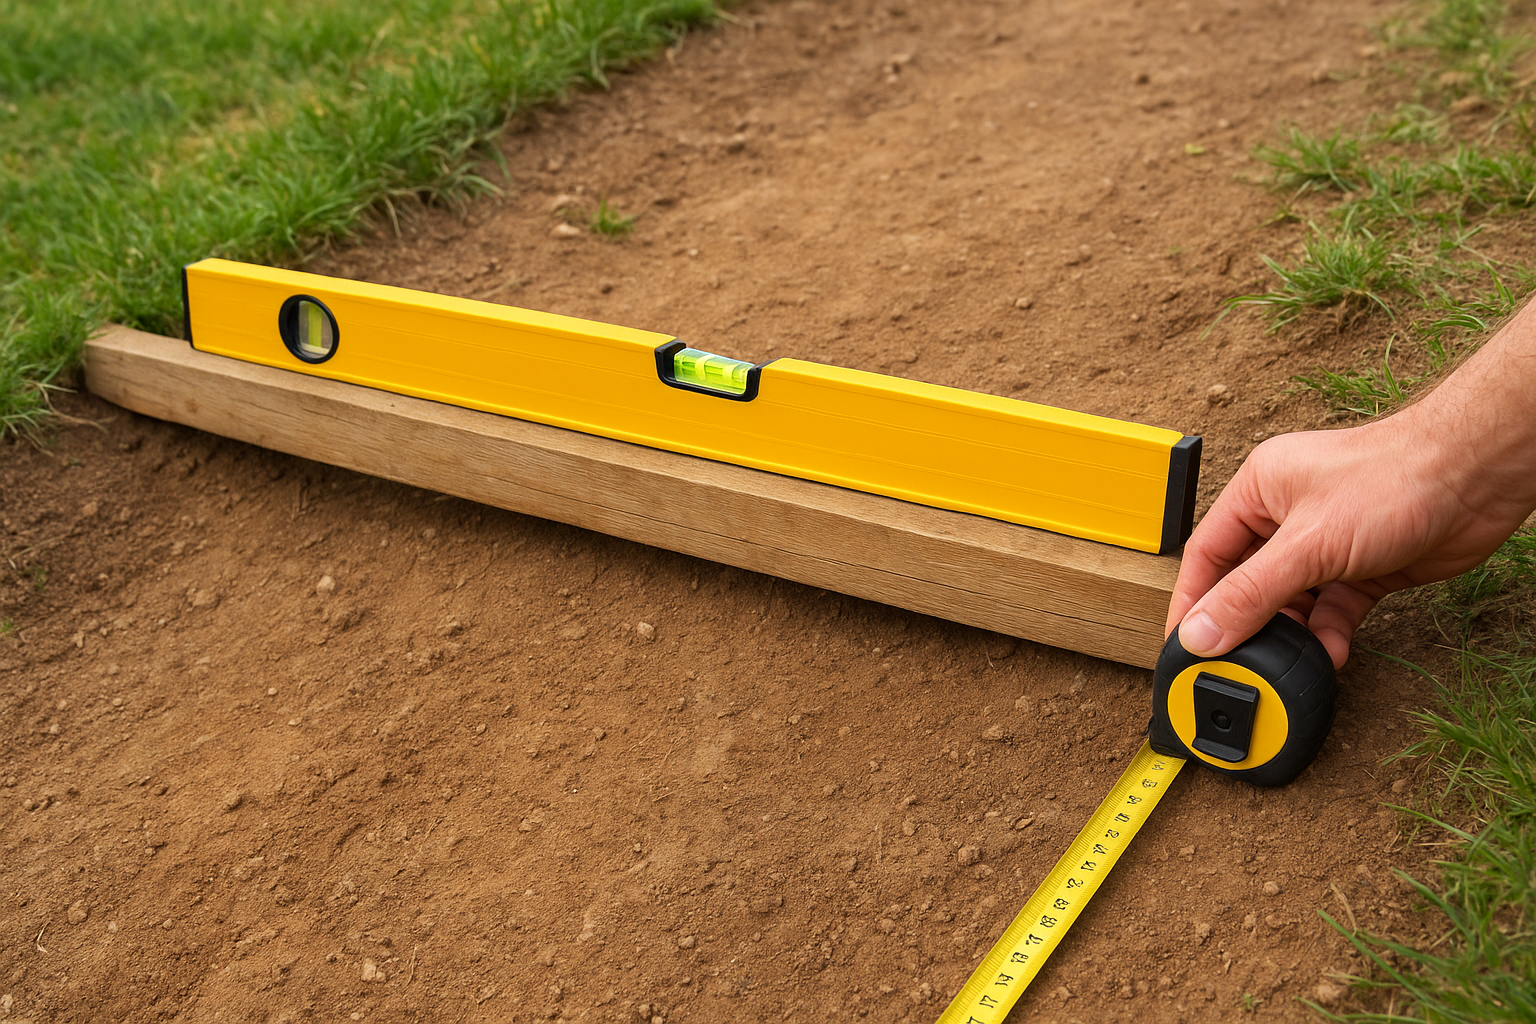
Grab a long spirit level, a straight board, and a tape measure before you touch a shovel. Lay the board flat against the slope from the bottom point to the top point, hold the level against it, and measure the vertical gap where the board meets level ground. That gap, divided by the horizontal distance the board covers, gives you the slope's rise over run, the number every other decision in this project depends on.
Work out your total rise and run
Repeat the measurement at two or three points along your planned route, since most garden slopes aren't perfectly even. Average the readings to get a realistic total rise (the vertical height from bottom to top) and total run (the horizontal distance covered). A slope with a 1.5-meter rise over a 4-meter run, for example, sits at roughly 21 degrees, comfortably within DIY territory.
Get the rise and run wrong here, and every step you build afterward inherits that mistake.
Calculate individual step dimensions
Divide your total rise by a comfortable step height between 150mm and 180mm to find how many steps you need. Then divide your total run by that same number to get the depth of each tread.
| Total rise | Step height (riser) | Number of steps | Tread depth needed |
|---|---|---|---|
| 1.2m | 160mm | 7-8 | 300-350mm |
| 1.8m | 170mm | 10-11 | 300-350mm |
| 2.4m | 180mm | 13-14 | 300-350mm |
Keep tread depth at 300mm minimum so a full adult shoe fits without overhang.
Step 2. Mark the path and excavate the slope
Once your calculations are set, transfer them onto the actual slope with stakes and string. Drive a stake at the bottom of your route and another at the top, then run a string line between them to mark the centerline. Use spray paint or a second set of stakes to outline the full width of your step path, including margins for side supports if you're using timber or block edging.
Cut the slope into rough step shapes
Start digging from the bottom of the slope and work upward, cutting each step into the hillside like a staircase carved from earth. Use a flat spade or mini excavator for larger slopes, and check each cut against your calculated riser and tread numbers as you go. Overcut slightly, since you'll lose depth once you add base material and paving.
Excavating from the bottom up keeps loose soil from burying steps you've already shaped.
Compact and level each excavated step
Tamp down the soil on each cut step with a hand tamper or plate compactor before moving to the next one. Loose, uncompacted soil settles unevenly over Malaysia's wet season, which throws off your riser heights within months. Check each step with a spirit level, aiming for a very slight forward slope, about 1 to 2 degrees, so rainwater drains off the tread instead of pooling.
Handle excavated soil and debris
Pile excavated soil away from your work area so it doesn't wash back onto finished steps during rain. Consider these options for leftover material:
- Reuse it to build up planting beds alongside the steps
- Spread it thinly across lawn areas that need leveling
- Bag it for council collection if your local service accepts garden waste
Keep the site clear as you move upward.
Step 3. Build a stable gravel base for each step
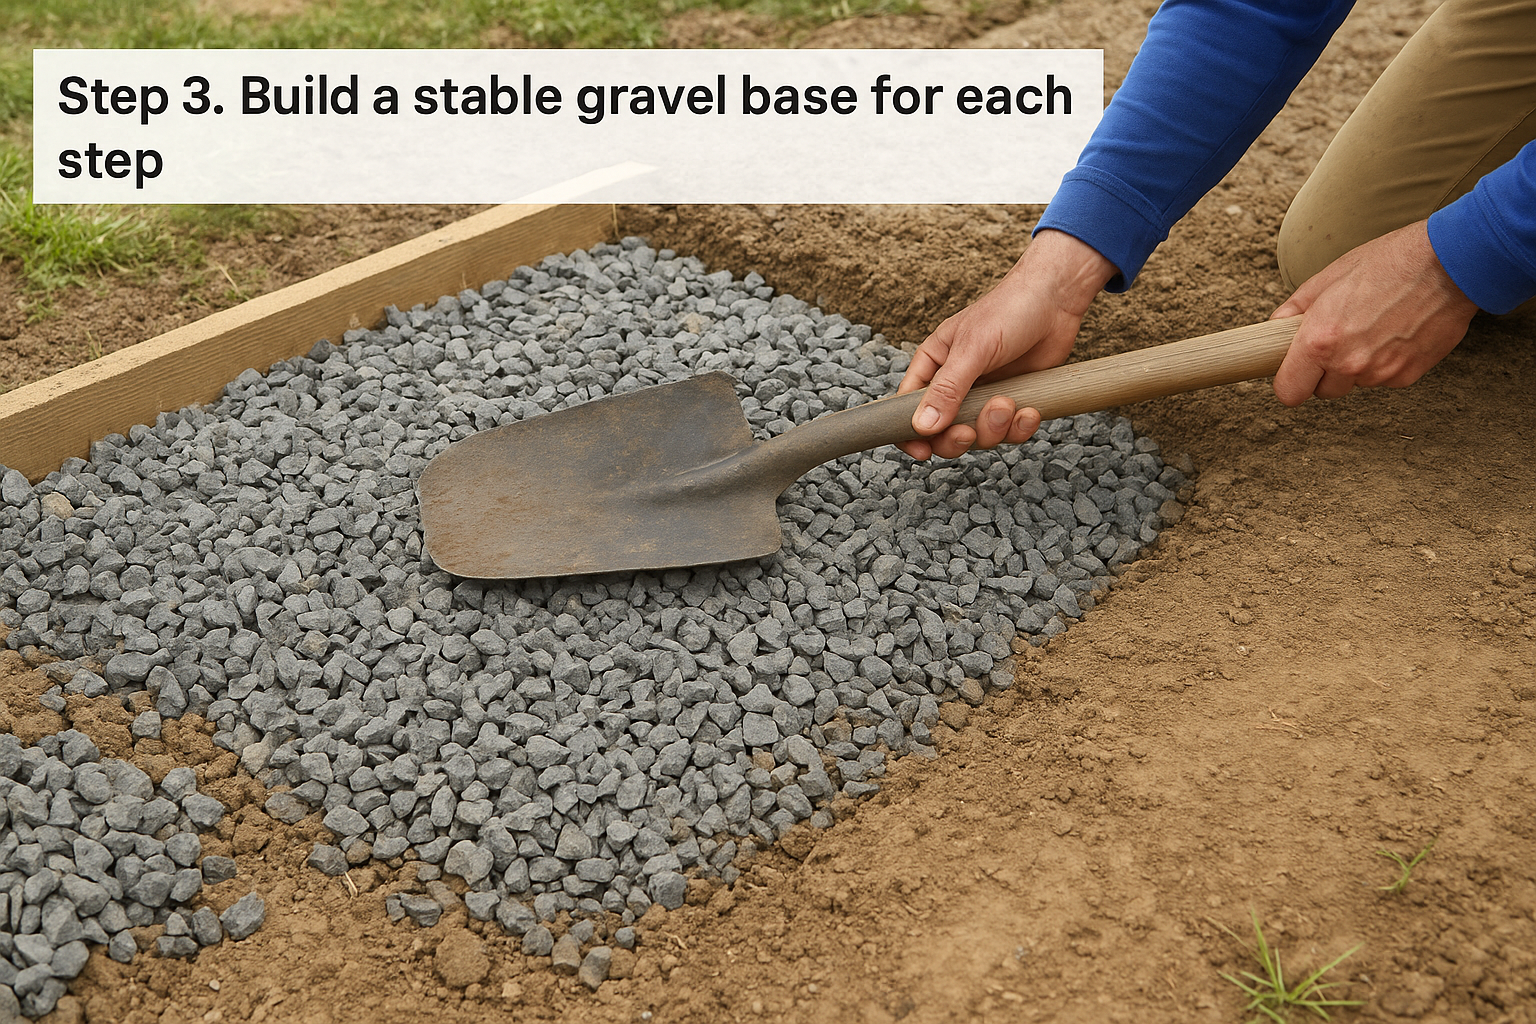
A good base does the real work here, since it stops your steps from sinking or shifting once the rains set in. Spread a layer of crushed gravel or hardcore, roughly 50mm to 75mm deep, across each excavated step before you place any paving material. This gravel base lets water drain straight through instead of collecting under your steps and turning the soil beneath into mud.
Choose the right aggregate
Use angular crushed stone rather than smooth river gravel, since the sharp edges lock together and resist sliding once compacted. A 20mm crushed granite mix works well for most residential slopes in Malaysia and is easy to source from local building suppliers.
- Base depth: 50mm for timber steps, 75mm for stone or concrete
- Aggregate size: 20mm crushed granite or similar angular stone
- Edge restraint: Add a timber or brick edge on open sides to stop gravel spreading downhill
Compact each layer properly
Compact the gravel in two thin layers rather than one thick one, using a plate compactor or hand tamper between each pass. Check the surface with a spirit level after compacting, again aiming for that slight forward tilt so water sheds off rather than sitting on the tread.
A poorly compacted base is the hidden reason step is loose within a year.
Working your way up the slope, don't rush past this stage even though it feels like the boring middle part of the build. Every riser you add on top depends on this foundation staying put through Malaysia's wettest months.
Step 4. Lay and secure your chosen step material
With your gravel base compacted and level, you're ready to place the actual surface people will walk on. Set each paving material onto the base starting from the bottom step and working upward, checking level and forward slope as you go, just like you did with the gravel. Tap each piece down with a rubber mallet rather than forcing it with your foot, since uneven pressure creates hollow spots that crack under weight later.
Match your fixing method to the material
Different materials need different anchoring approaches, and mixing up the method is where most DIY steps go wrong:
- Timber sleepers: Drive two rebar stakes through pre-drilled holes into the compacted base beneath each sleeper, then backfill behind with compacted soil.
- Natural stone slabs: Bed each slab onto a 20-30mm mortar bed rather than dry gravel alone, especially on steeper slopes where lateral movement risks are higher.
- Precast concrete blocks: Interlock blocks according to manufacturer spacing and use masonry adhesive at contact points for extra grip against monsoon runoff.
Skip proper anchoring and even the best-looking steps will shift within one wet season.
Finish the edges and backfill
Once each step sits secure, backfill the sides with soil or your chosen edging material, packing it firmly against the riser to stop erosion from undercutting your work. Rake a light layer of fine gravel or sand into any joints between stone or block pieces for a tidier, more slip-resistant finish. Walk the full flight slowly, testing each tread for wobble, before you call the project done. Fixing a loose step now takes minutes; fixing it after a fall costs a lot more.
A safer, more beautiful way up your garden
You now have the full sequence: read your slope correctly, calculate rise and run, dig and compact in stages, then anchor a base and material built to survive Malaysia's wet season. Follow those steps in order and skip none of them, and your garden steps will still be solid and slip-resistant years from now, not just for one dry season.
Some slopes, though, are steeper, longer, or trickier than a weekend DIY project should handle, especially where drainage, retaining walls, or heavy stone work come into play. That's exactly where a professional design team earns its fee, turning a functional staircase into a feature that ties your whole garden together, maybe even alongside a water feature like our Zen Bio Koi Pond. If your slope has you second-guessing the plan, reach out to our team before you pick up a shovel.